3D Modeling from Paper
A comprehensive guide to creating three-dimensional paper models (papercraft), using the SR-71 Blackbird at 1:50 scale as a detailed example — covering mesh modeling in Blender, unfolding, and assembly techniques.
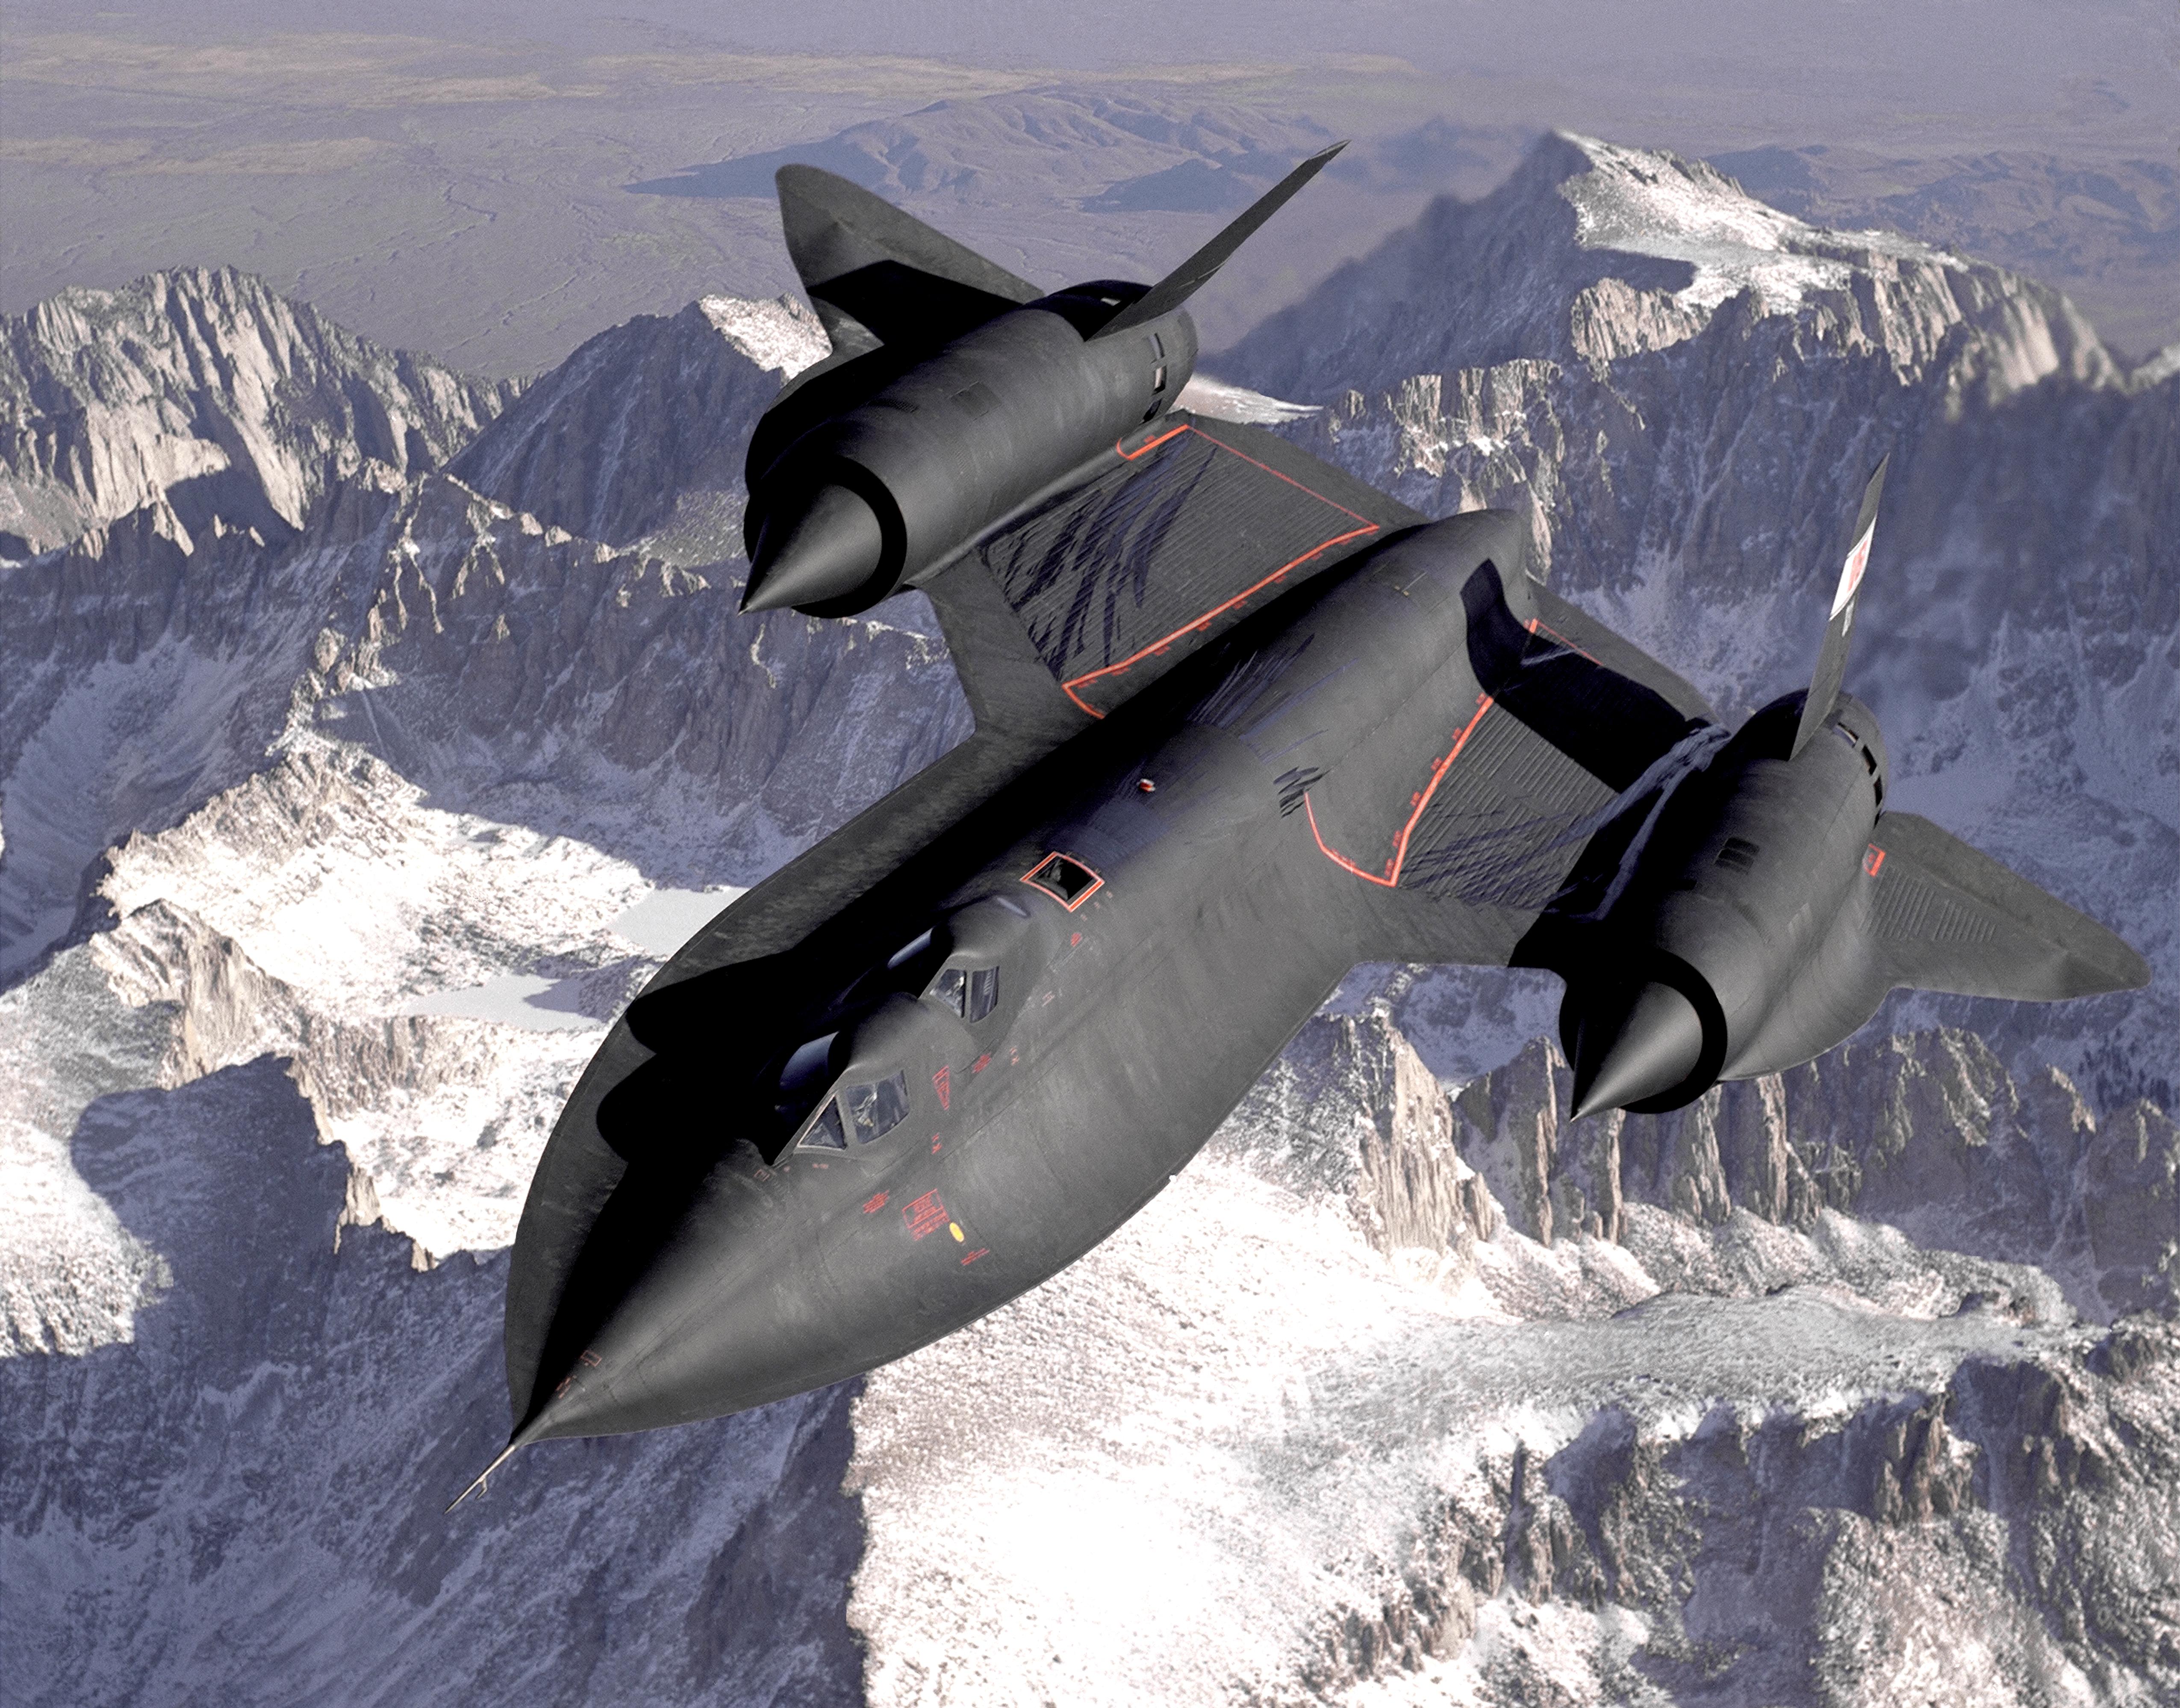
This is a comprehensive guide to creating three-dimensional paper models, commonly known as papercraft. I'll share my experience using the creation of an SR-71 Blackbird model at 1:50 scale as a running example.
Why Papercraft?
Paper modeling is attractive for three reasons:
- Incredibly accessible — minimal costs and equipment required
- Combines technical and creative aspects — you need both engineering thinking and artistic sense
- No limits to what you can create — from simple geometric shapes to complex vehicles and characters
Project Constraints
For this project, I established four constraints:
- All parts must be made exclusively from paper
- Solid-color parts only — no printed textures
- Simple polyhedra without curves
- Manifold geometry (each edge shared by exactly two faces)

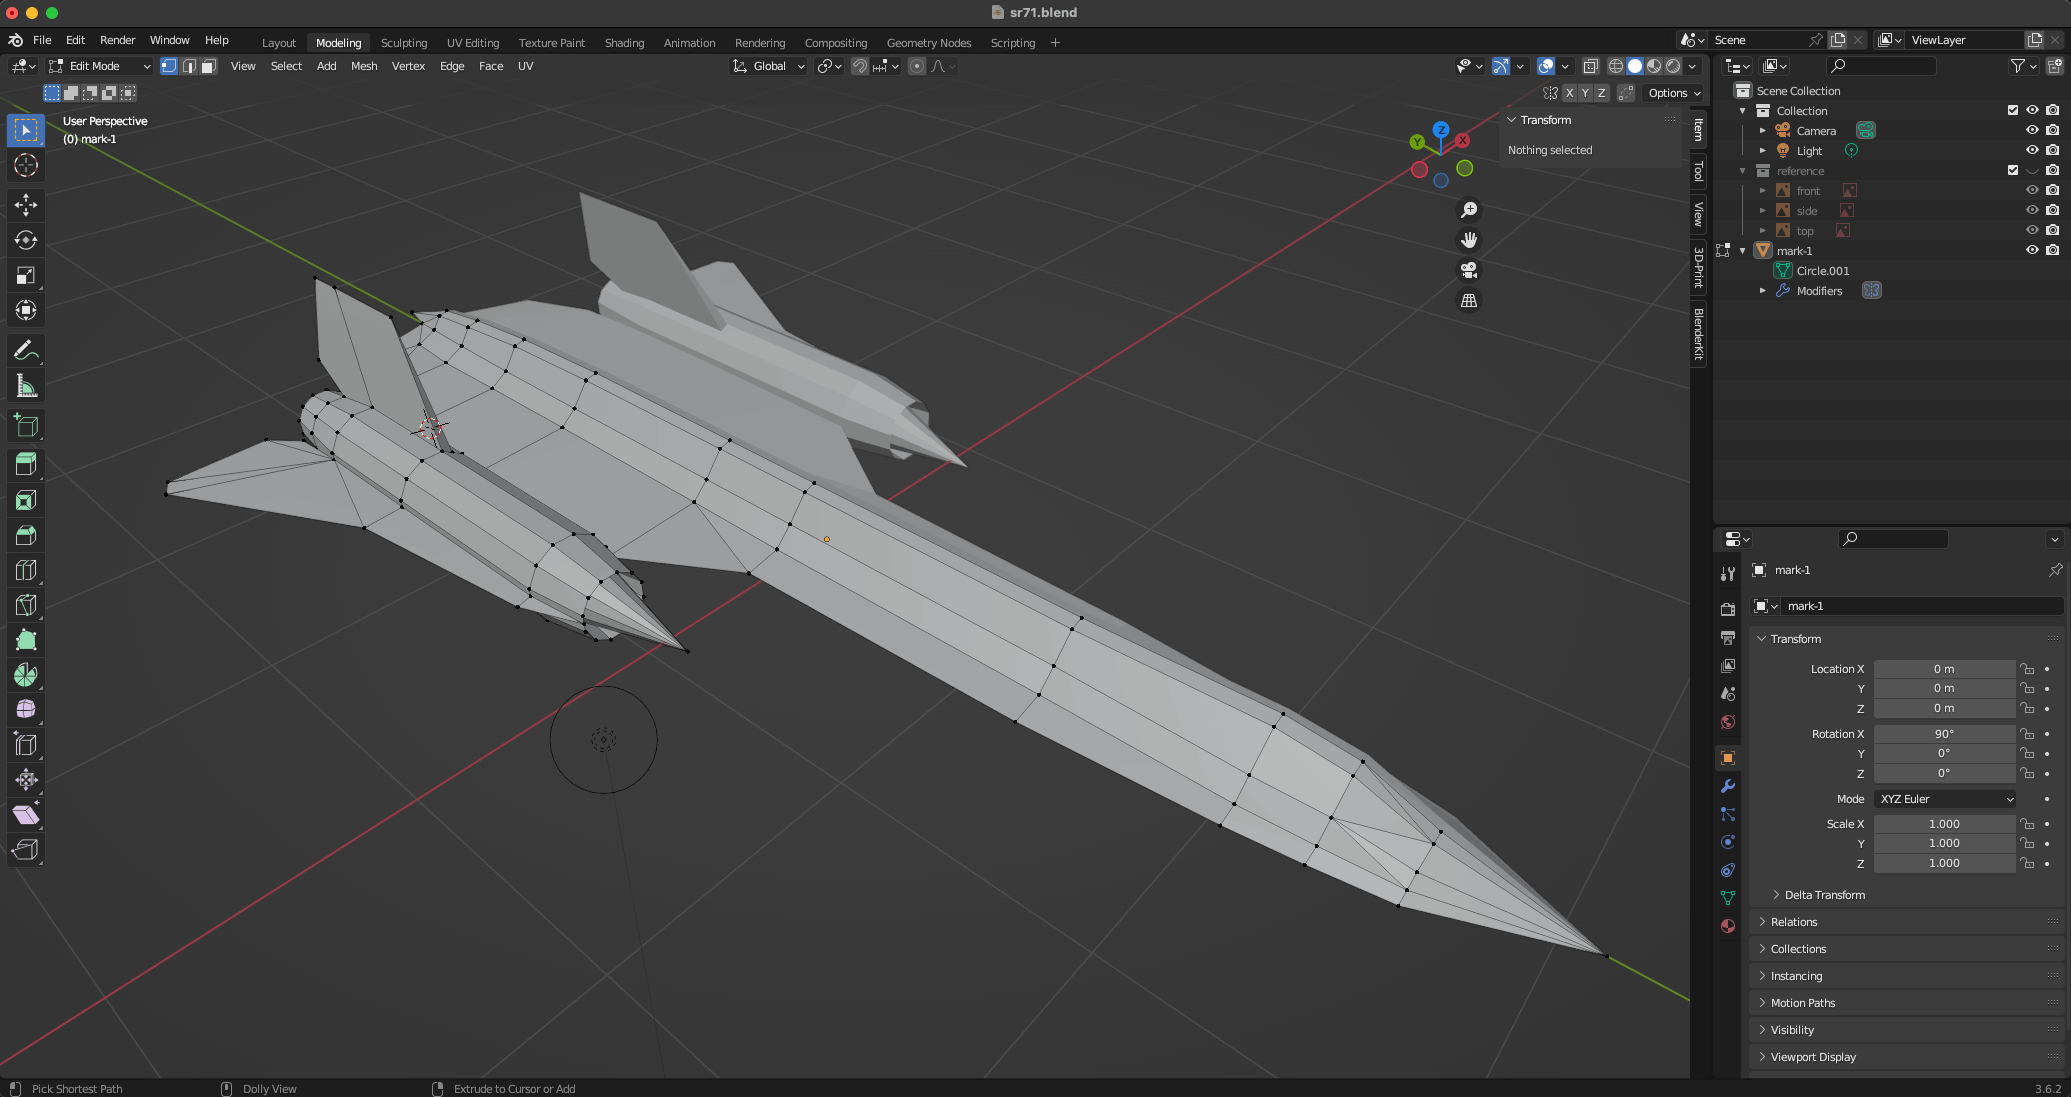
Step 1: Mesh Modeling
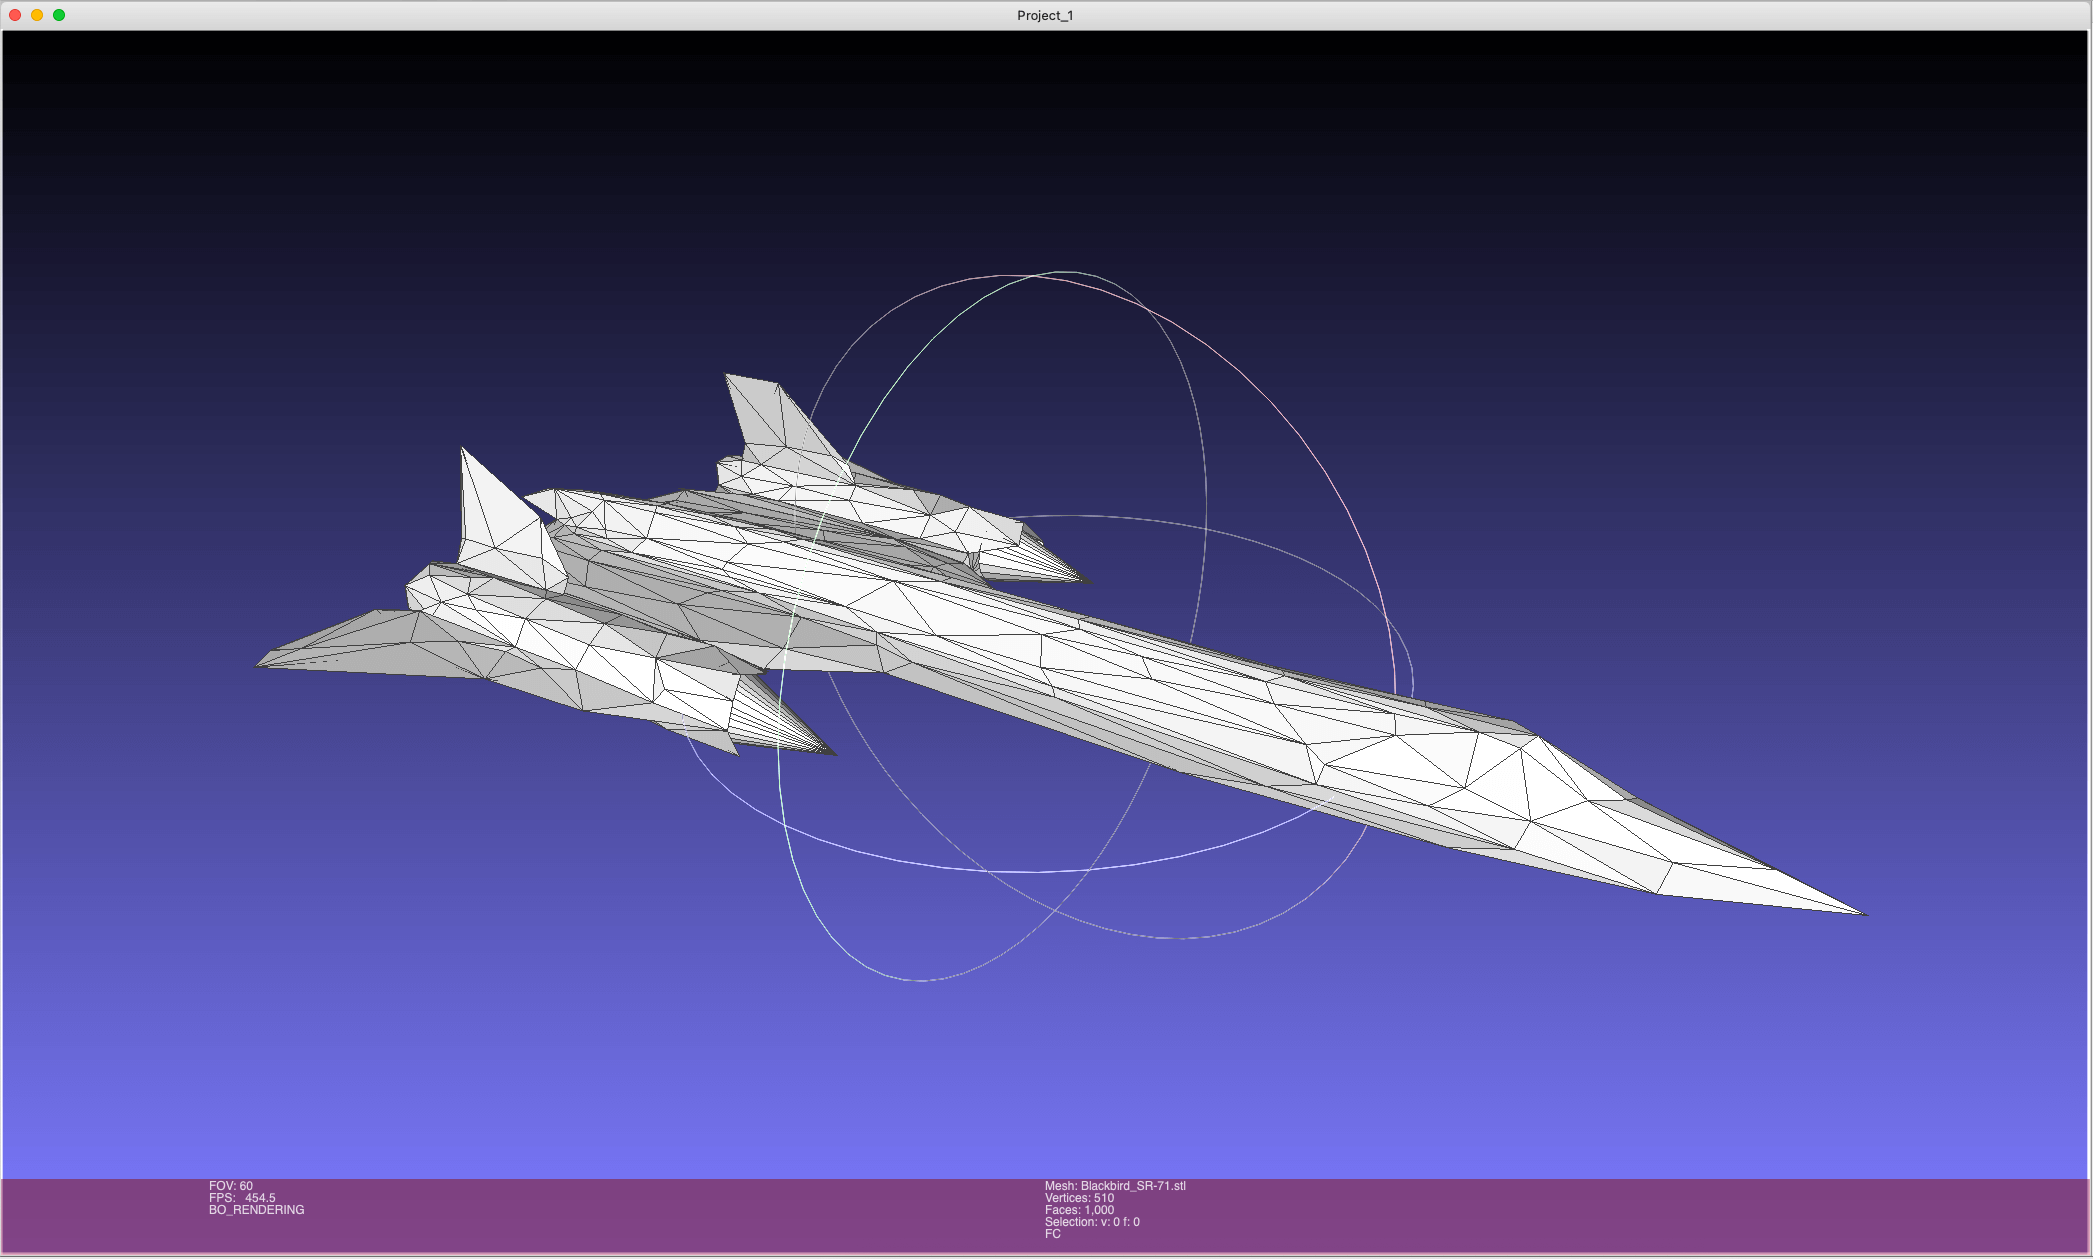
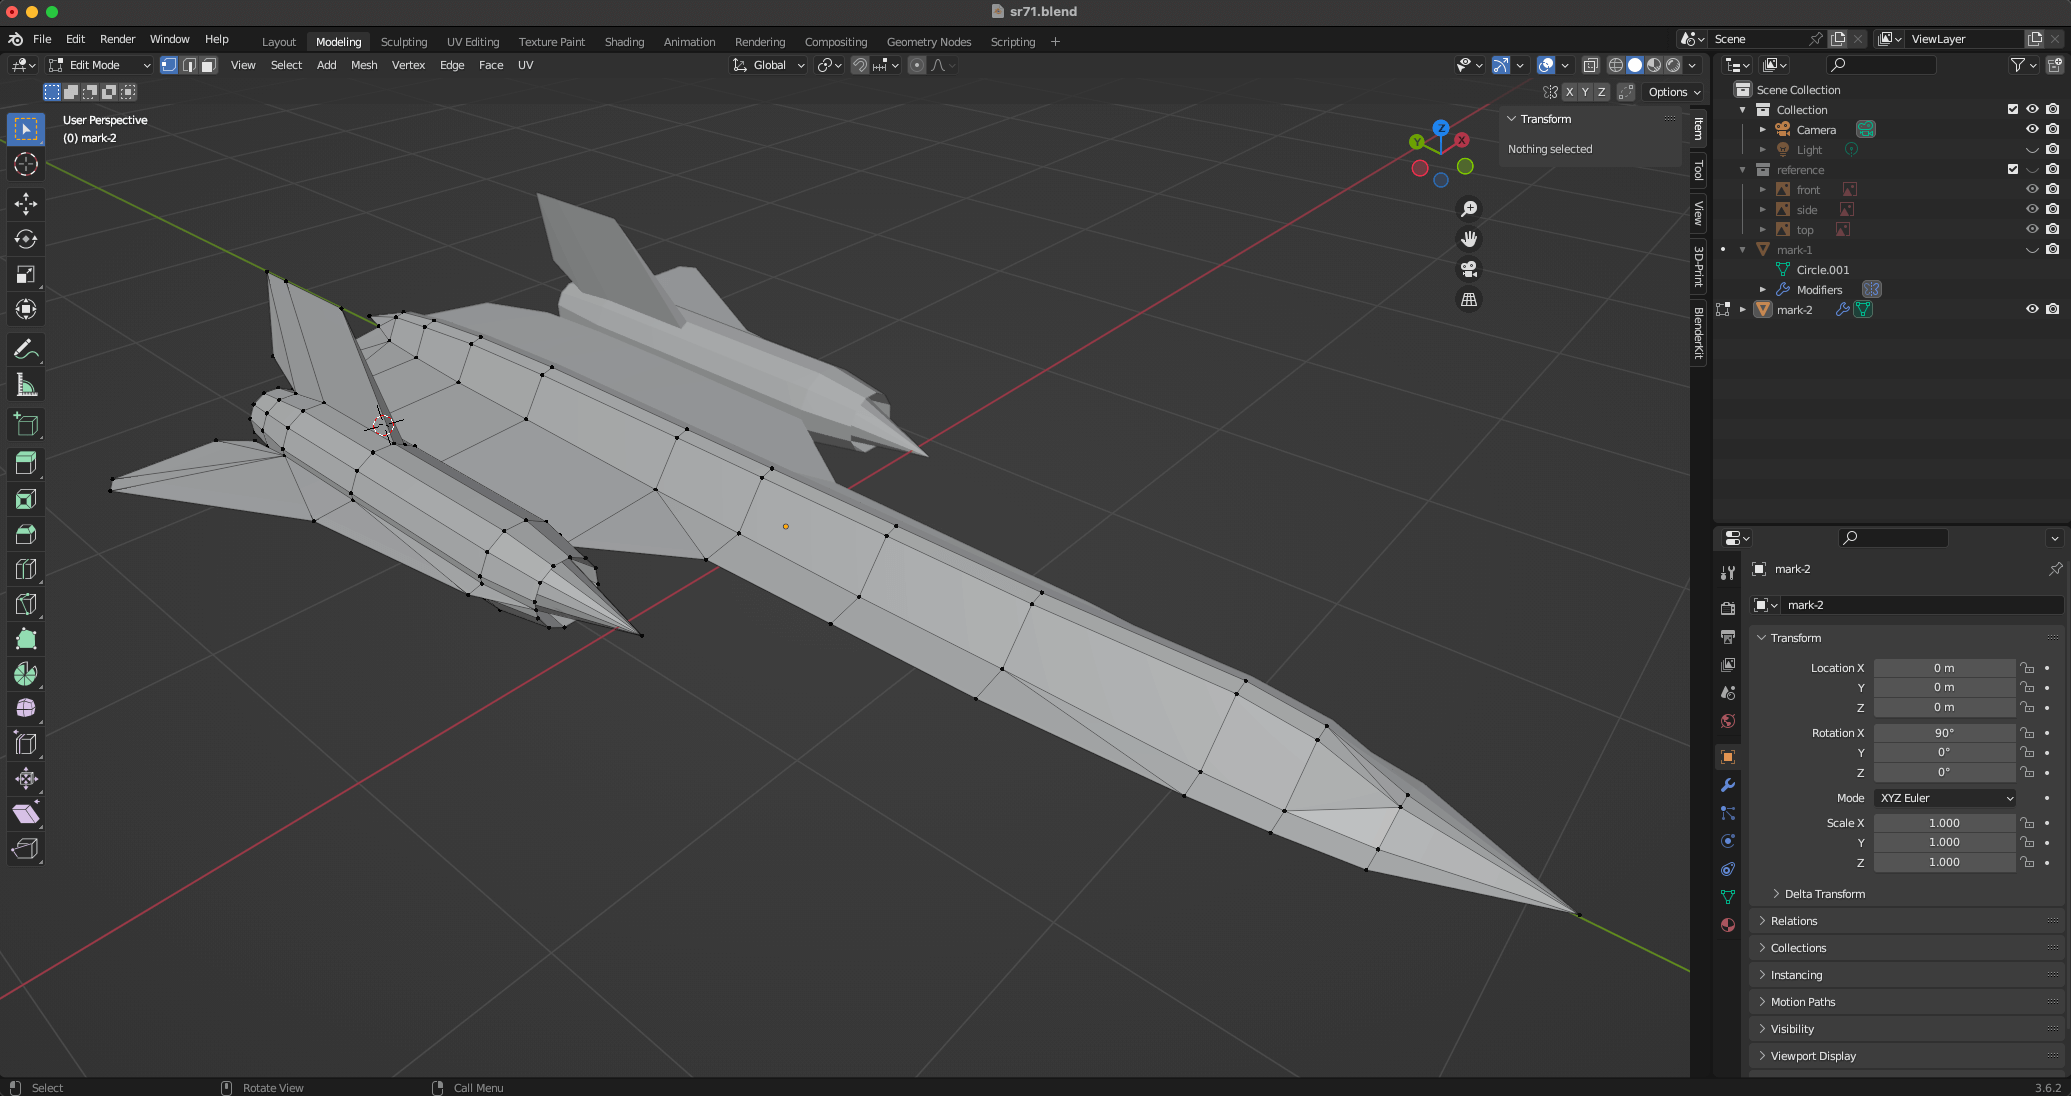
The process involves finding the right balance between accuracy (aesthetics) and assembly simplicity. I use Blender for all modeling work. A good papercraft model typically needs several hundred polygons — enough for recognizable detail, but not so many that assembly becomes impractical.
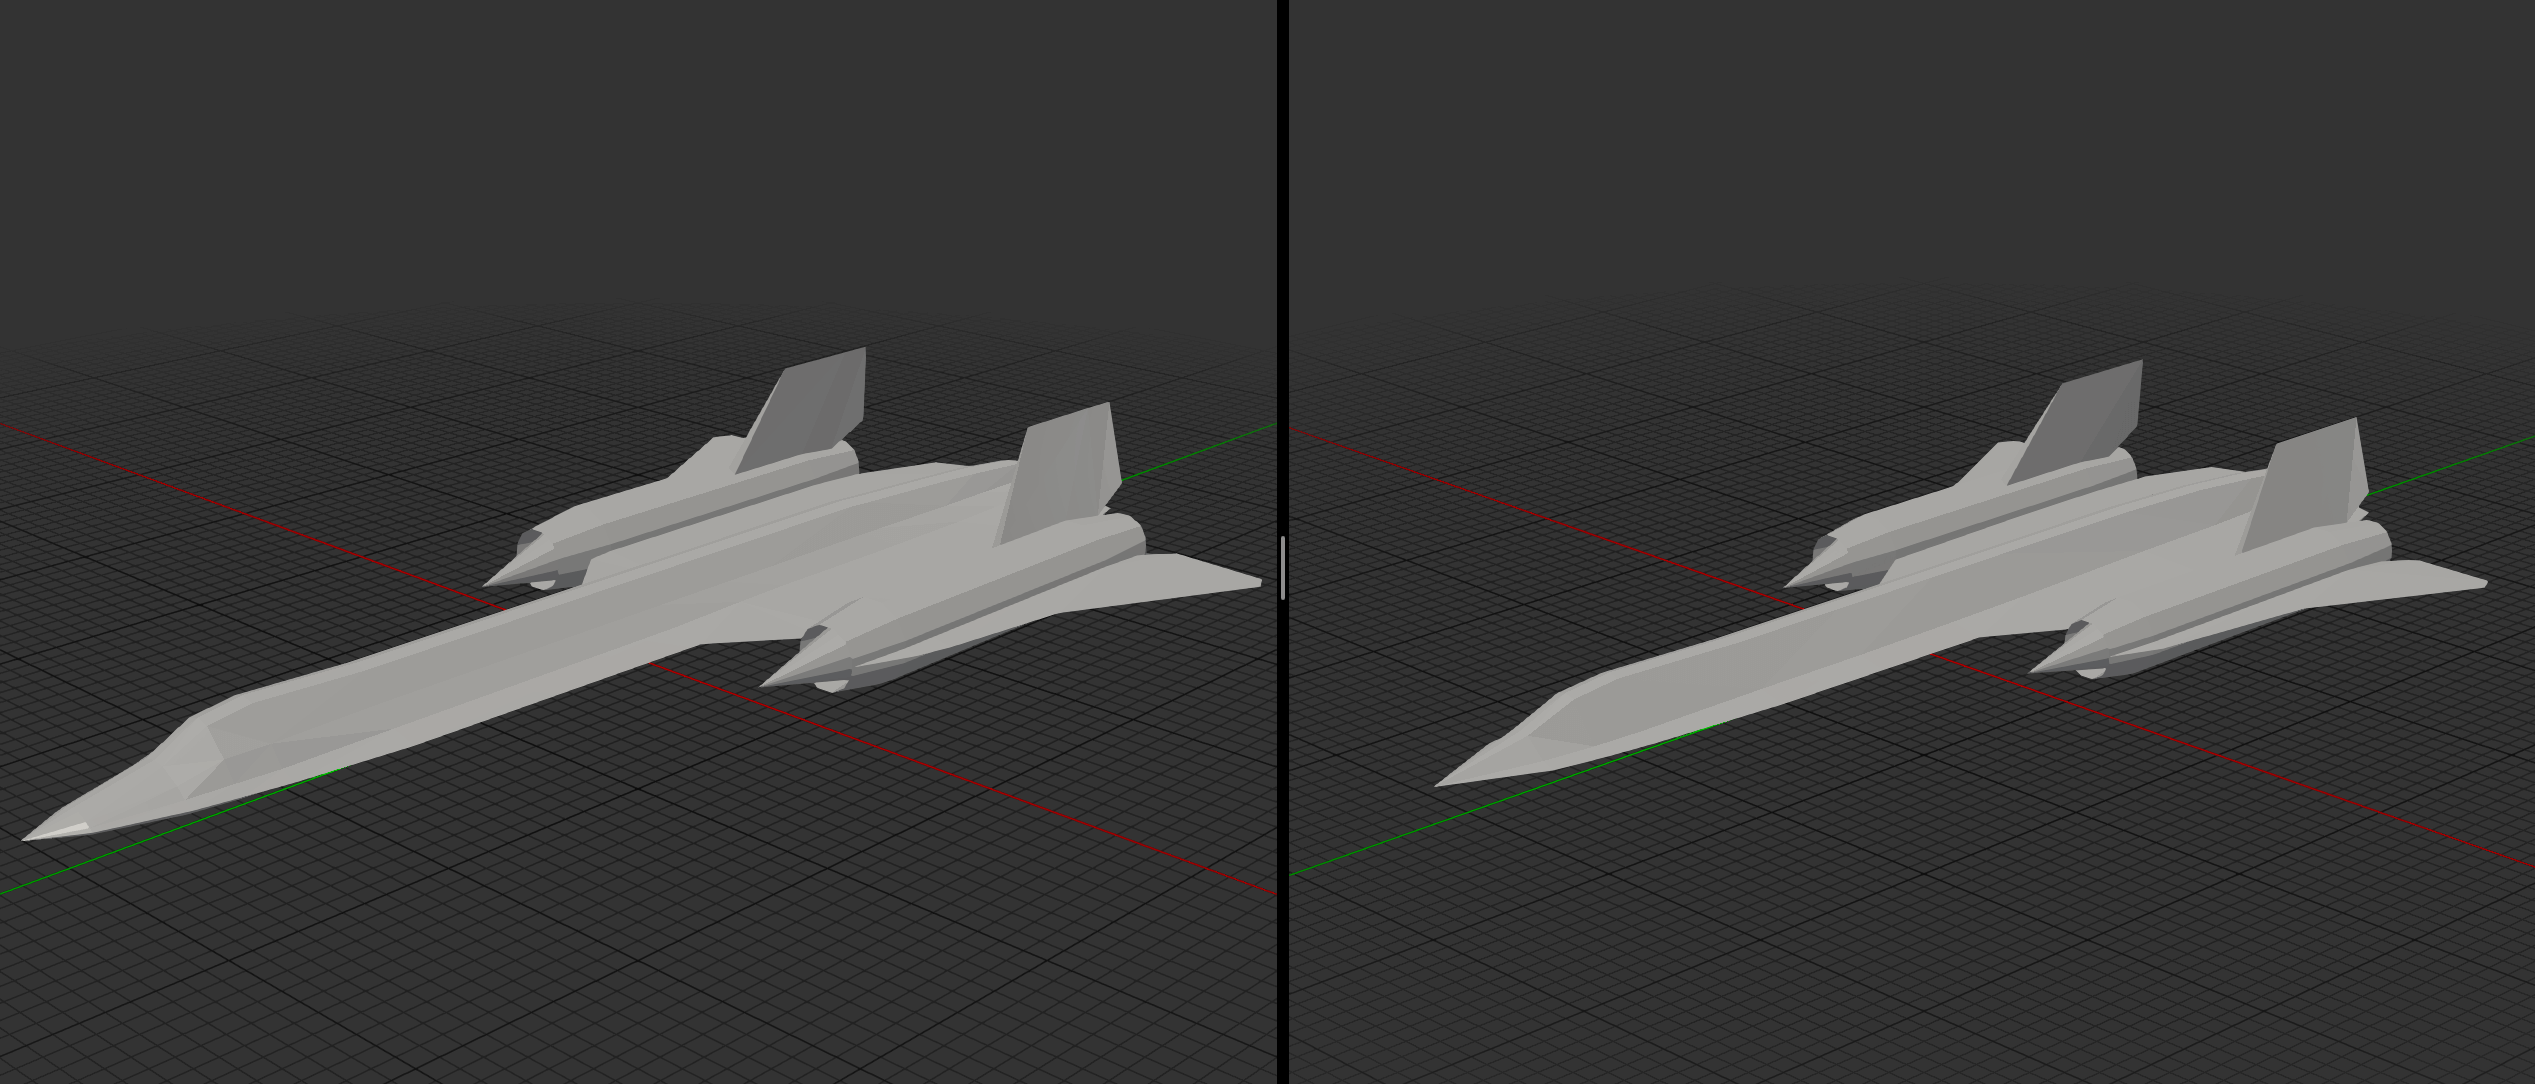
For the SR-71, the initial mesh consisted of 732 triangles. After physical assembly and a second iteration, this was optimized down to 636 — a nearly 15% reduction while maintaining the model's aesthetics.

In Blender, I use the Mirror modifier for symmetric parts and the 3D Print Toolbox addon to validate manifold geometry. Non-manifold edges will cause problems during unfolding.
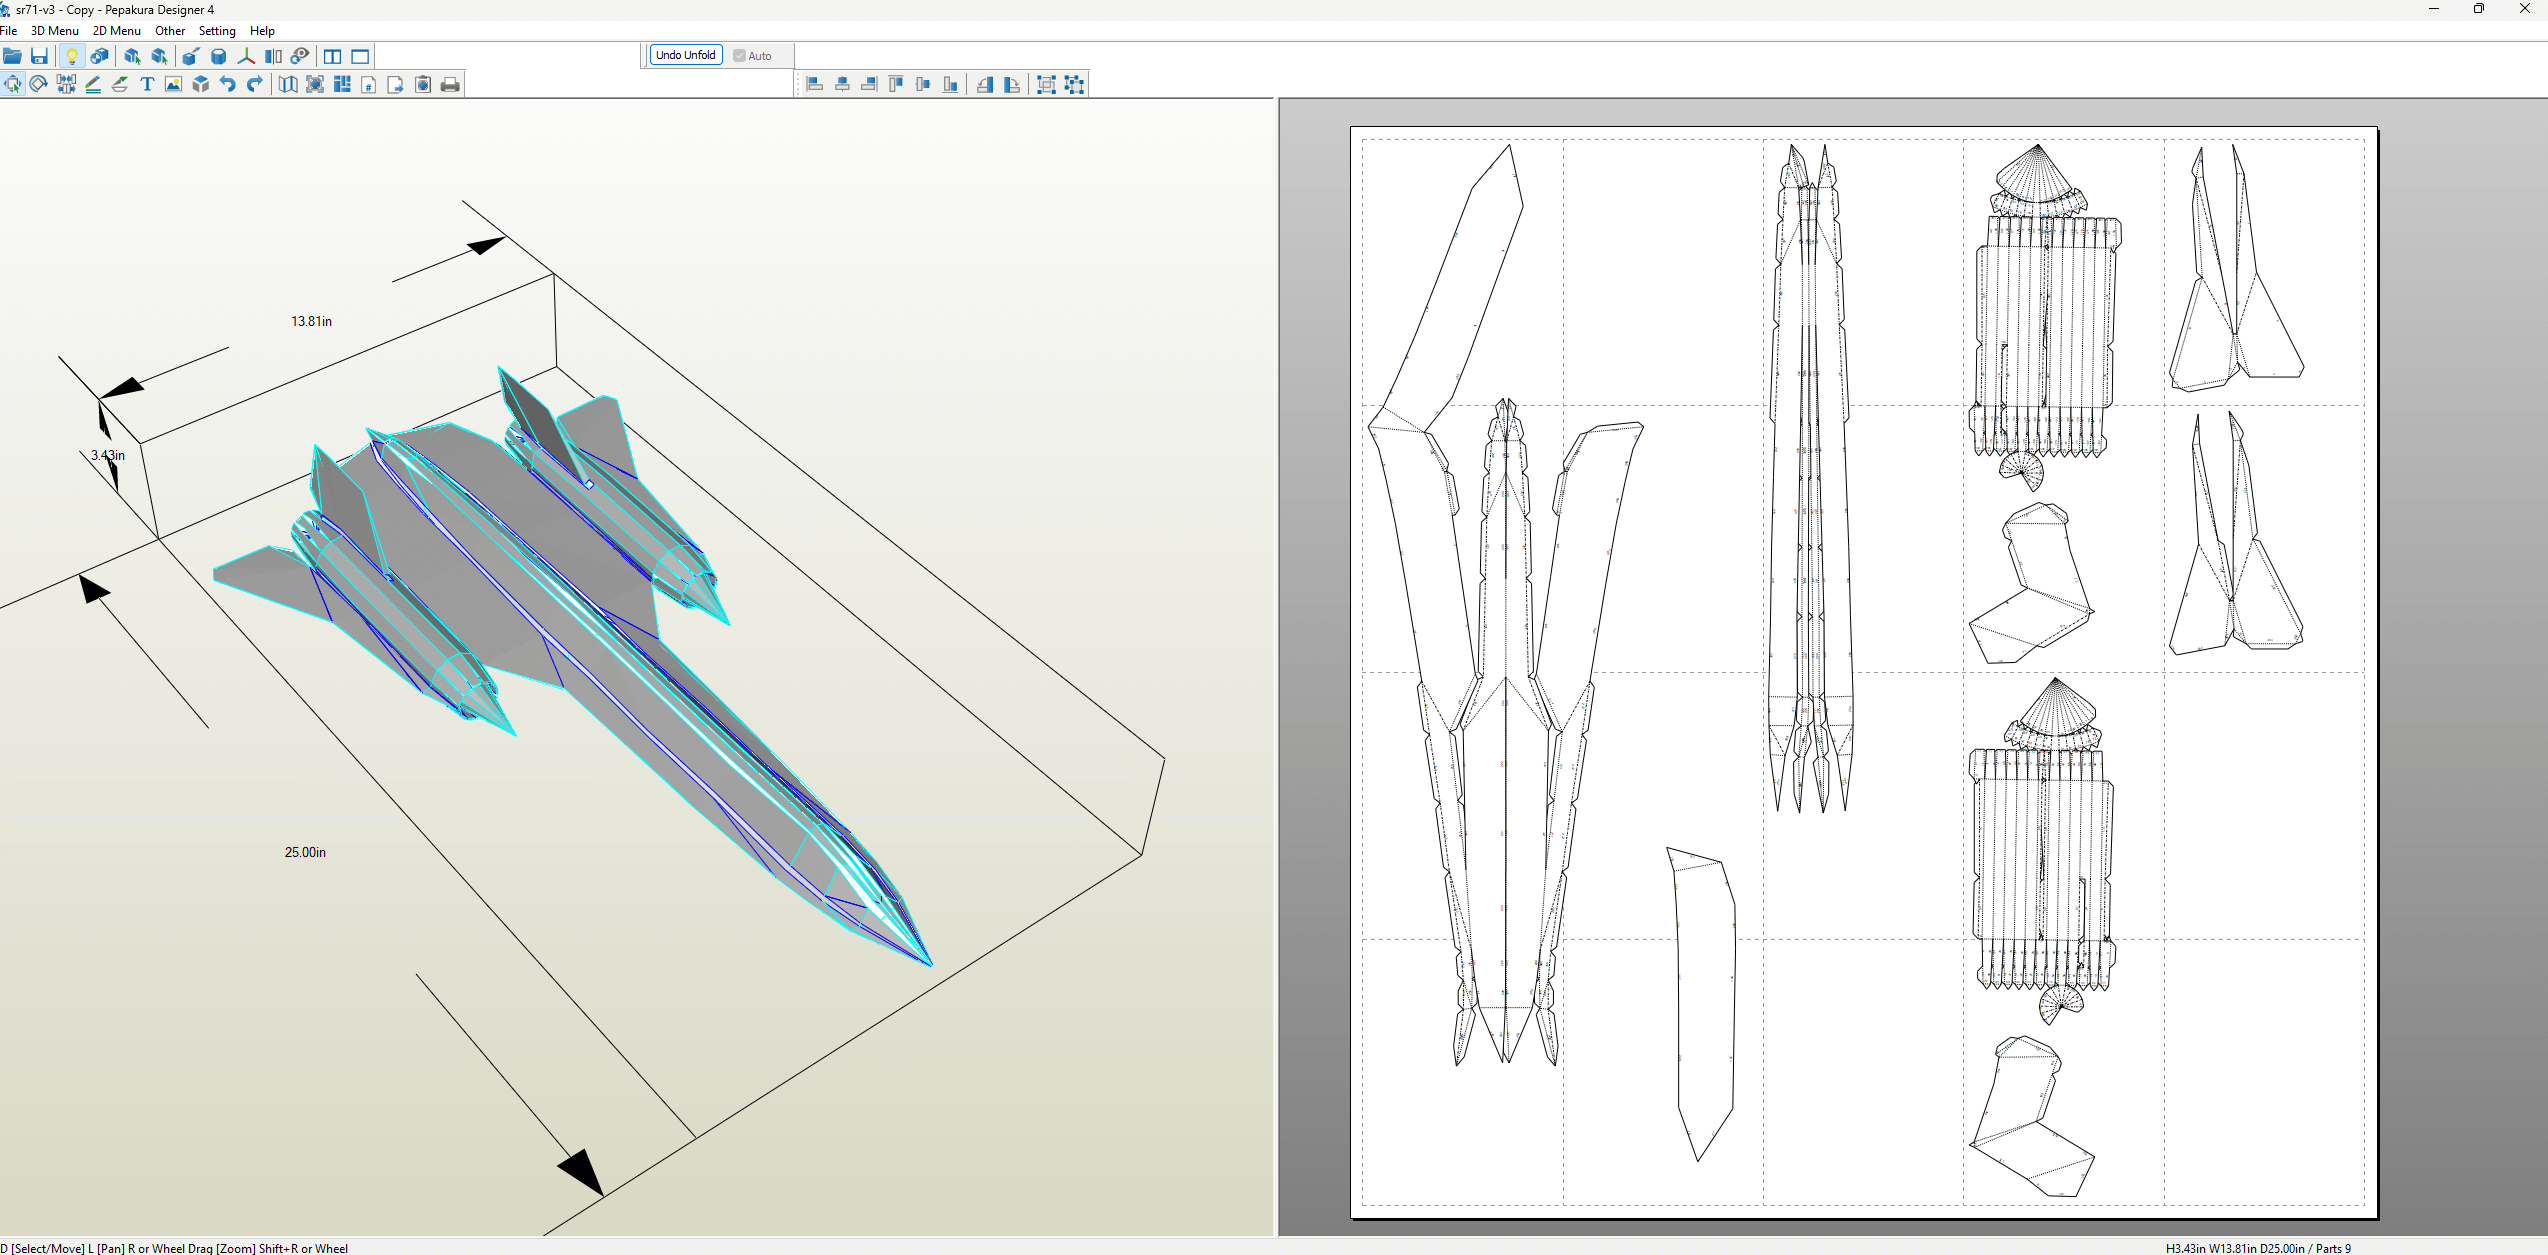
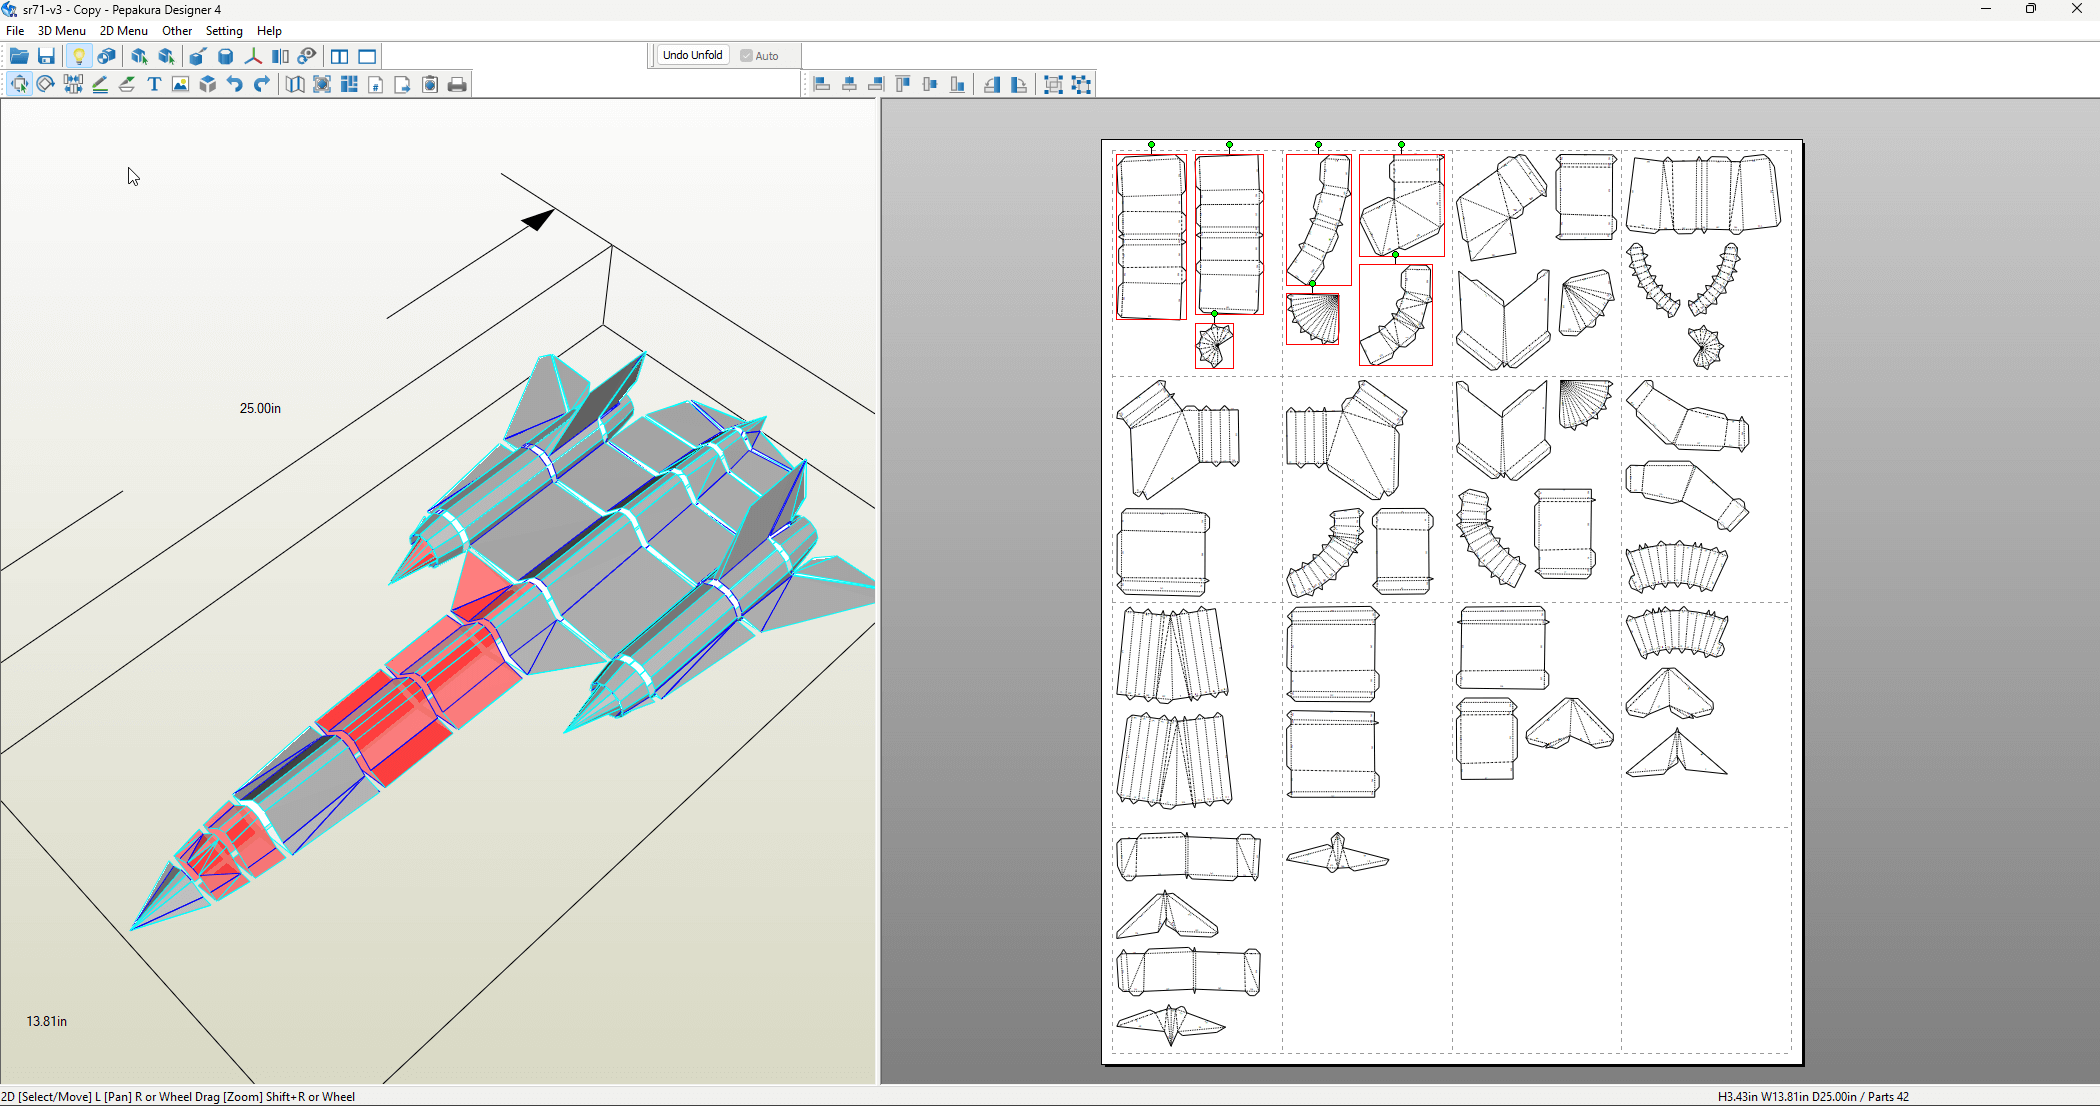
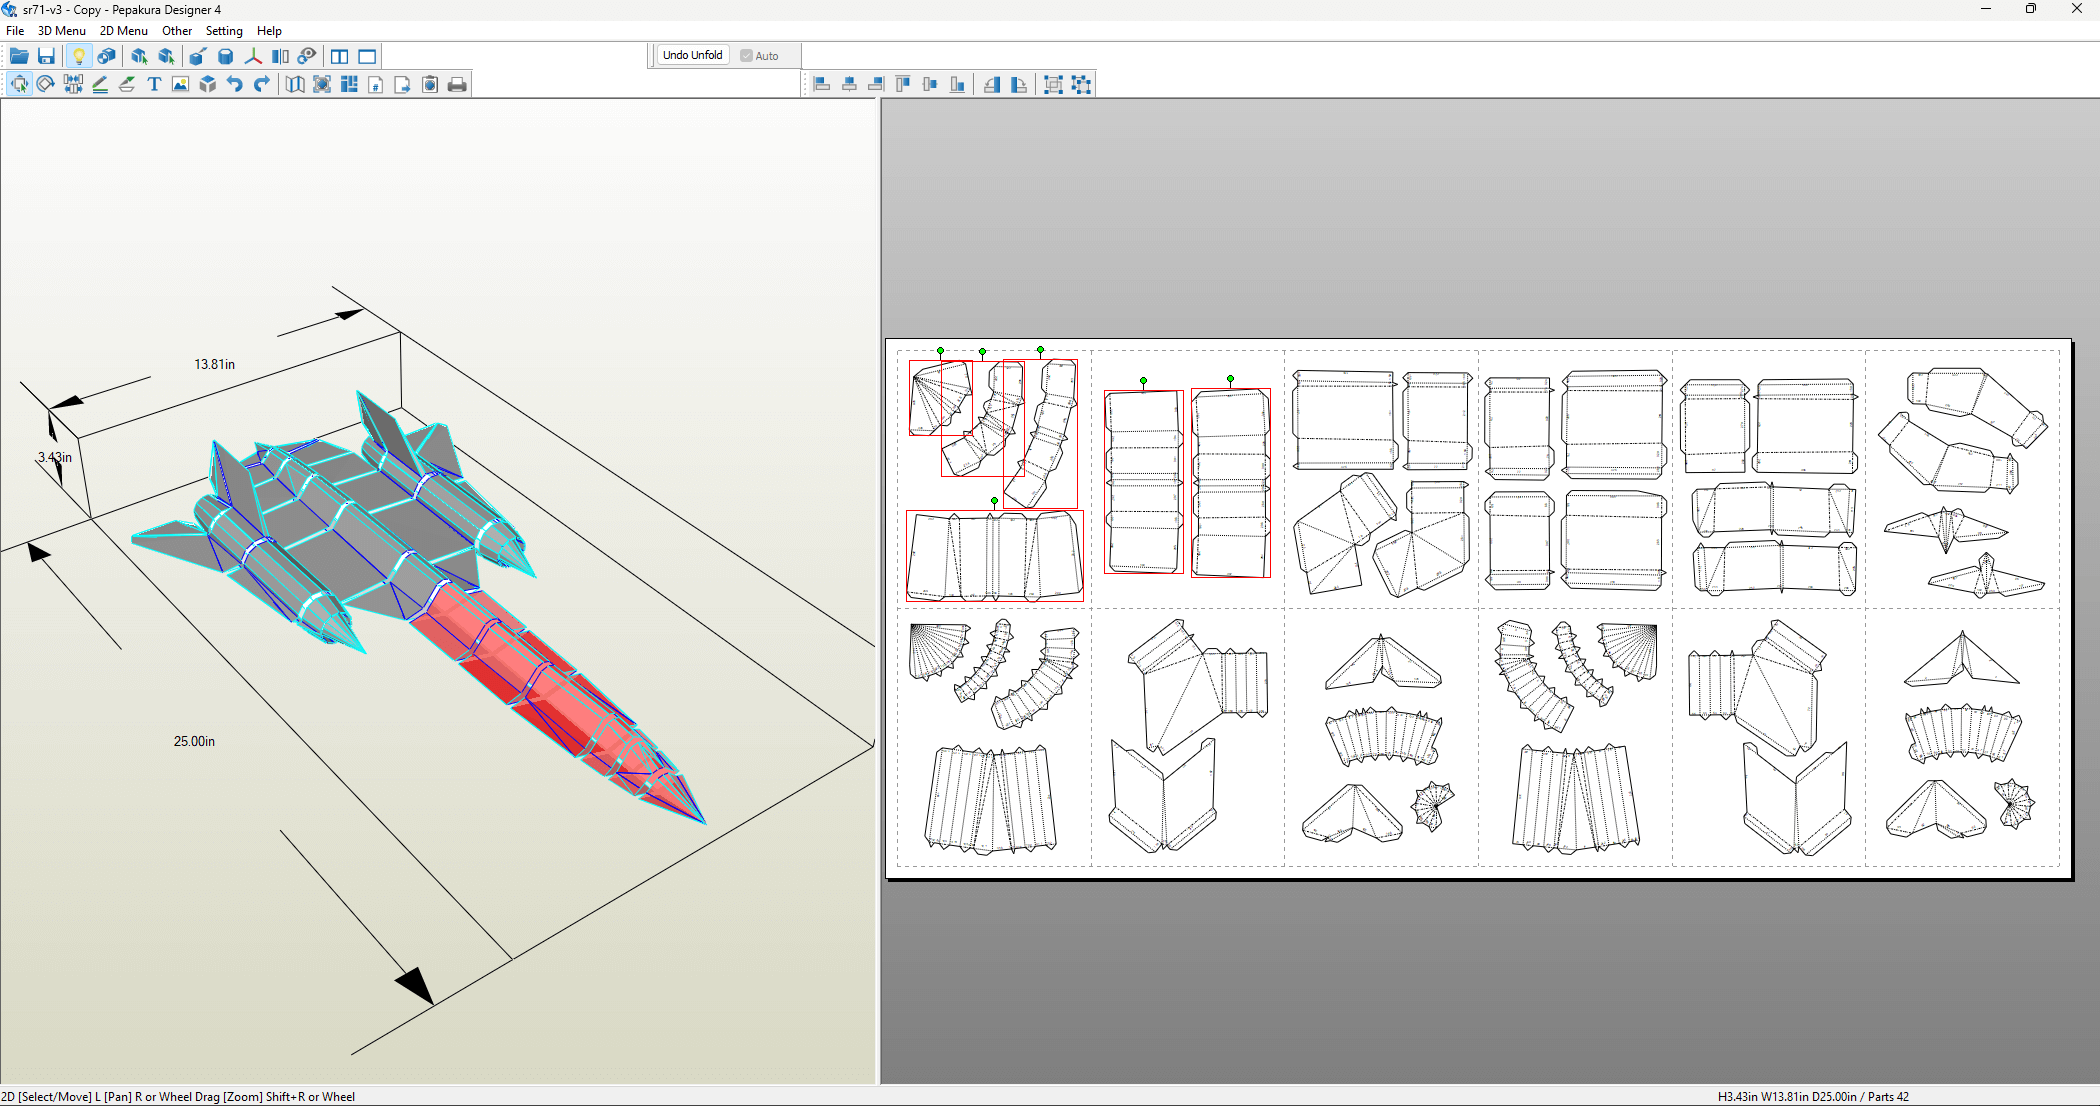
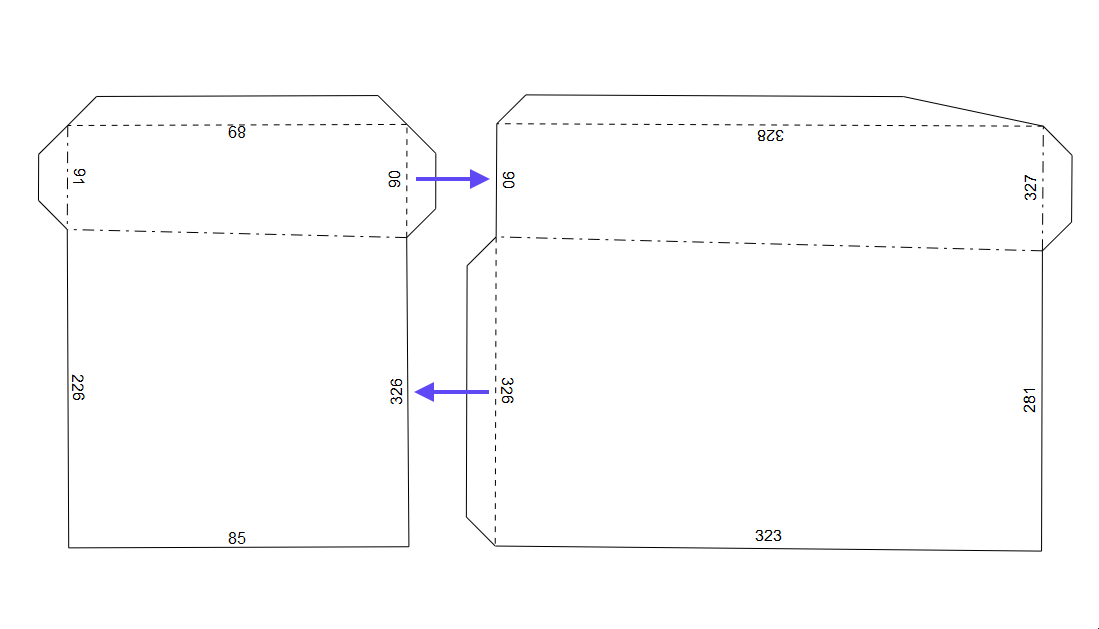
Step 2: Unfolding
Unfolding converts the 3D model into a 2D template that can be printed and assembled. The main tools for this are:
- Pepakura Designer ($70, Windows only) — the industry standard
- Unfolder ($30, Mac) — a good alternative for Mac users
- Blender Paper Model — a free plugin, though less polished
Key decisions during unfolding:
- The SR-71 was divided into 42 logical parts
- Manual placement instead of automatic layout reduced the page count from 14 to 12
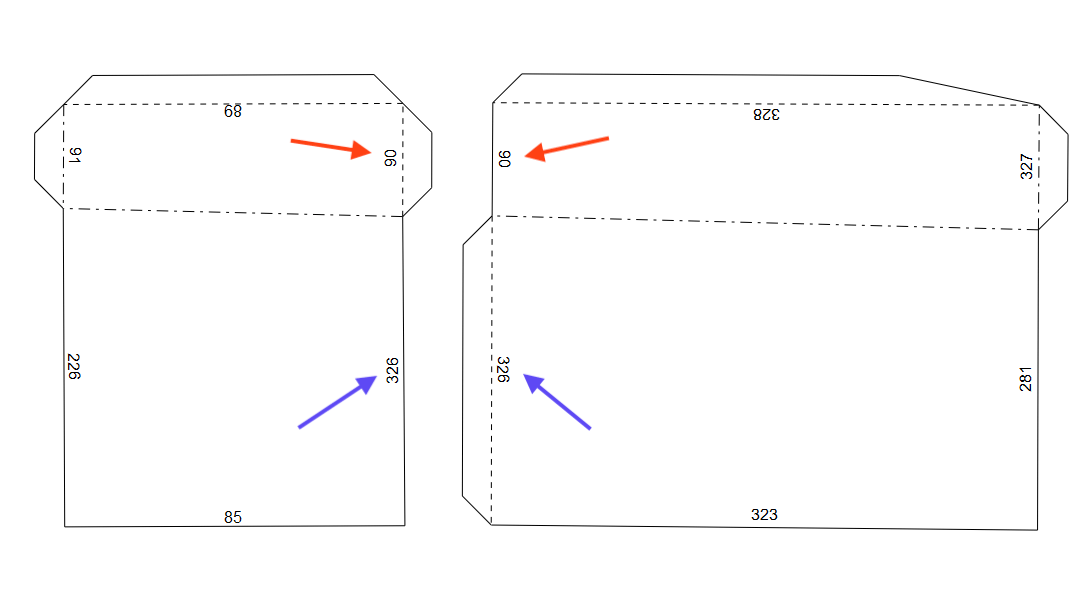
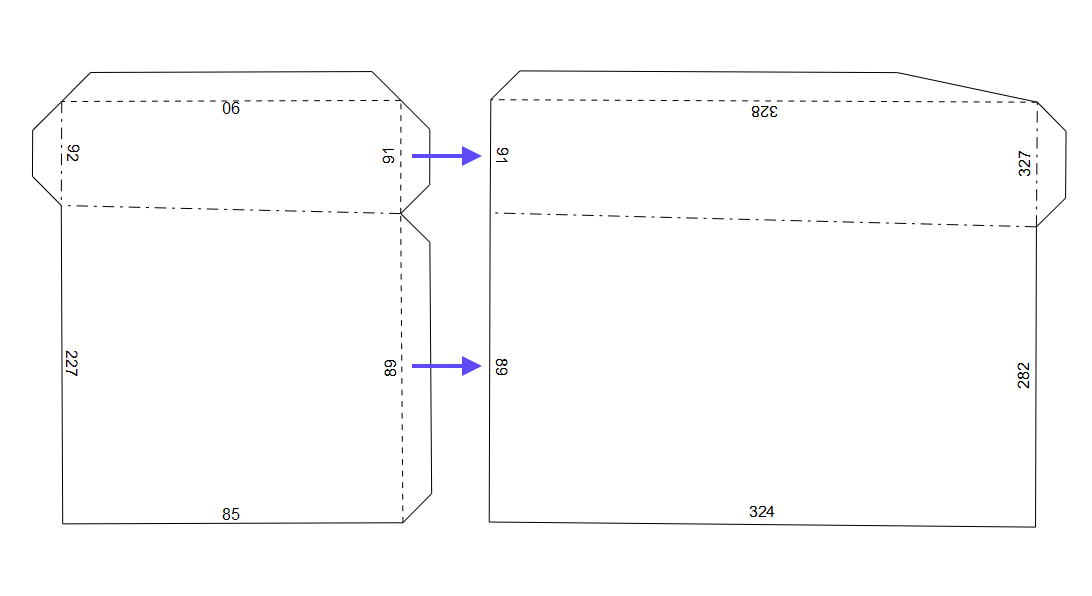
- Strategic placement of glue tabs ensures structural strength at critical joints
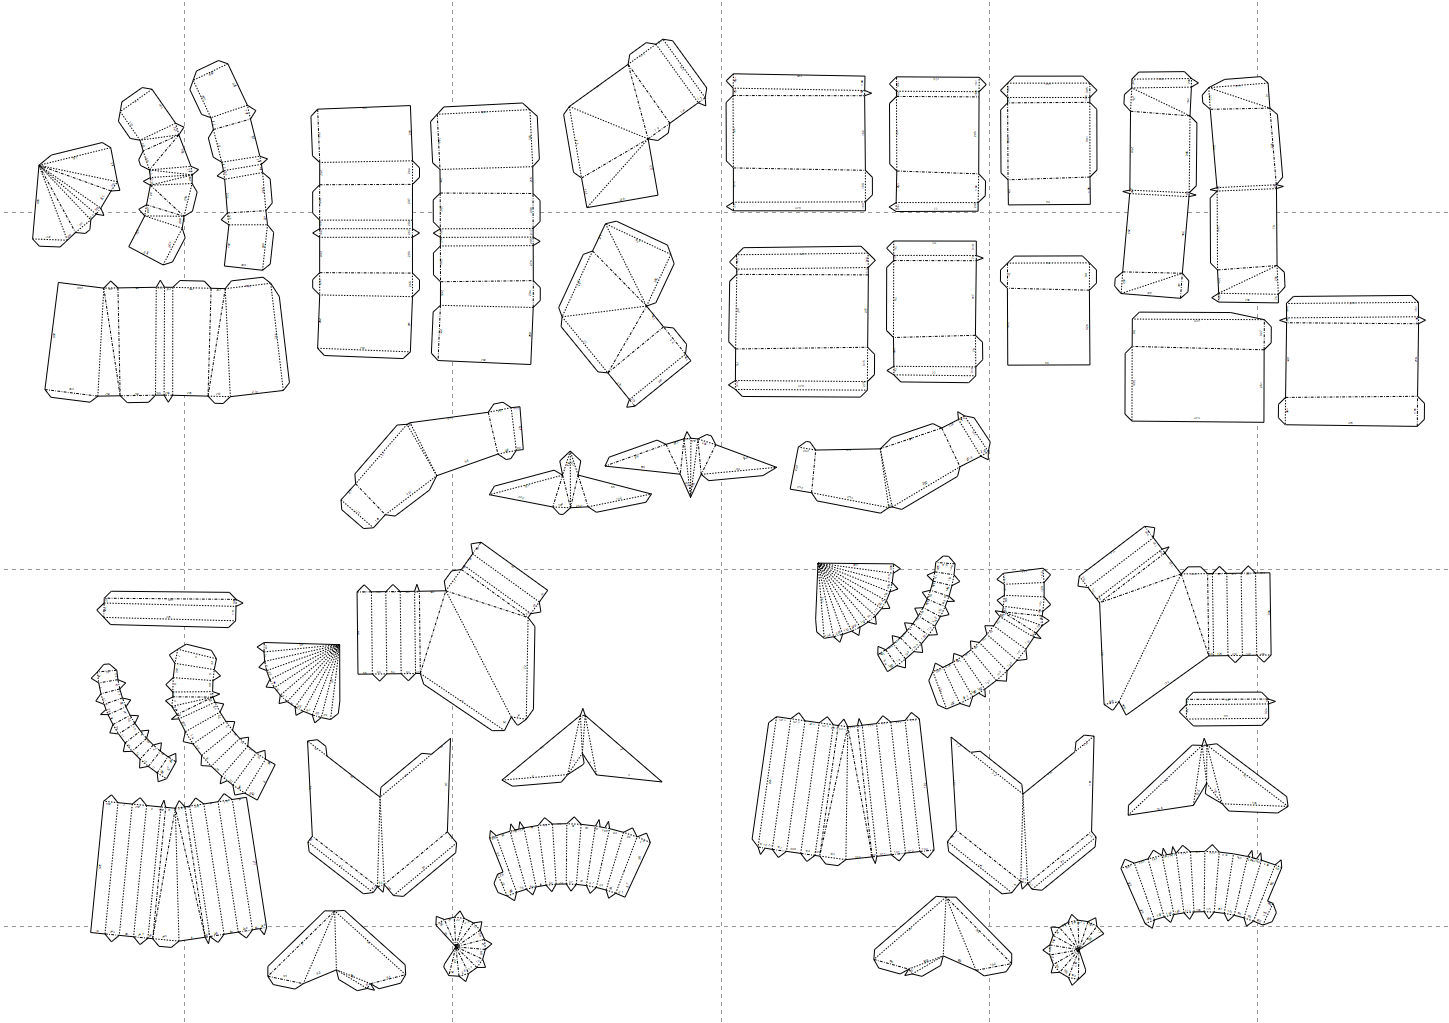
A good part structure reads like a story — the logical arrangement of elements is critical for successful assembly.
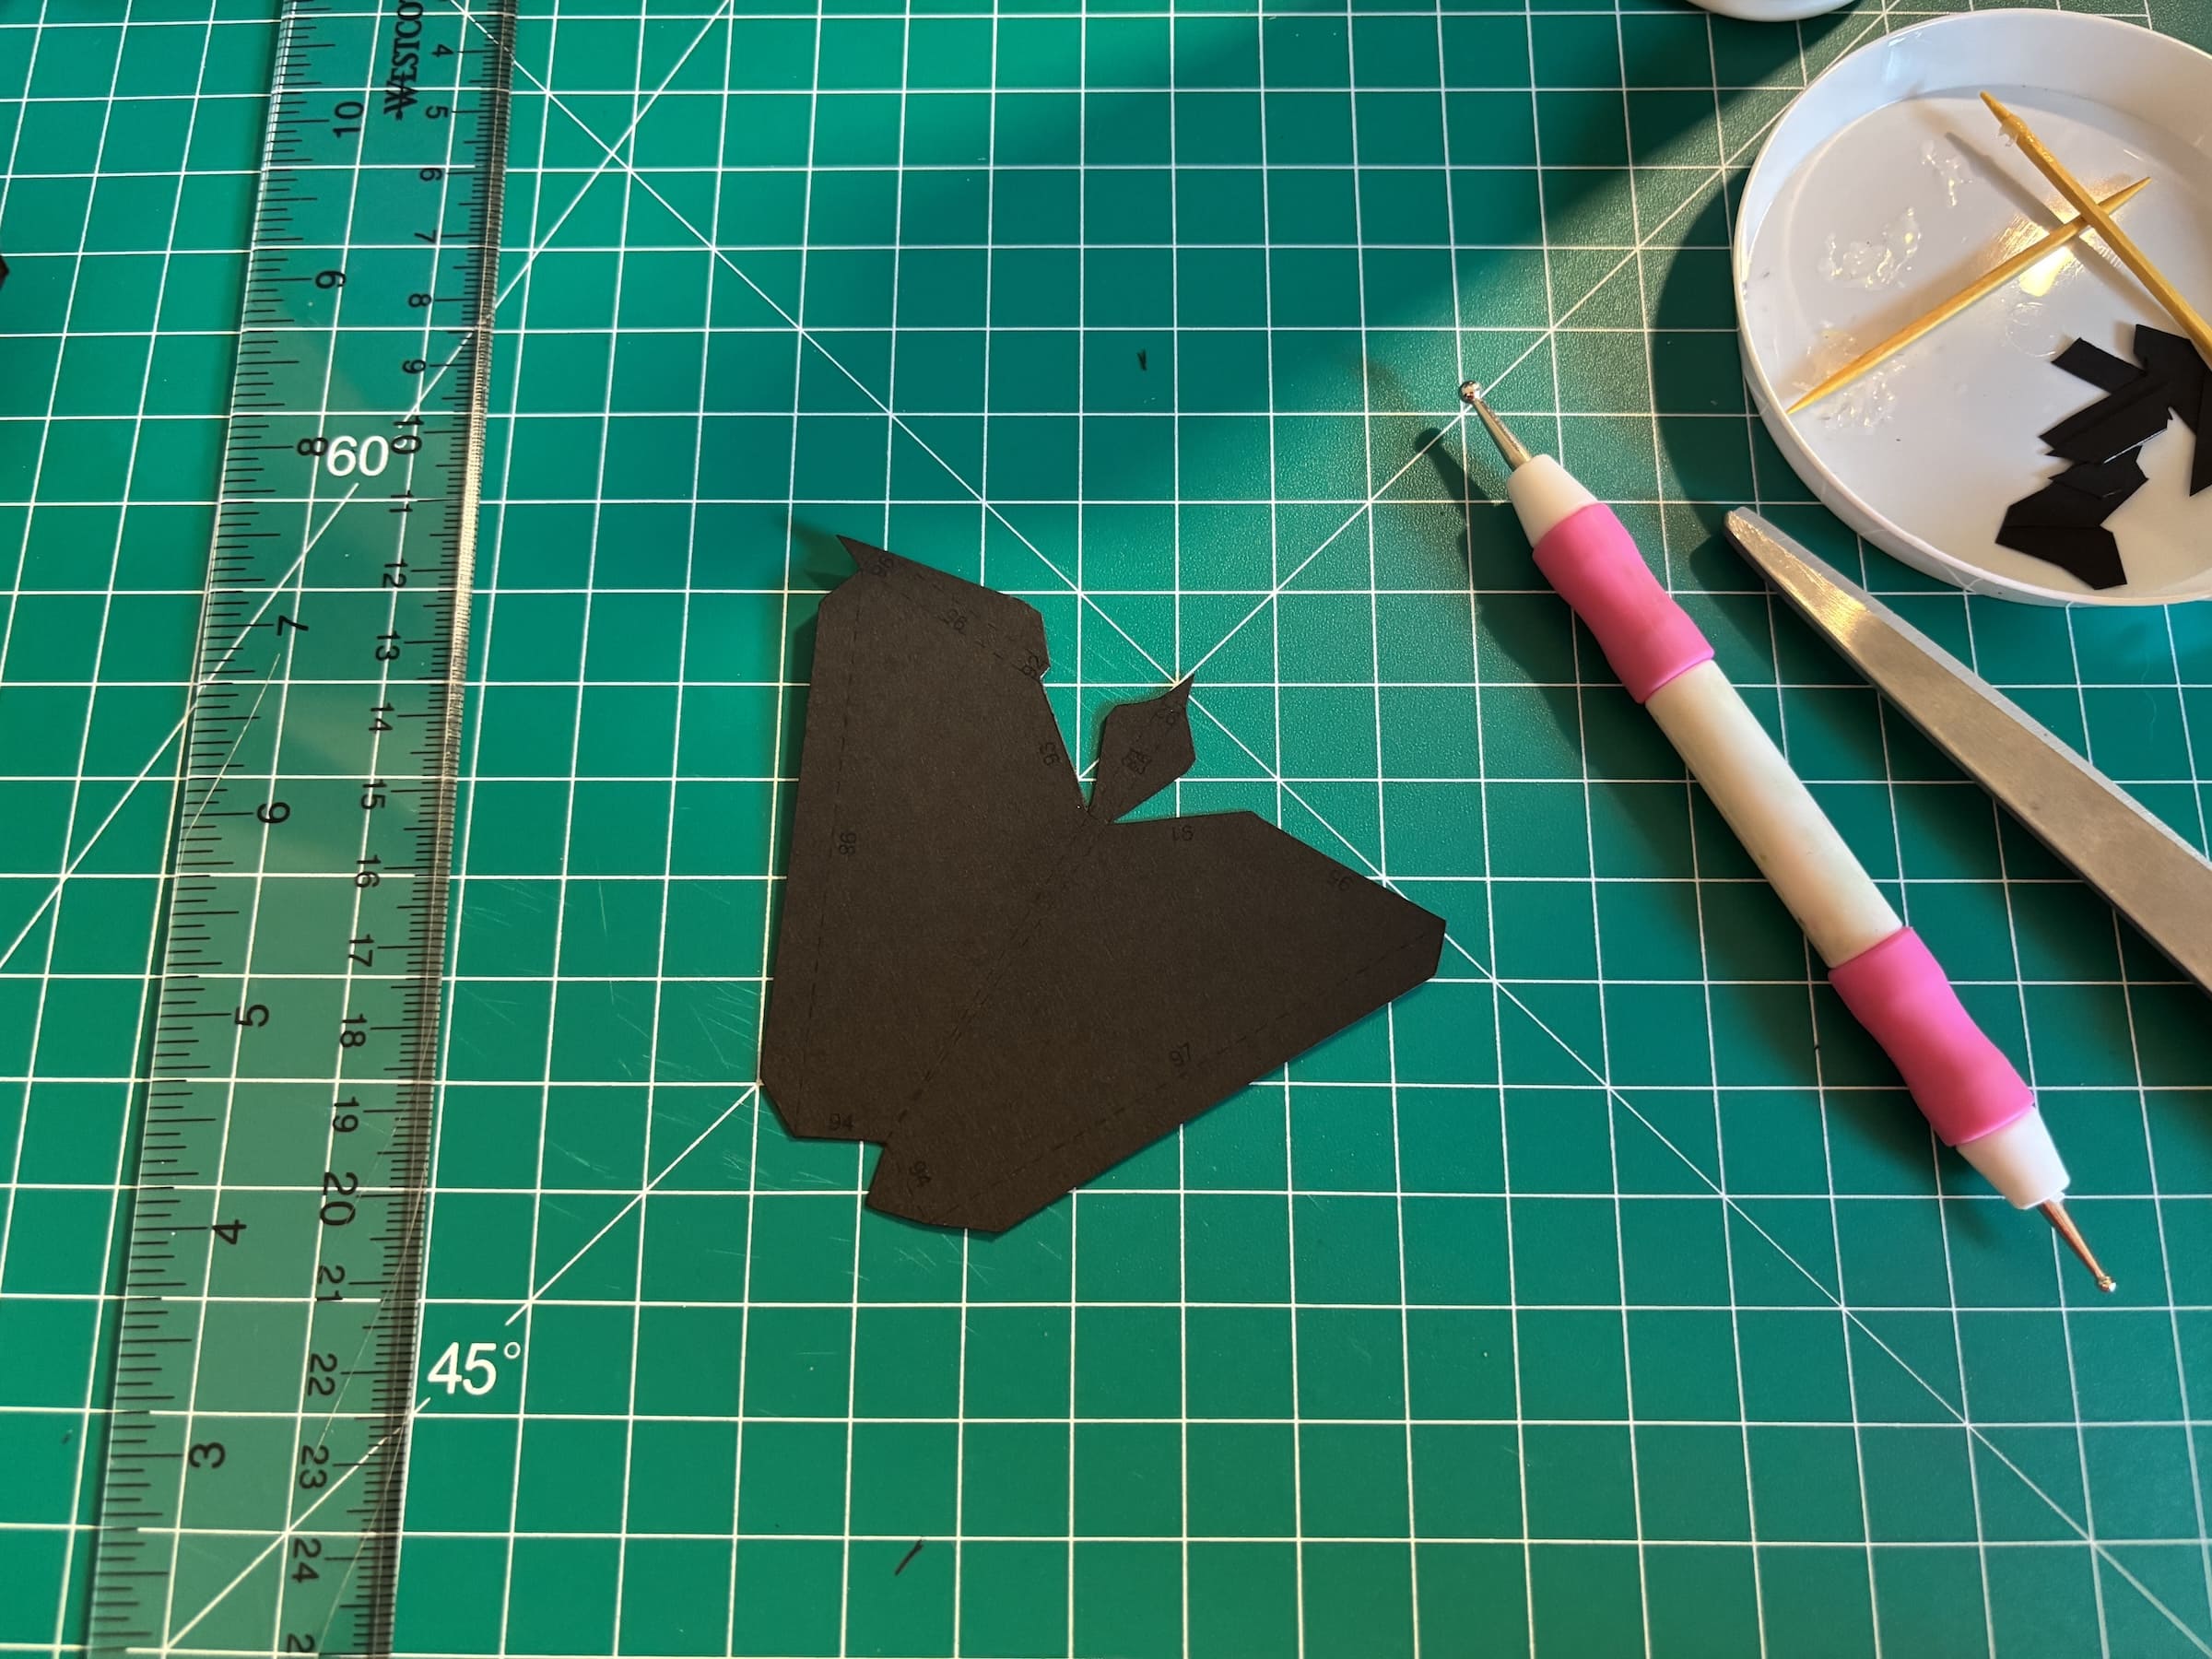
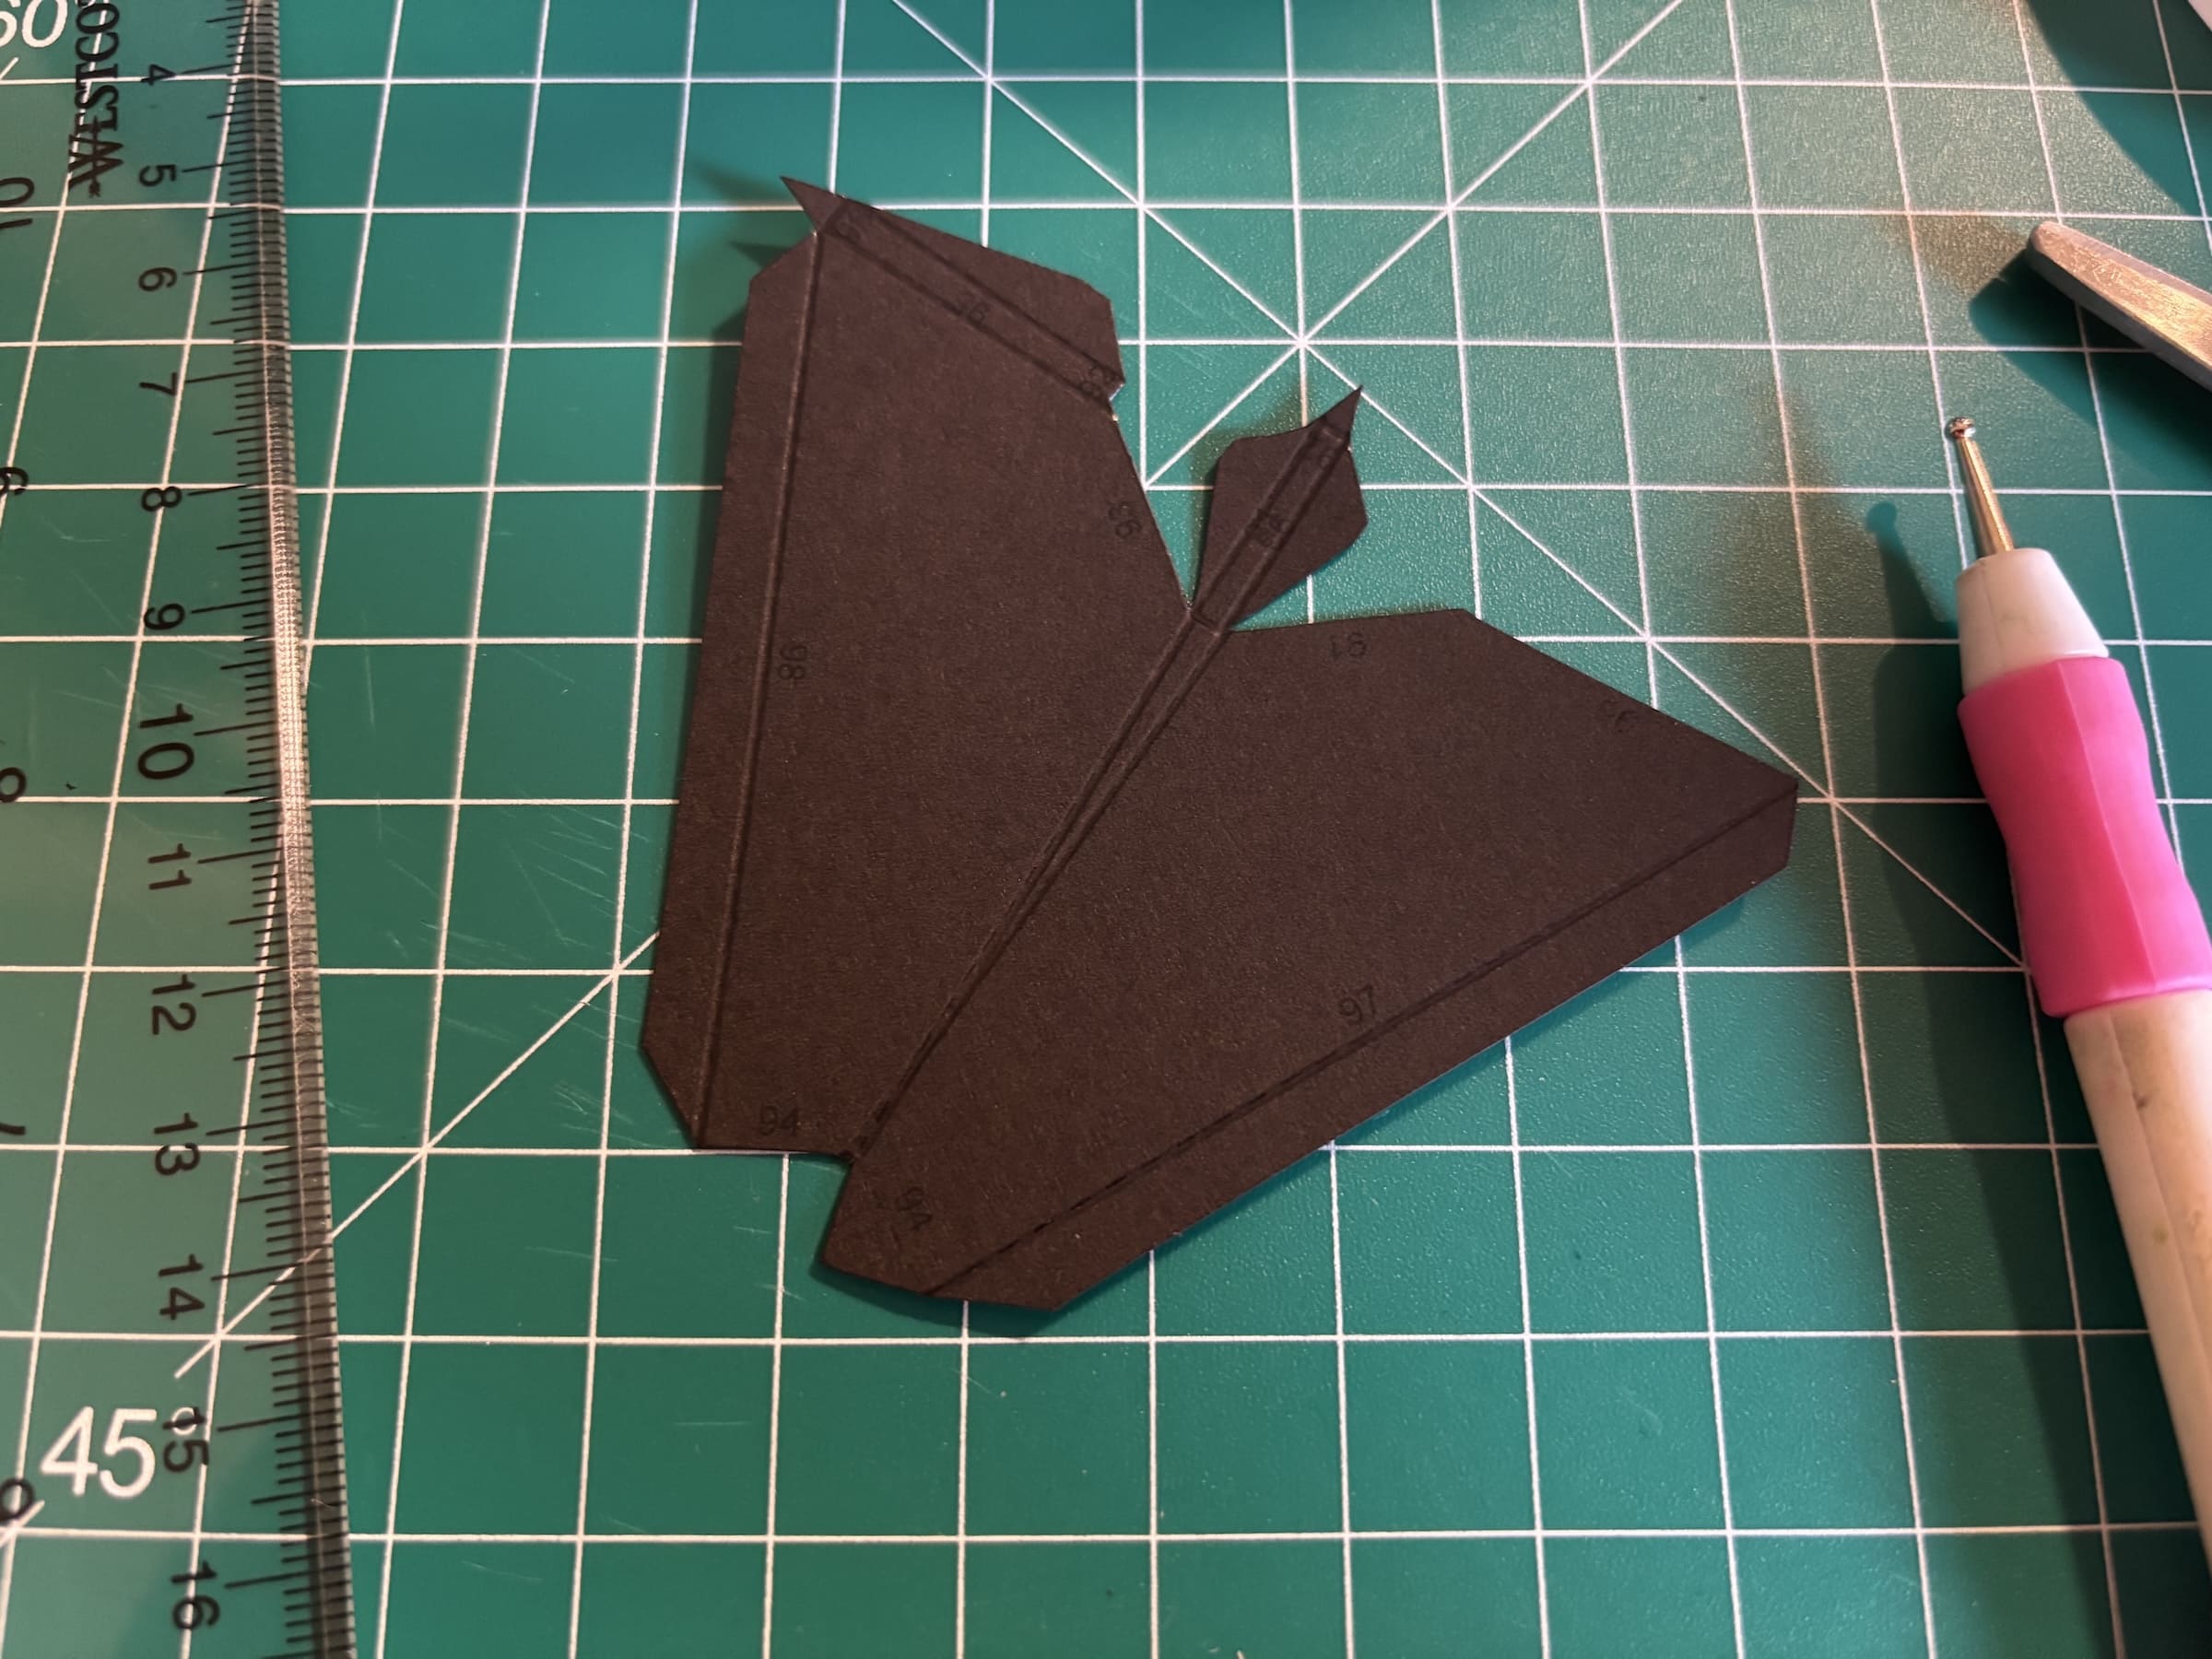
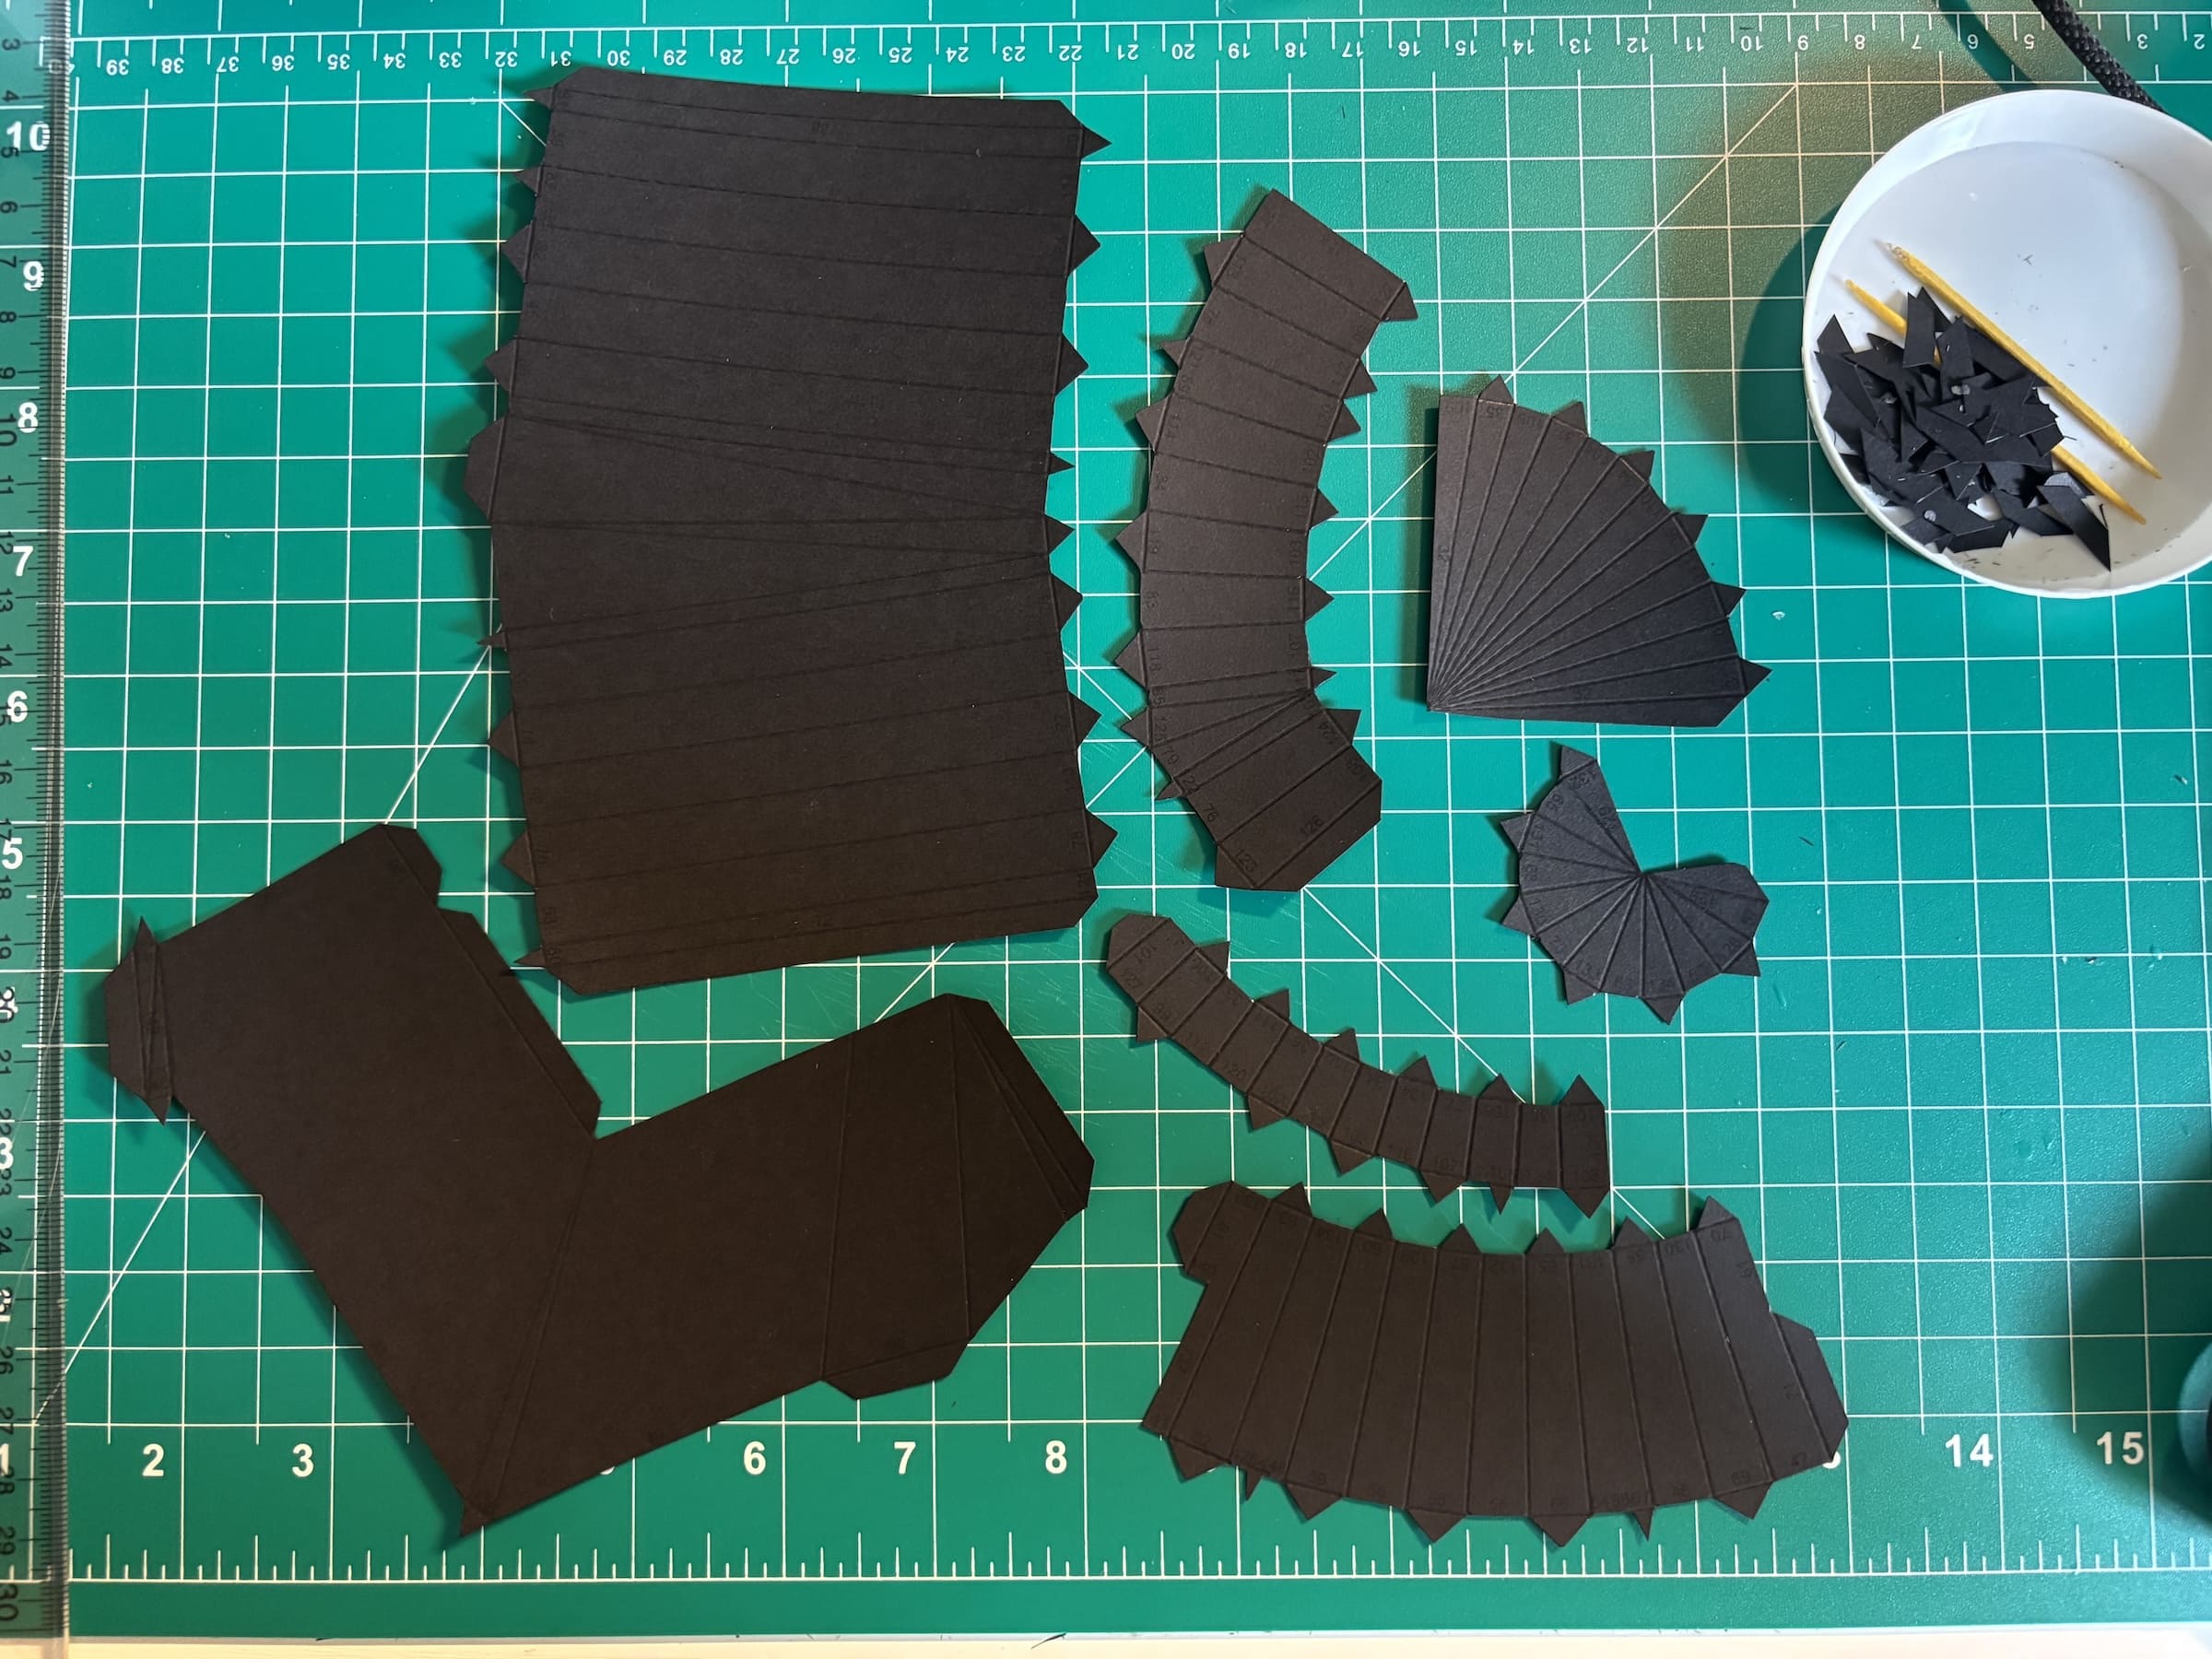
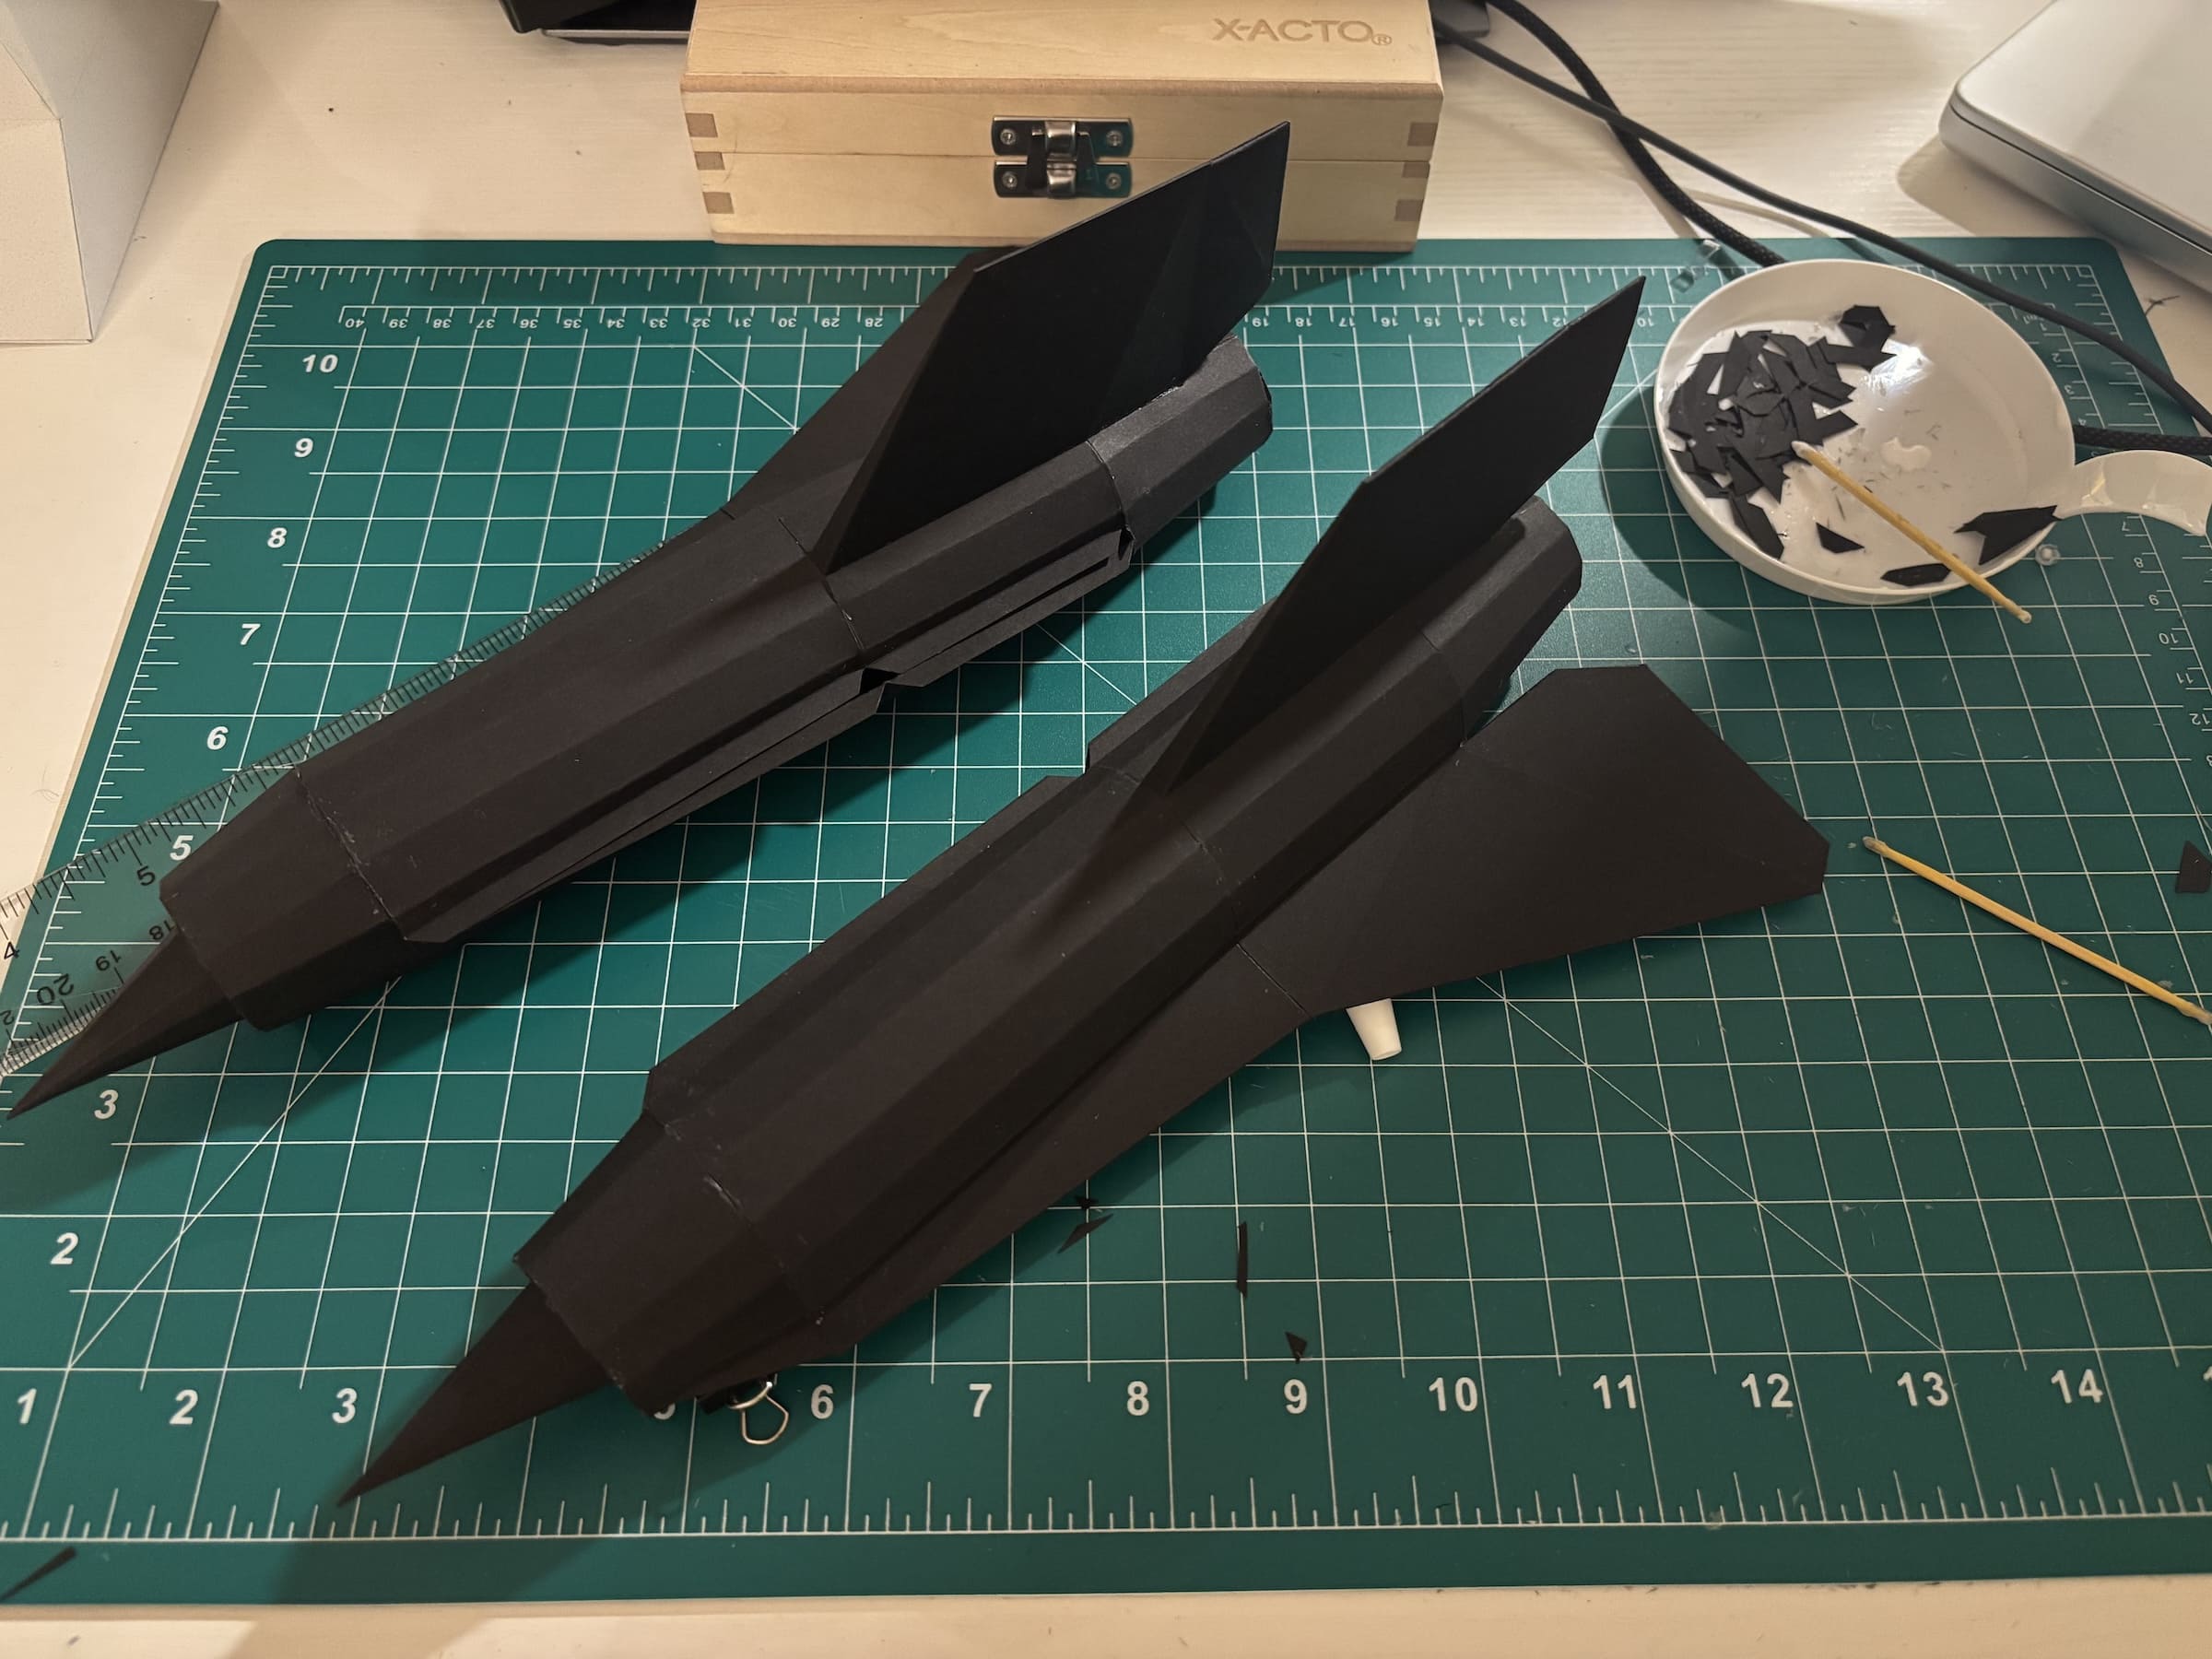
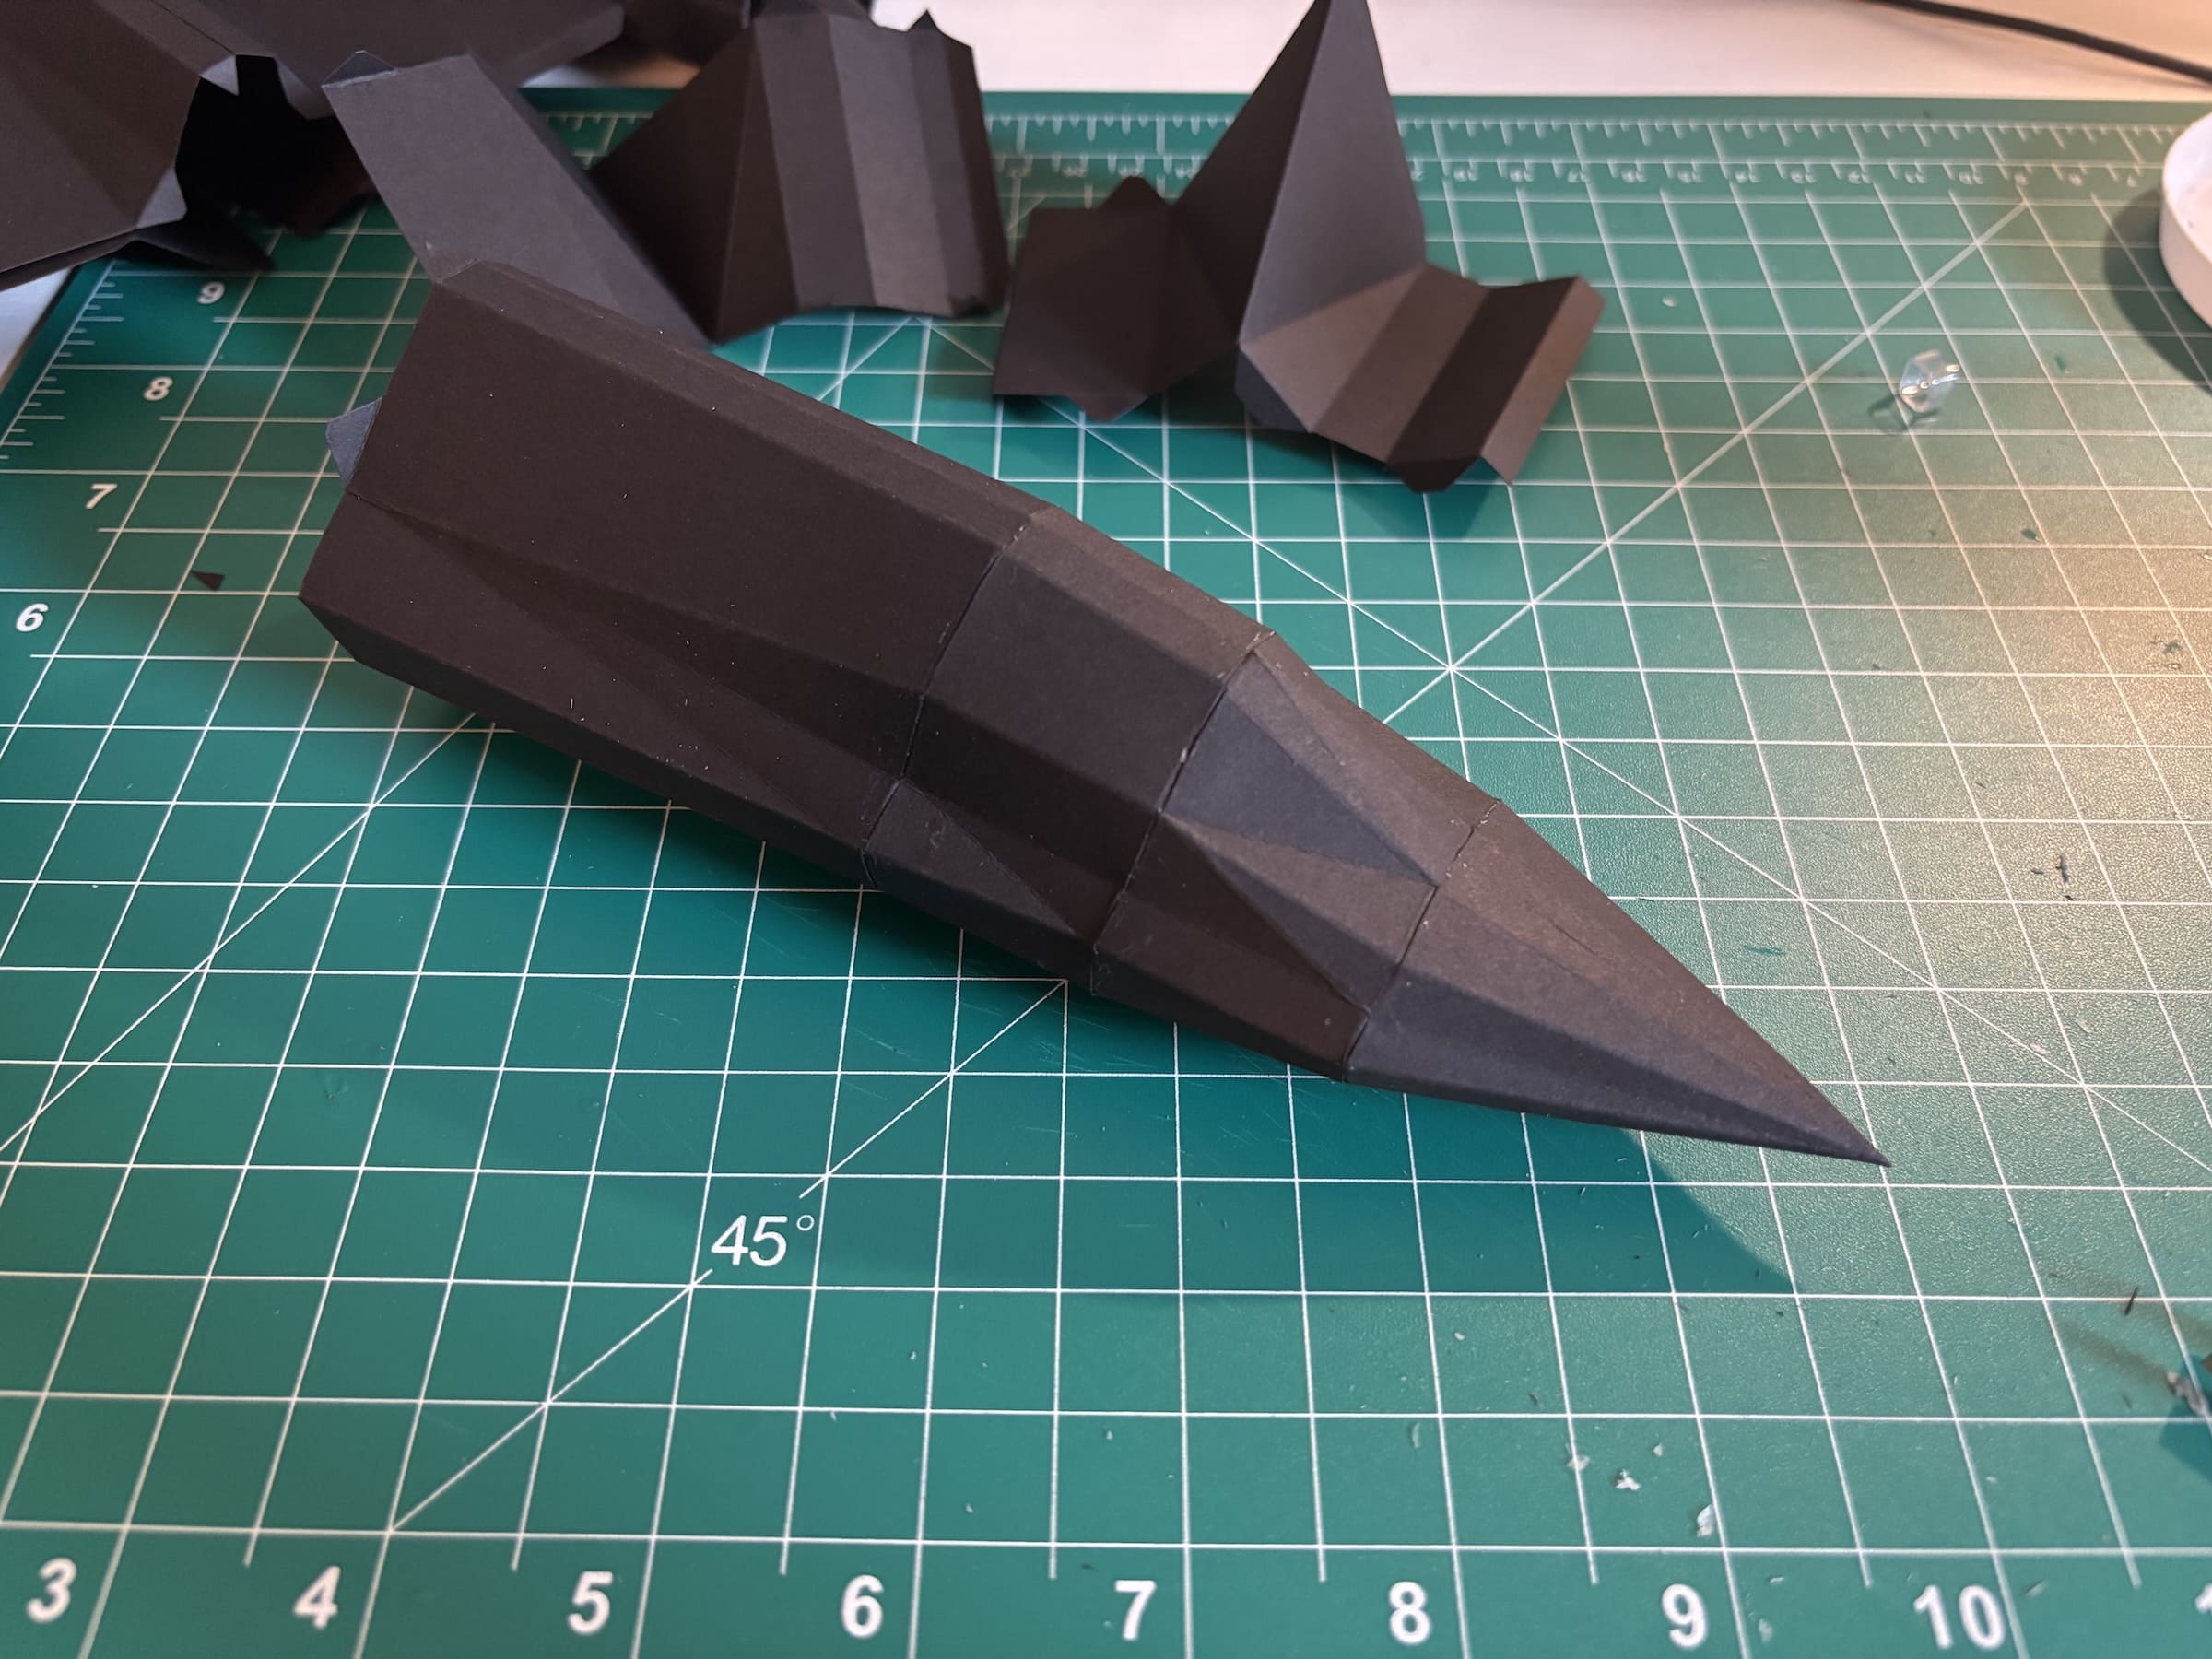
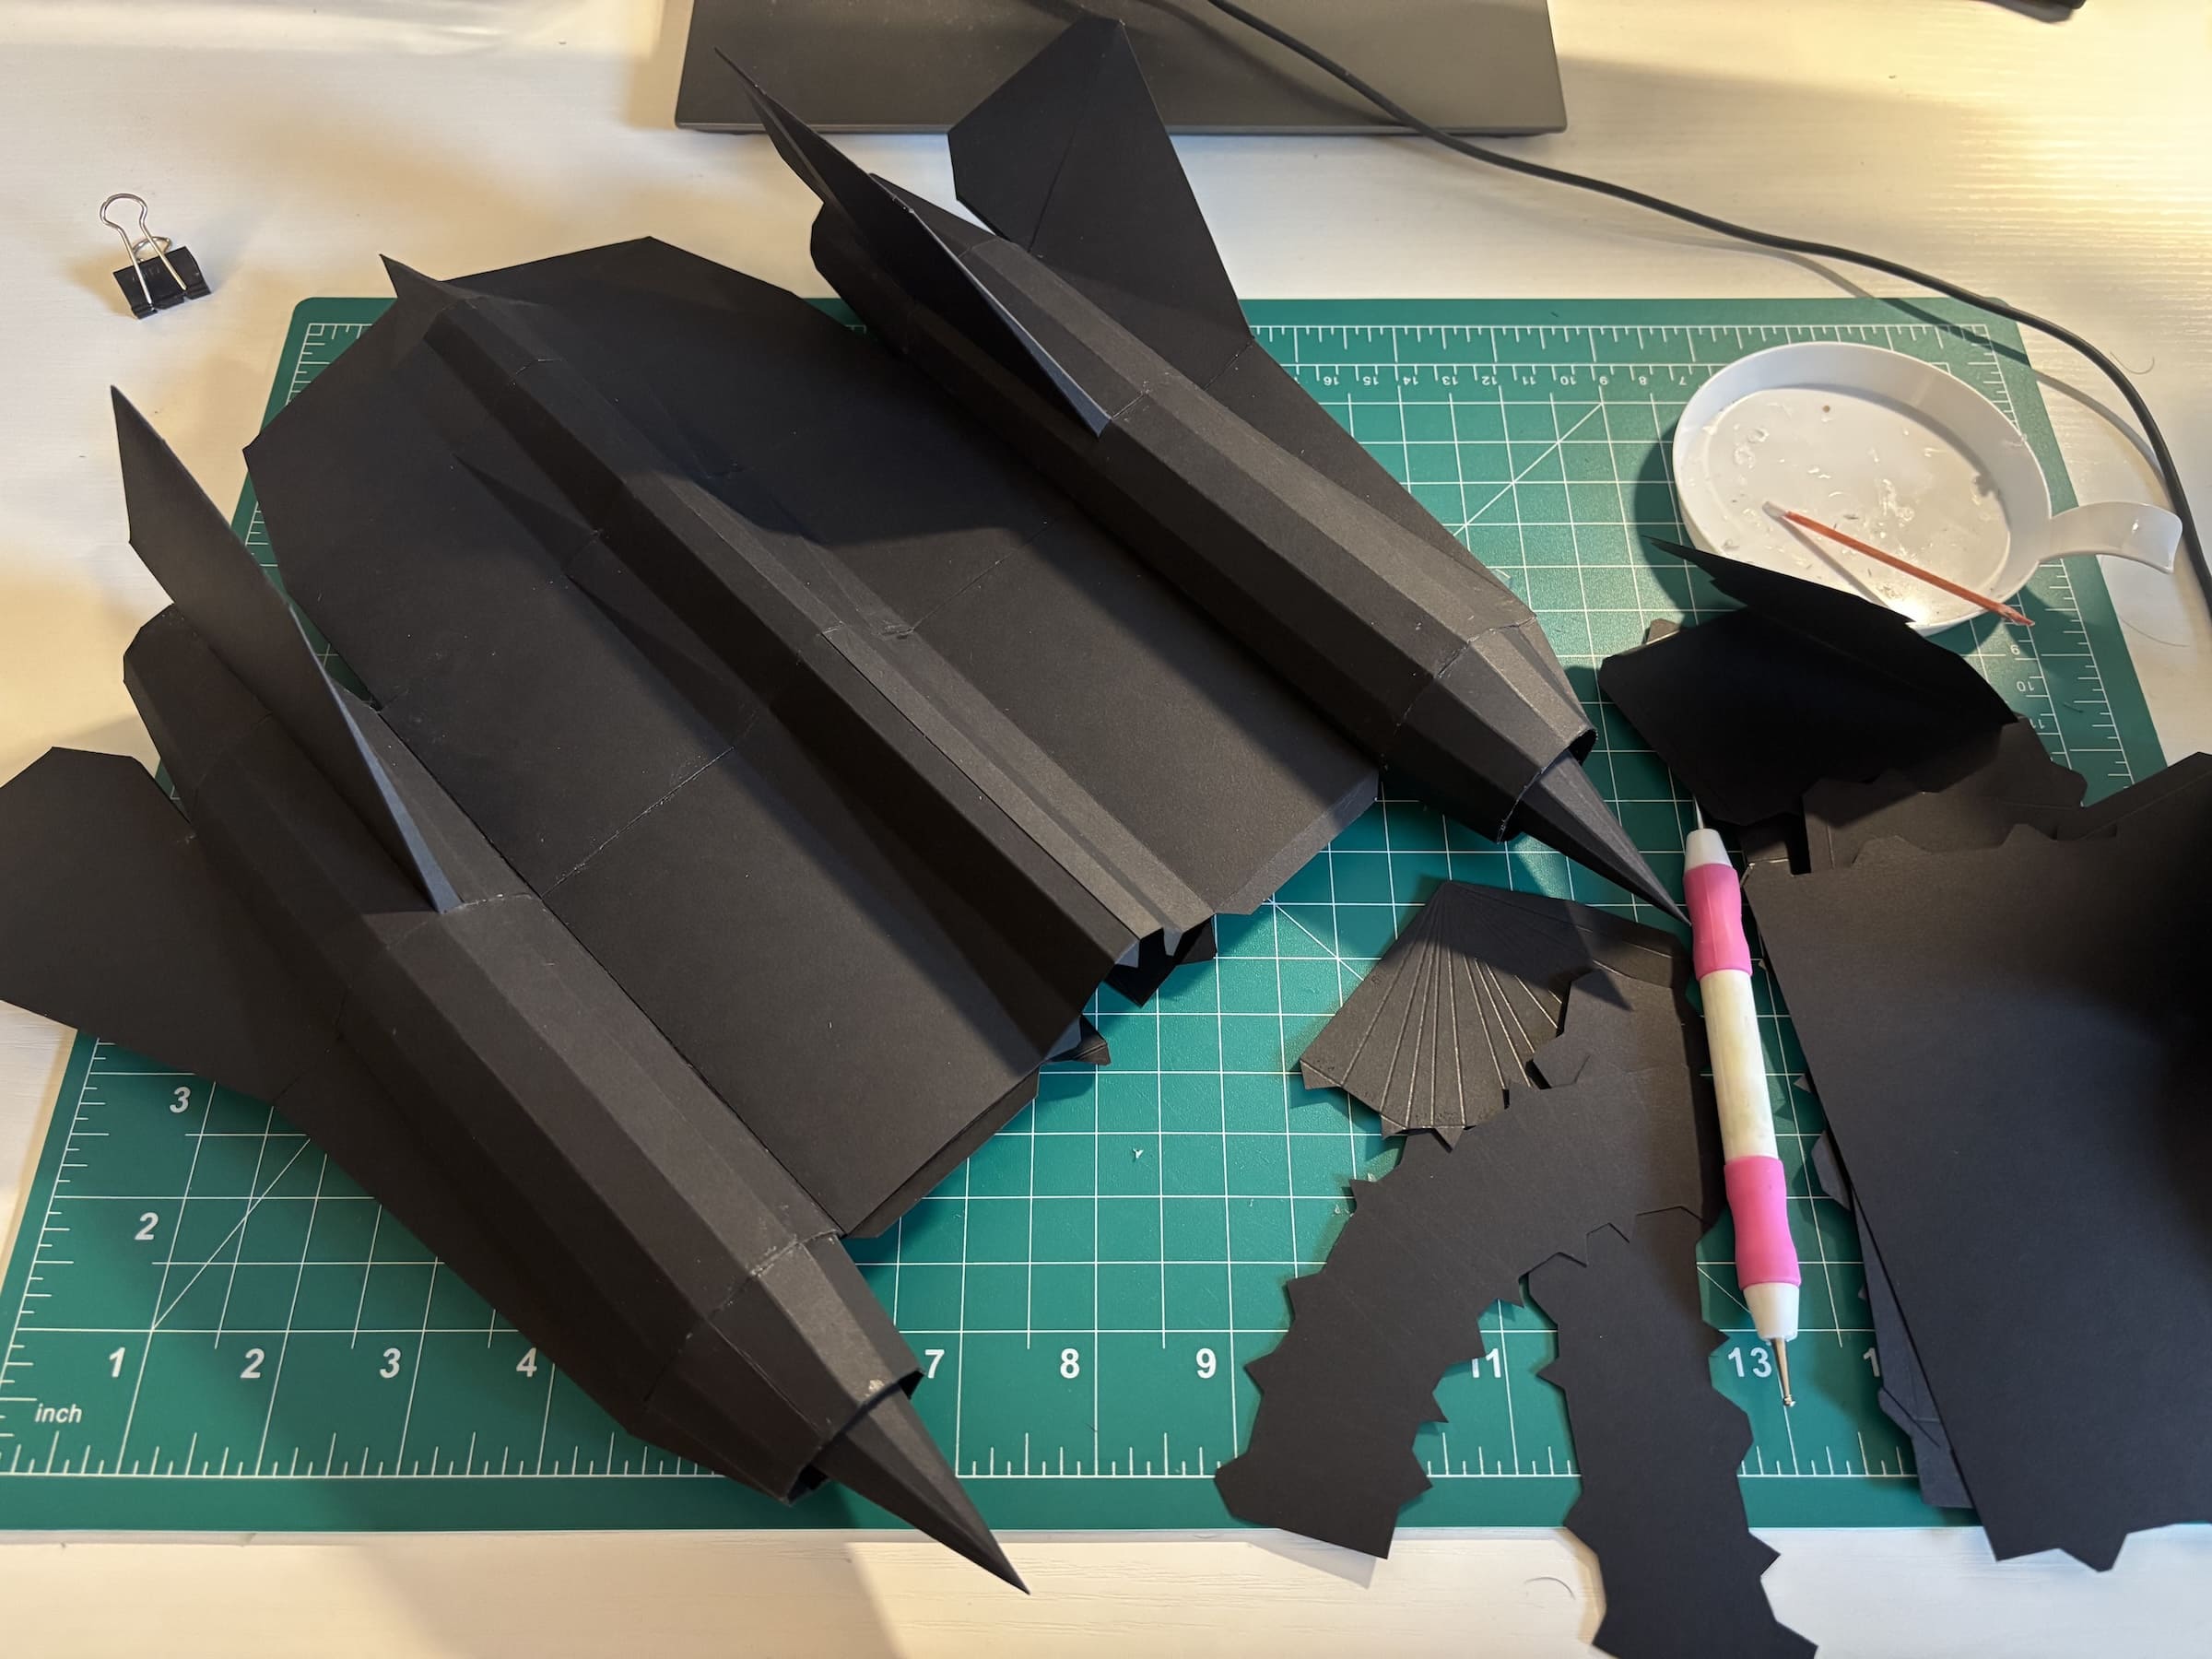
Step 3: Assembly
Assembly follows four sequential stages: cutting, scoring fold lines, folding, and gluing. The complete assembly of the SR-71 took 6-8 hours.
Materials and Tools
Essential:
- Cardstock — 176 g/m² weight
- Tacky glue (e.g., Aleene's Original)
- Printer — laser preferred for crisp lines
- Sharp scissors or craft knife
- Steel ruler
- Scoring tool (bone folder or empty ballpoint pen)
Helpful additions:
- Toothpicks for precise glue application
- Tweezers for small parts
- Self-healing cutting mat
Practical Tips
- Use a small amount of glue — less is more. Excess glue seeps out and stains the paper.
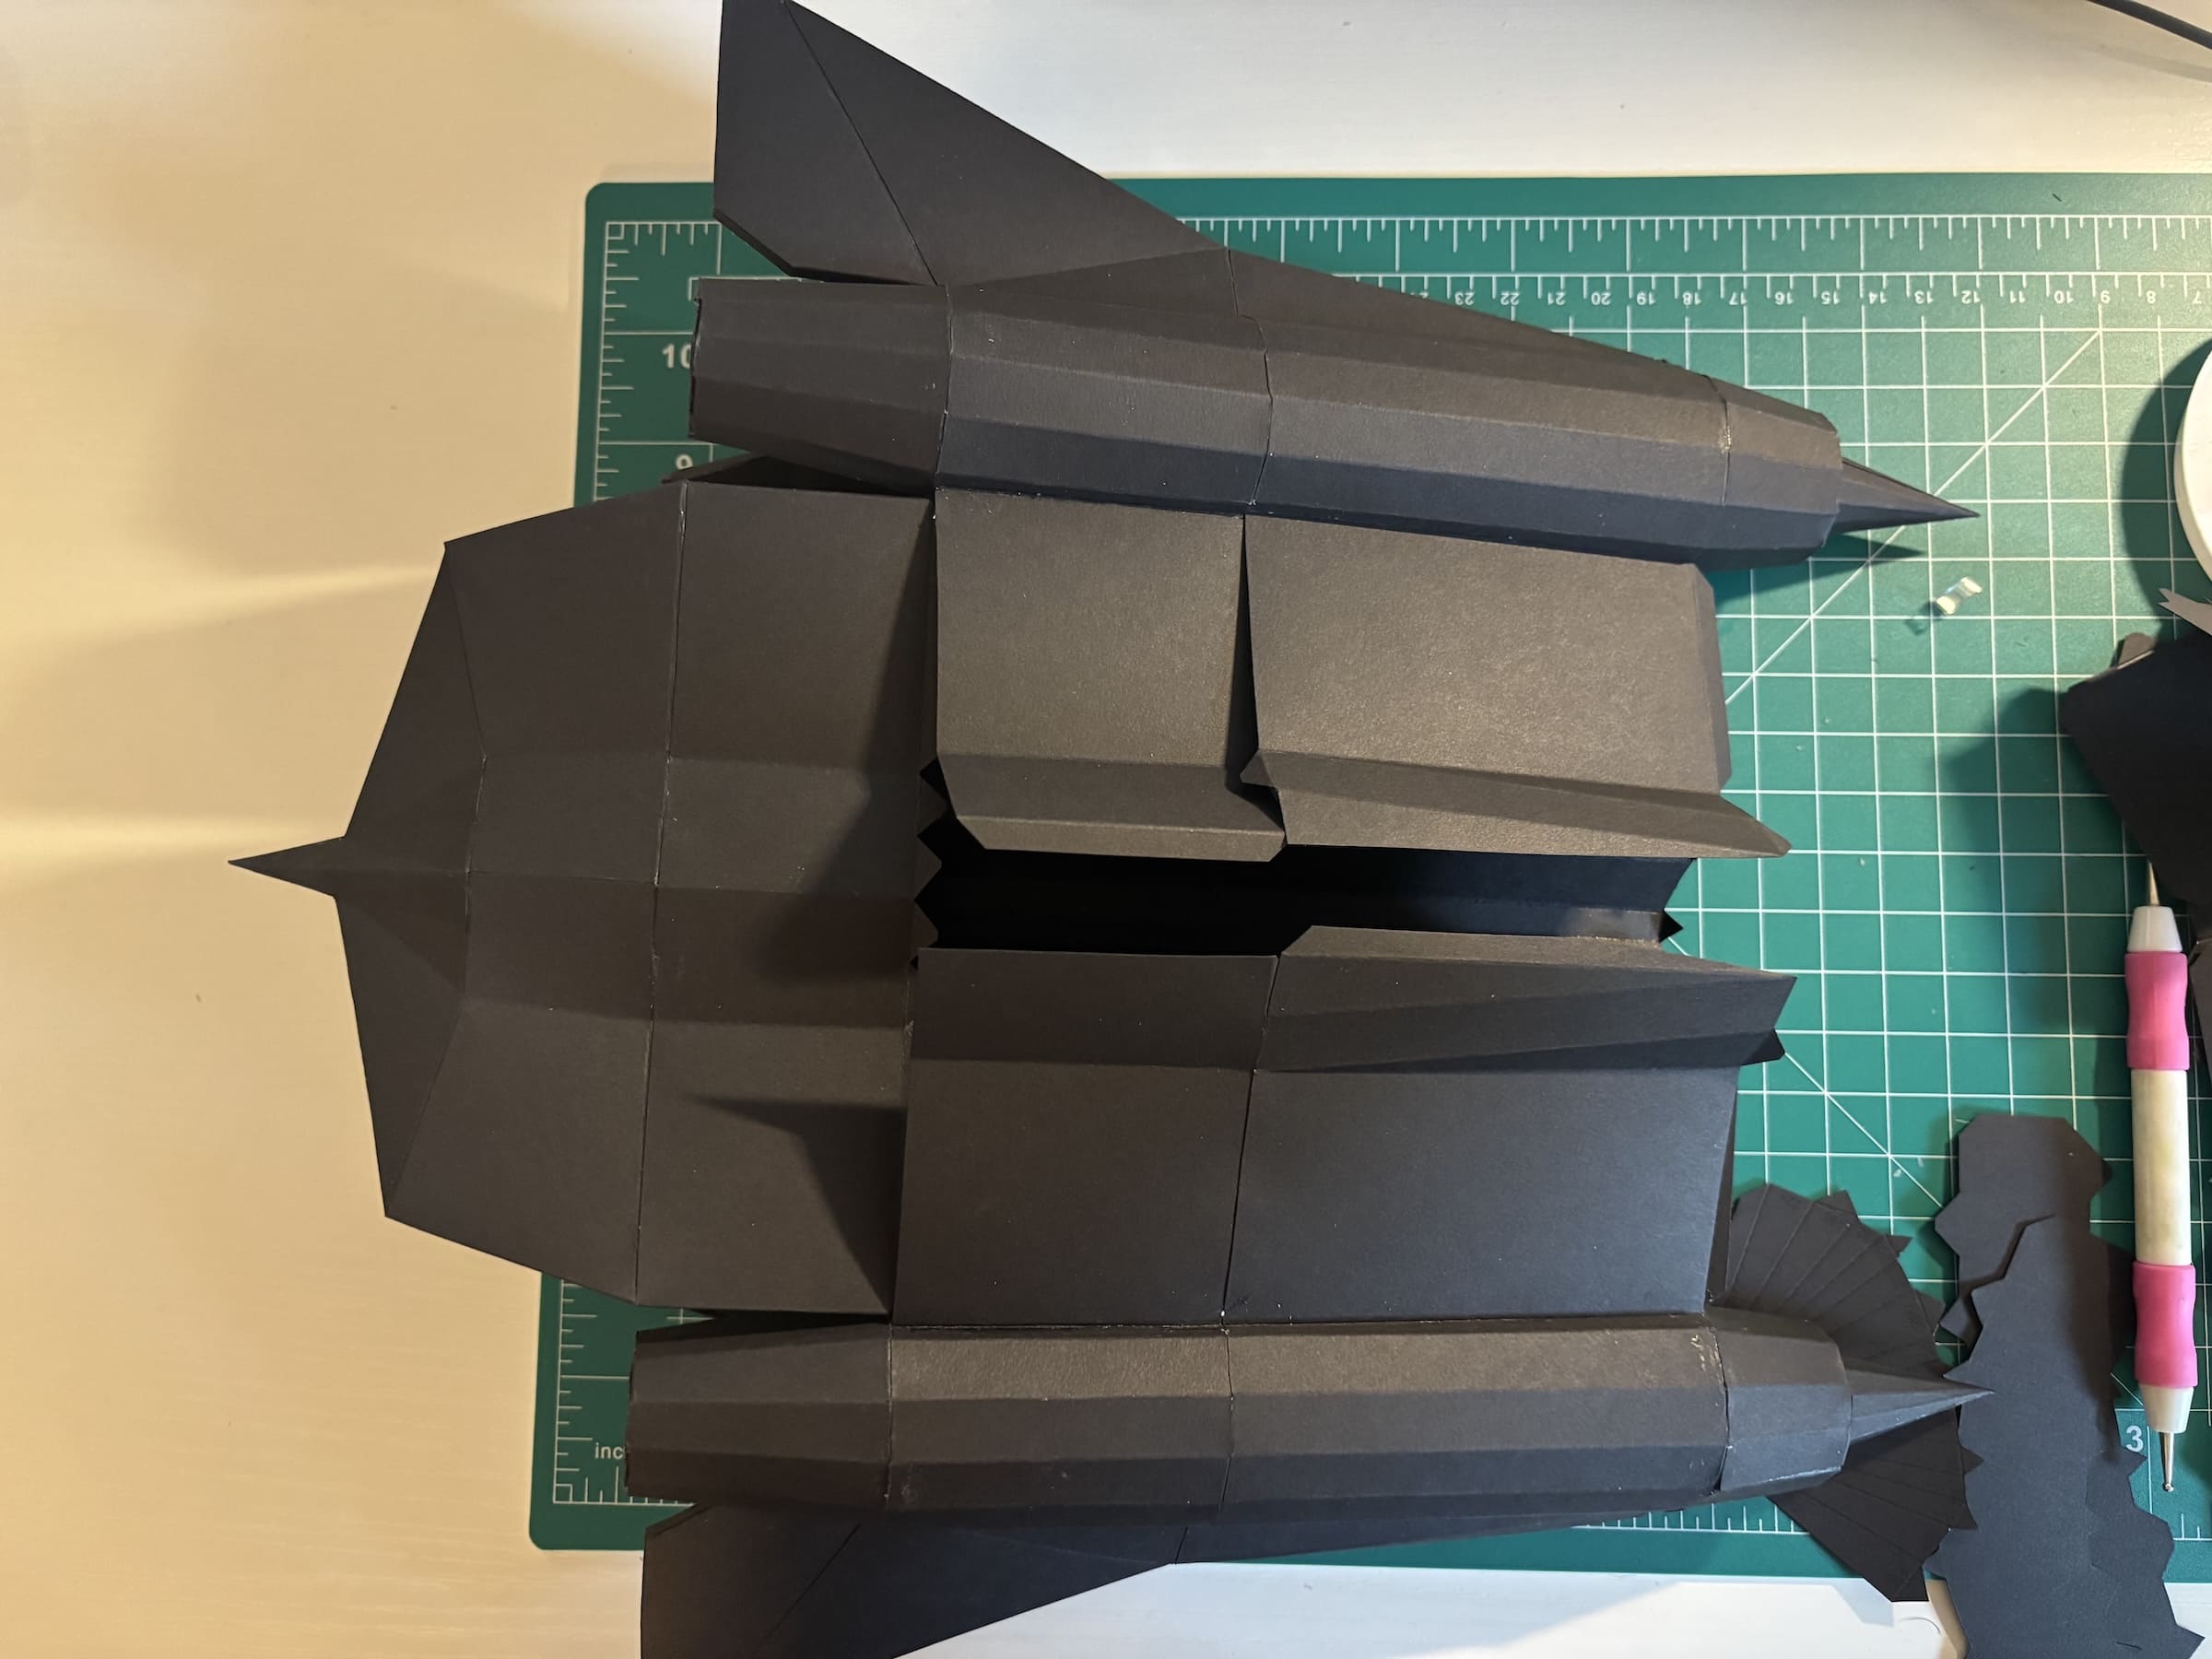
- Start with complex areas — these have the highest degrees of freedom and are hardest to assemble once surrounding parts are in place.
- Finish on hidden parts — the last seam will be the messiest, so plan it for the underside of the fuselage or another concealed area.
The Iterative Process
Papercraft is inherently iterative. After the first physical assembly, I went back and created a second version of the mesh, which reduced the face count by nearly 15% while preserving the visual quality. Physical assembly reveals issues that are invisible on screen — awkward joints, parts that are too small to fold, or areas that need reinforcement.
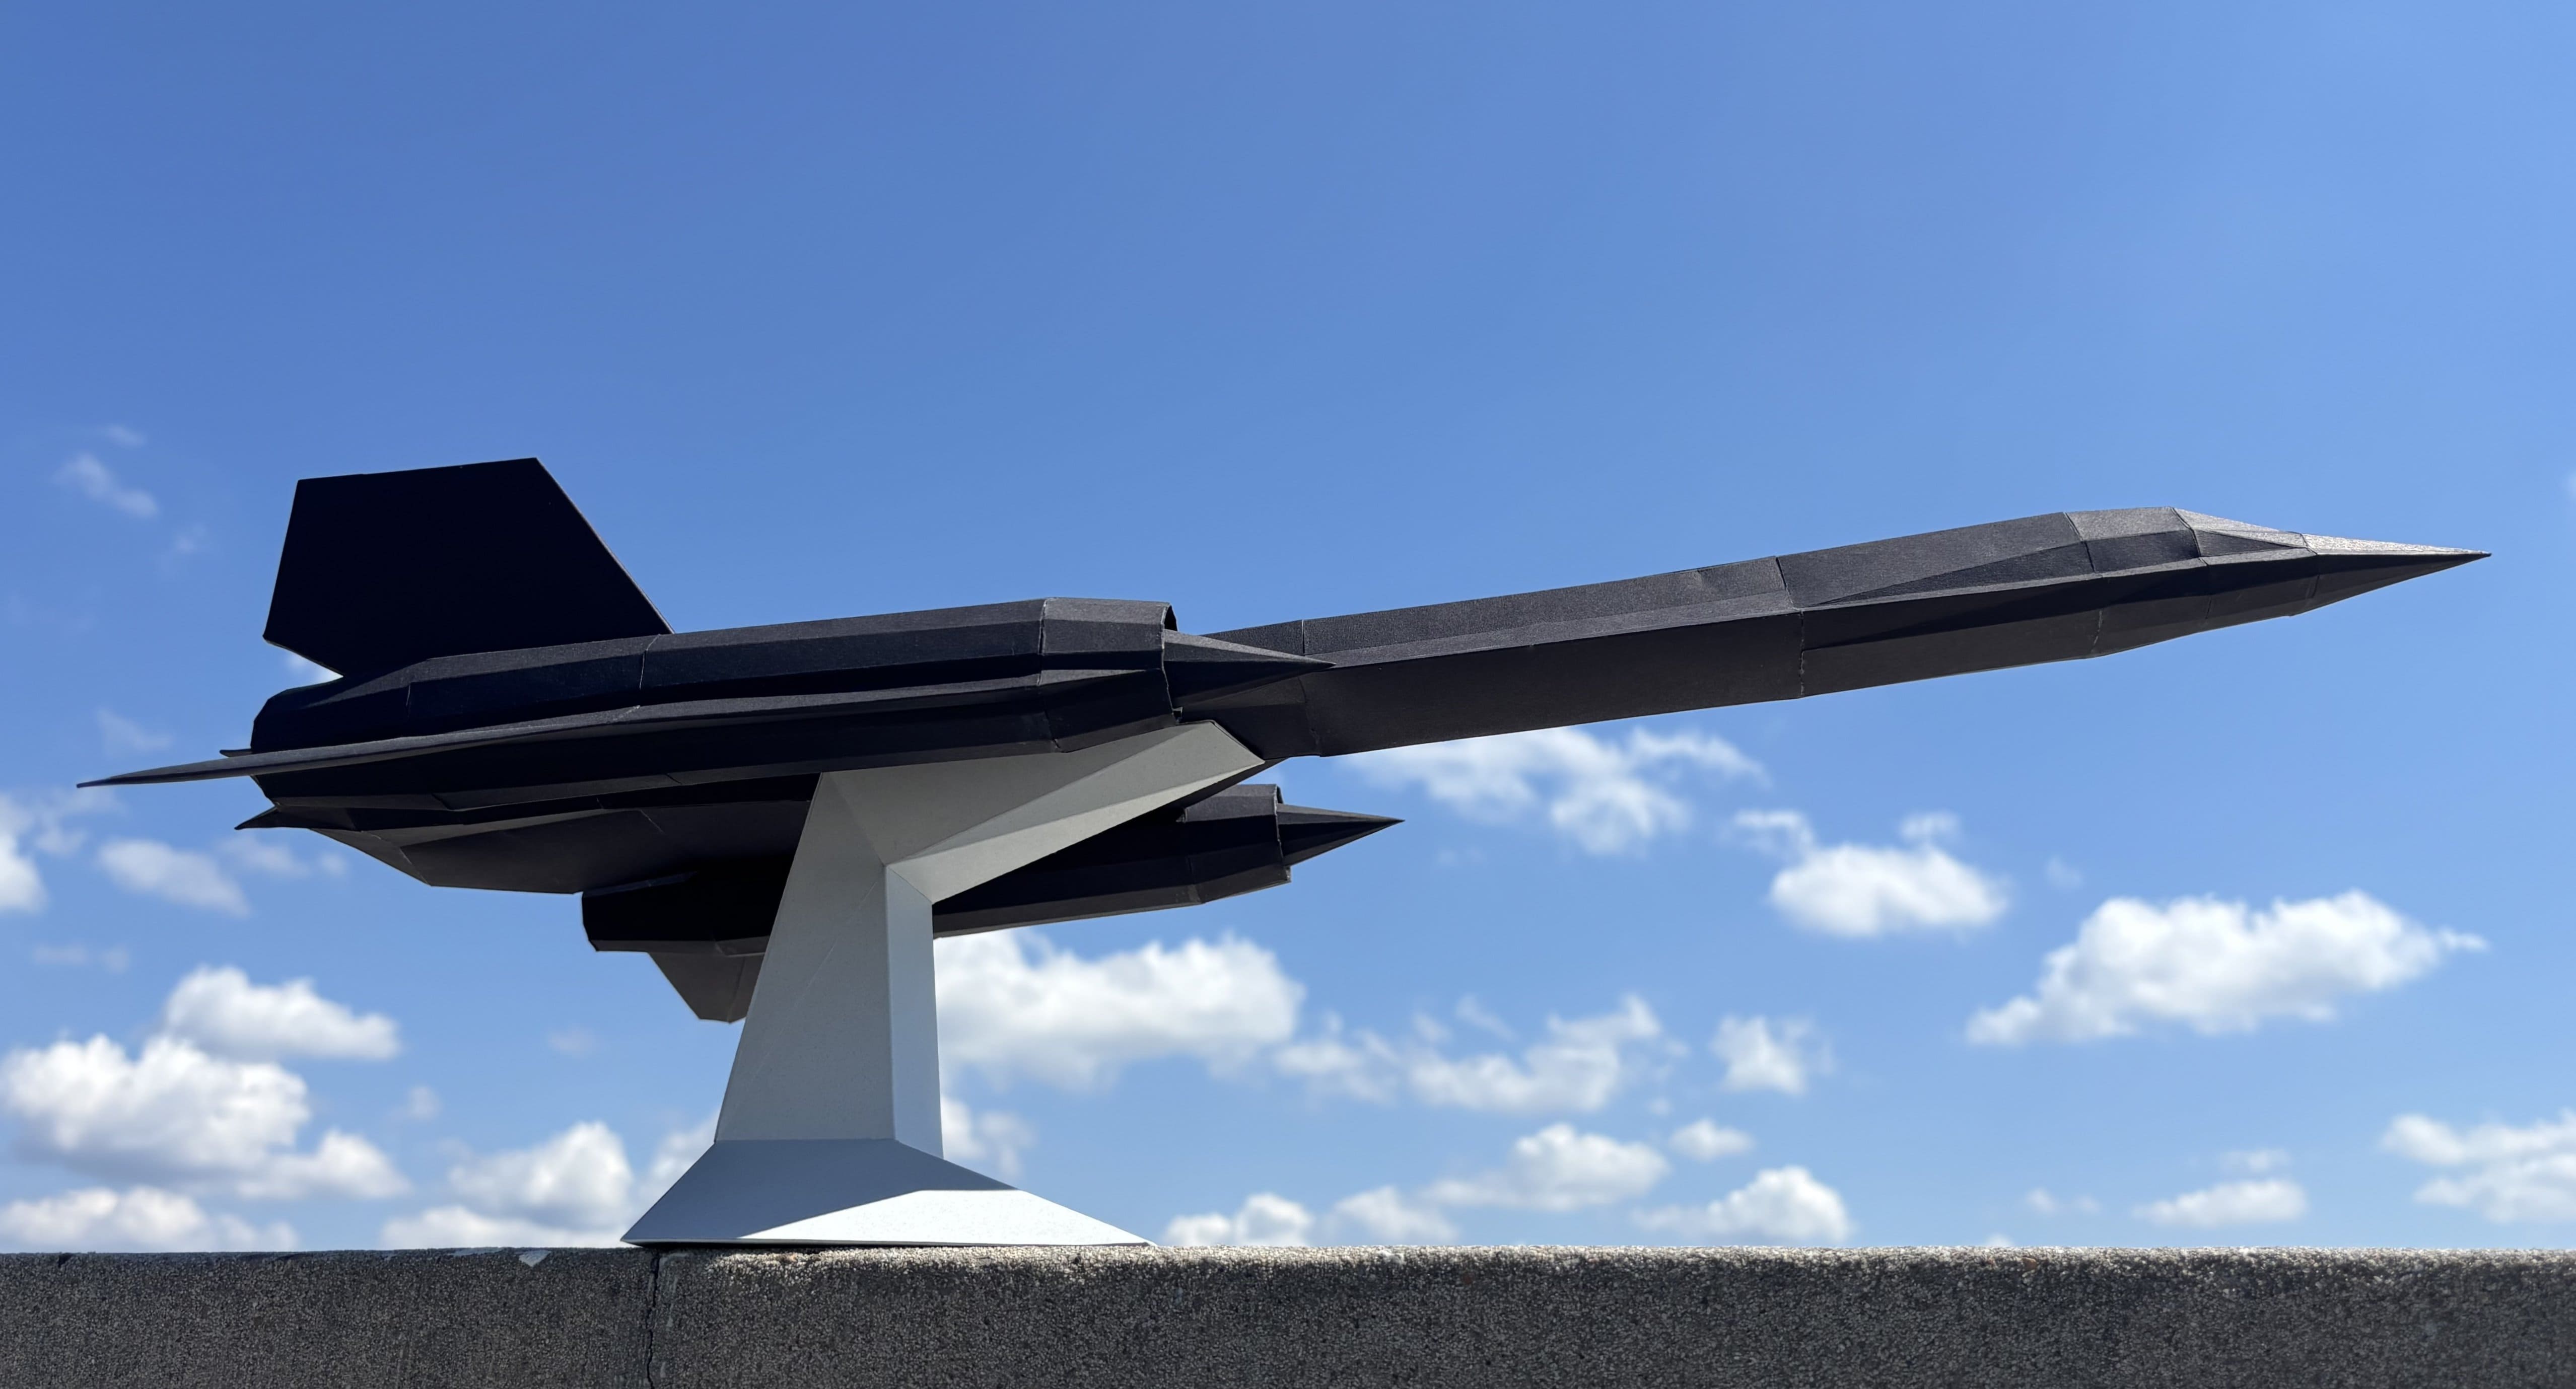
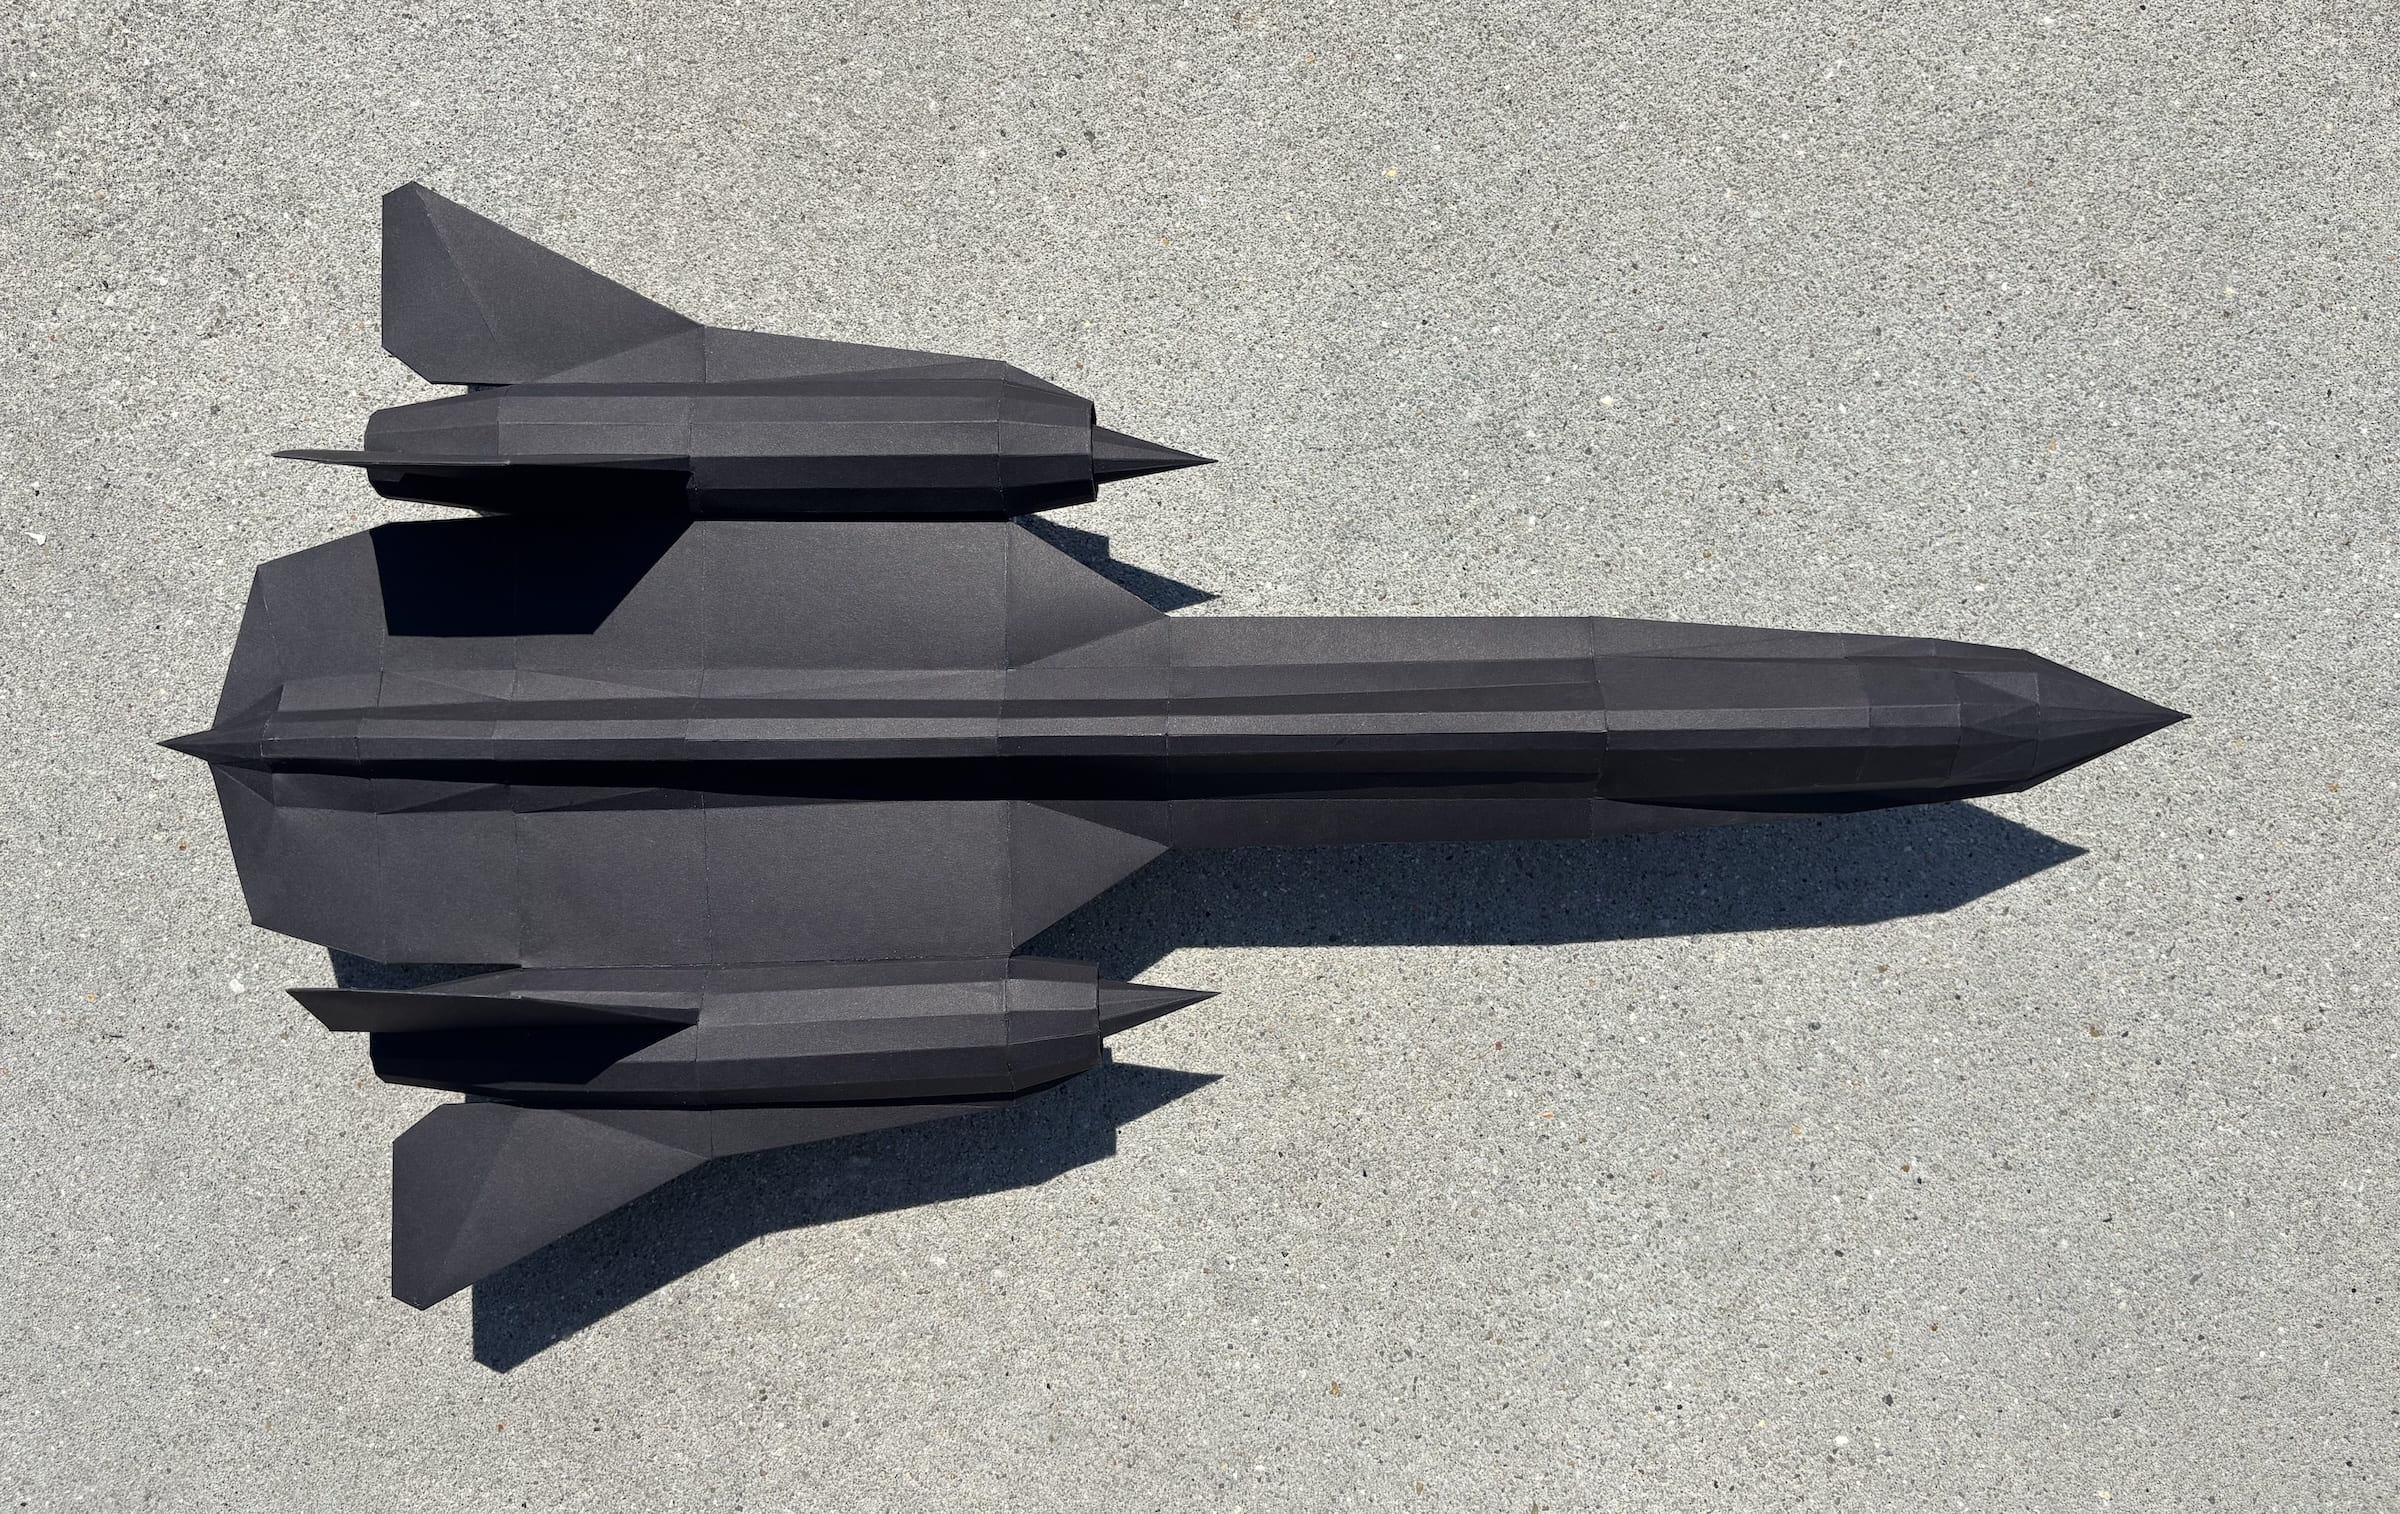
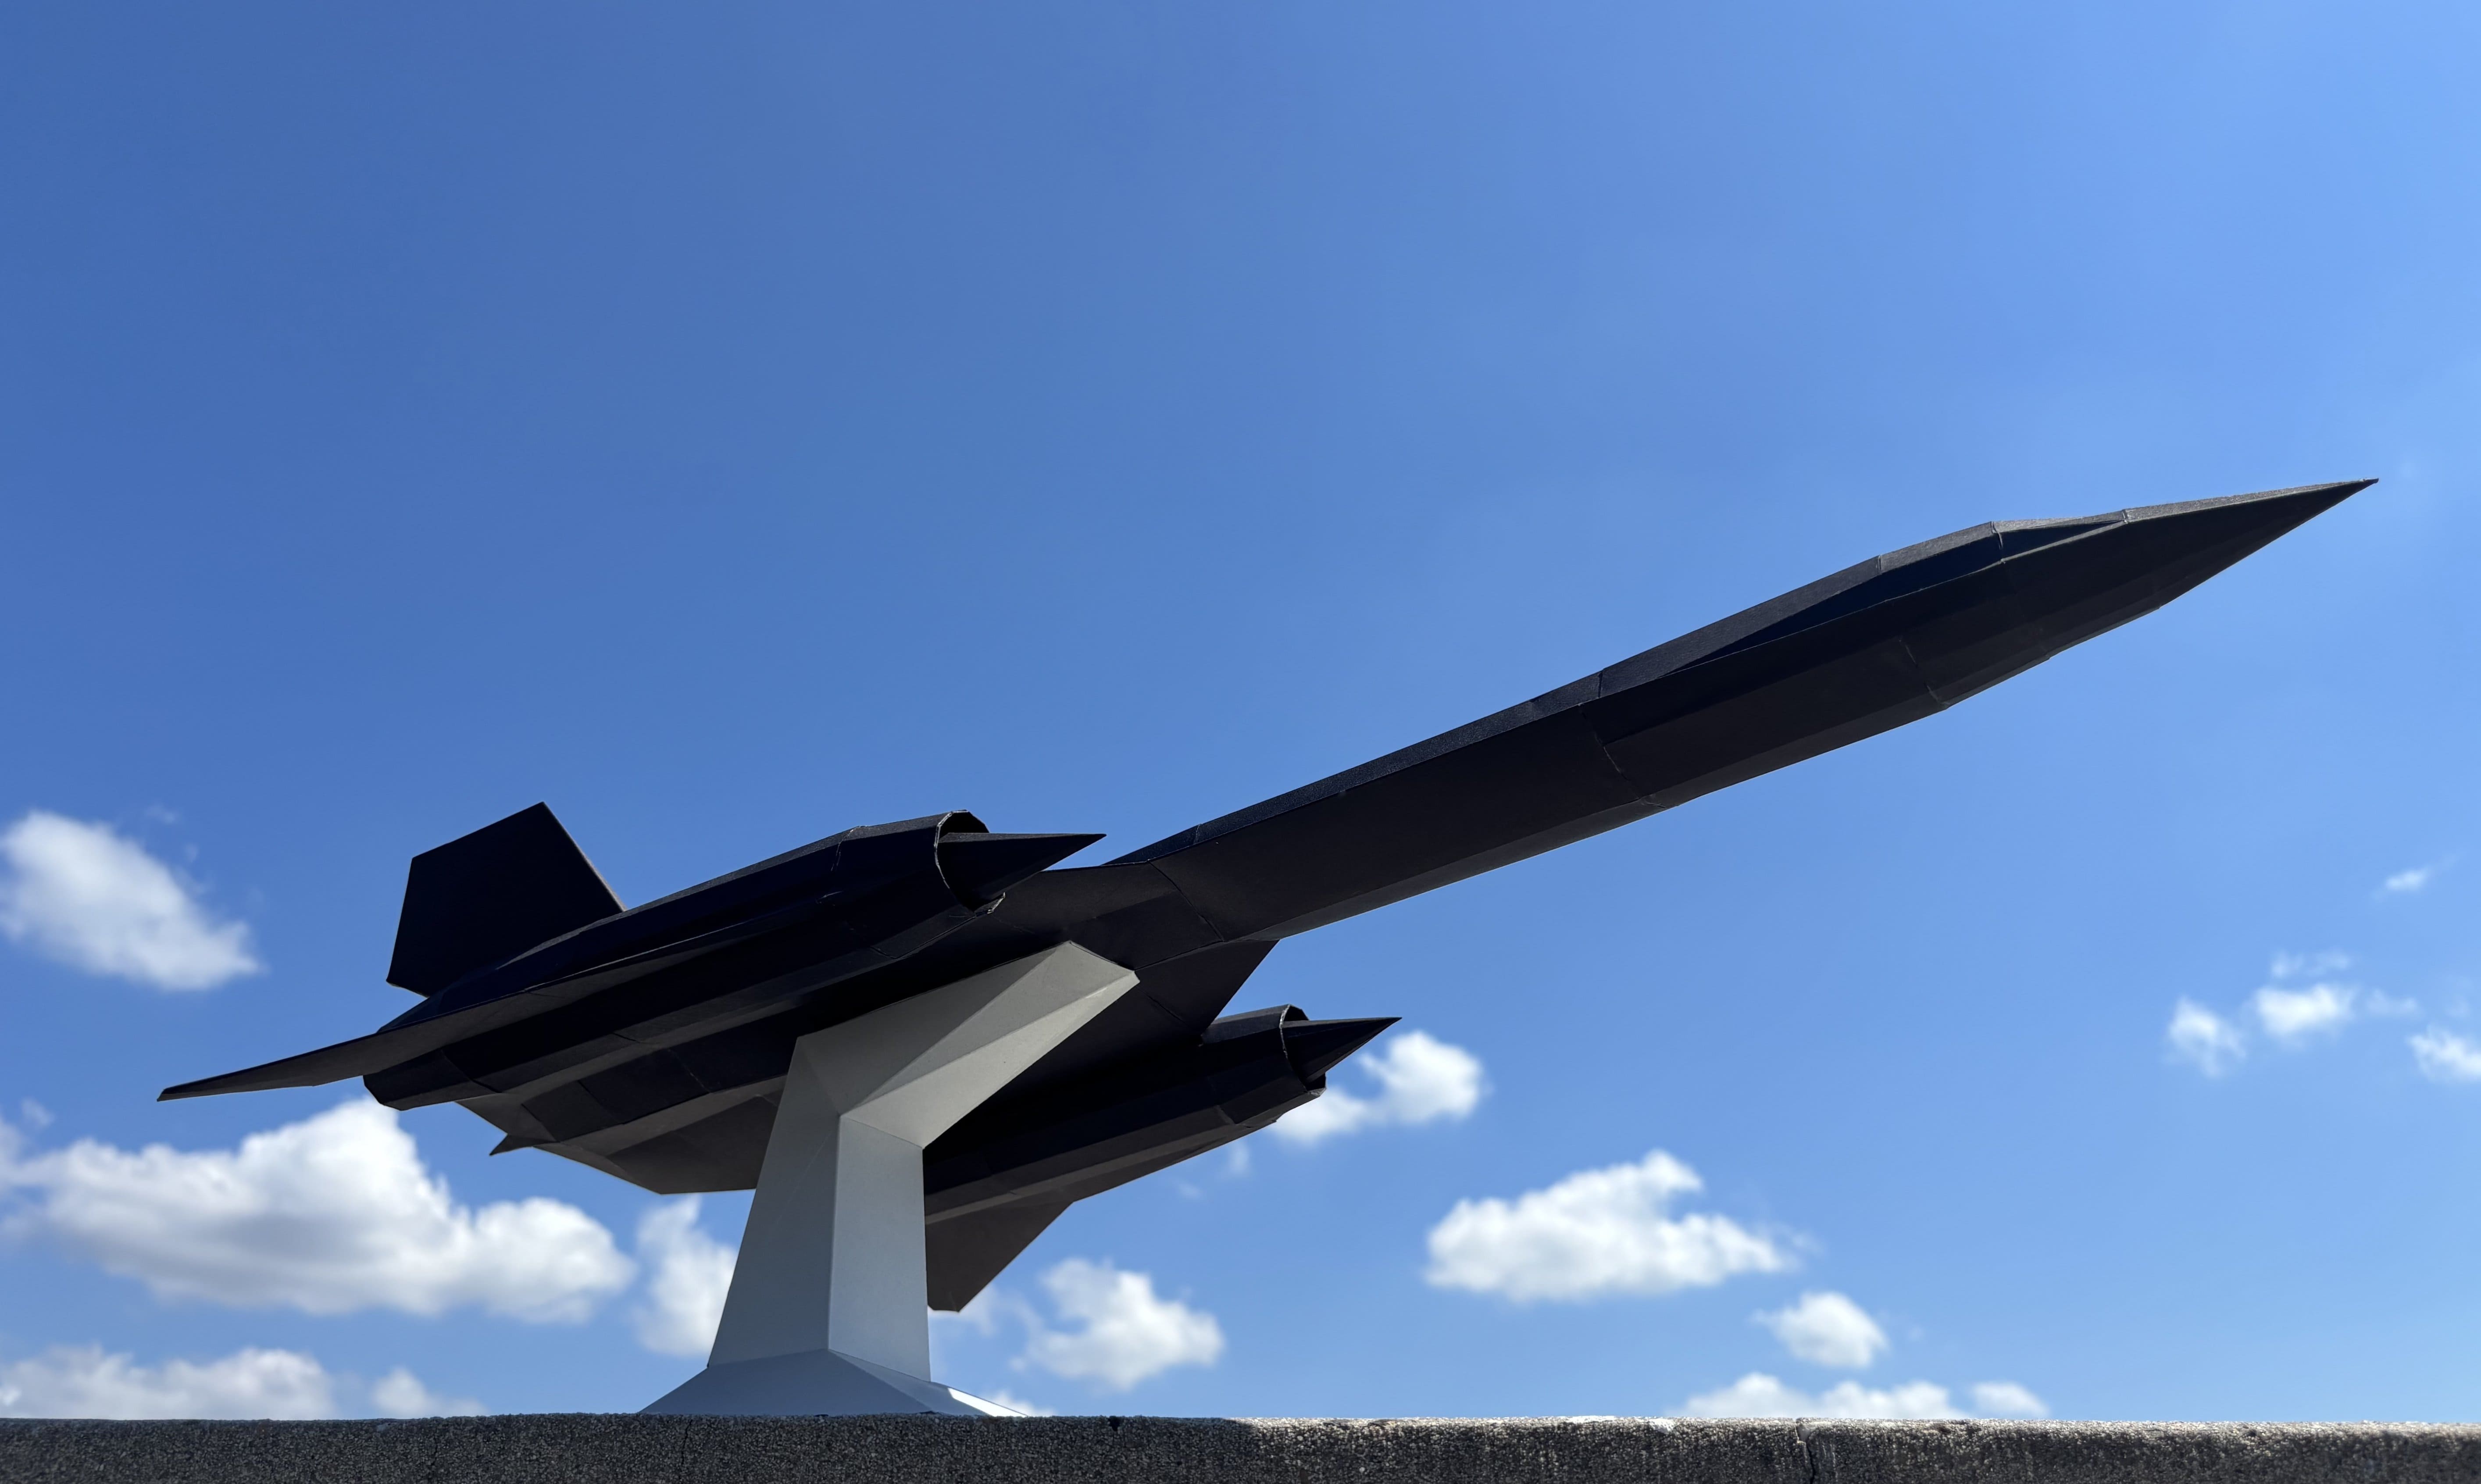
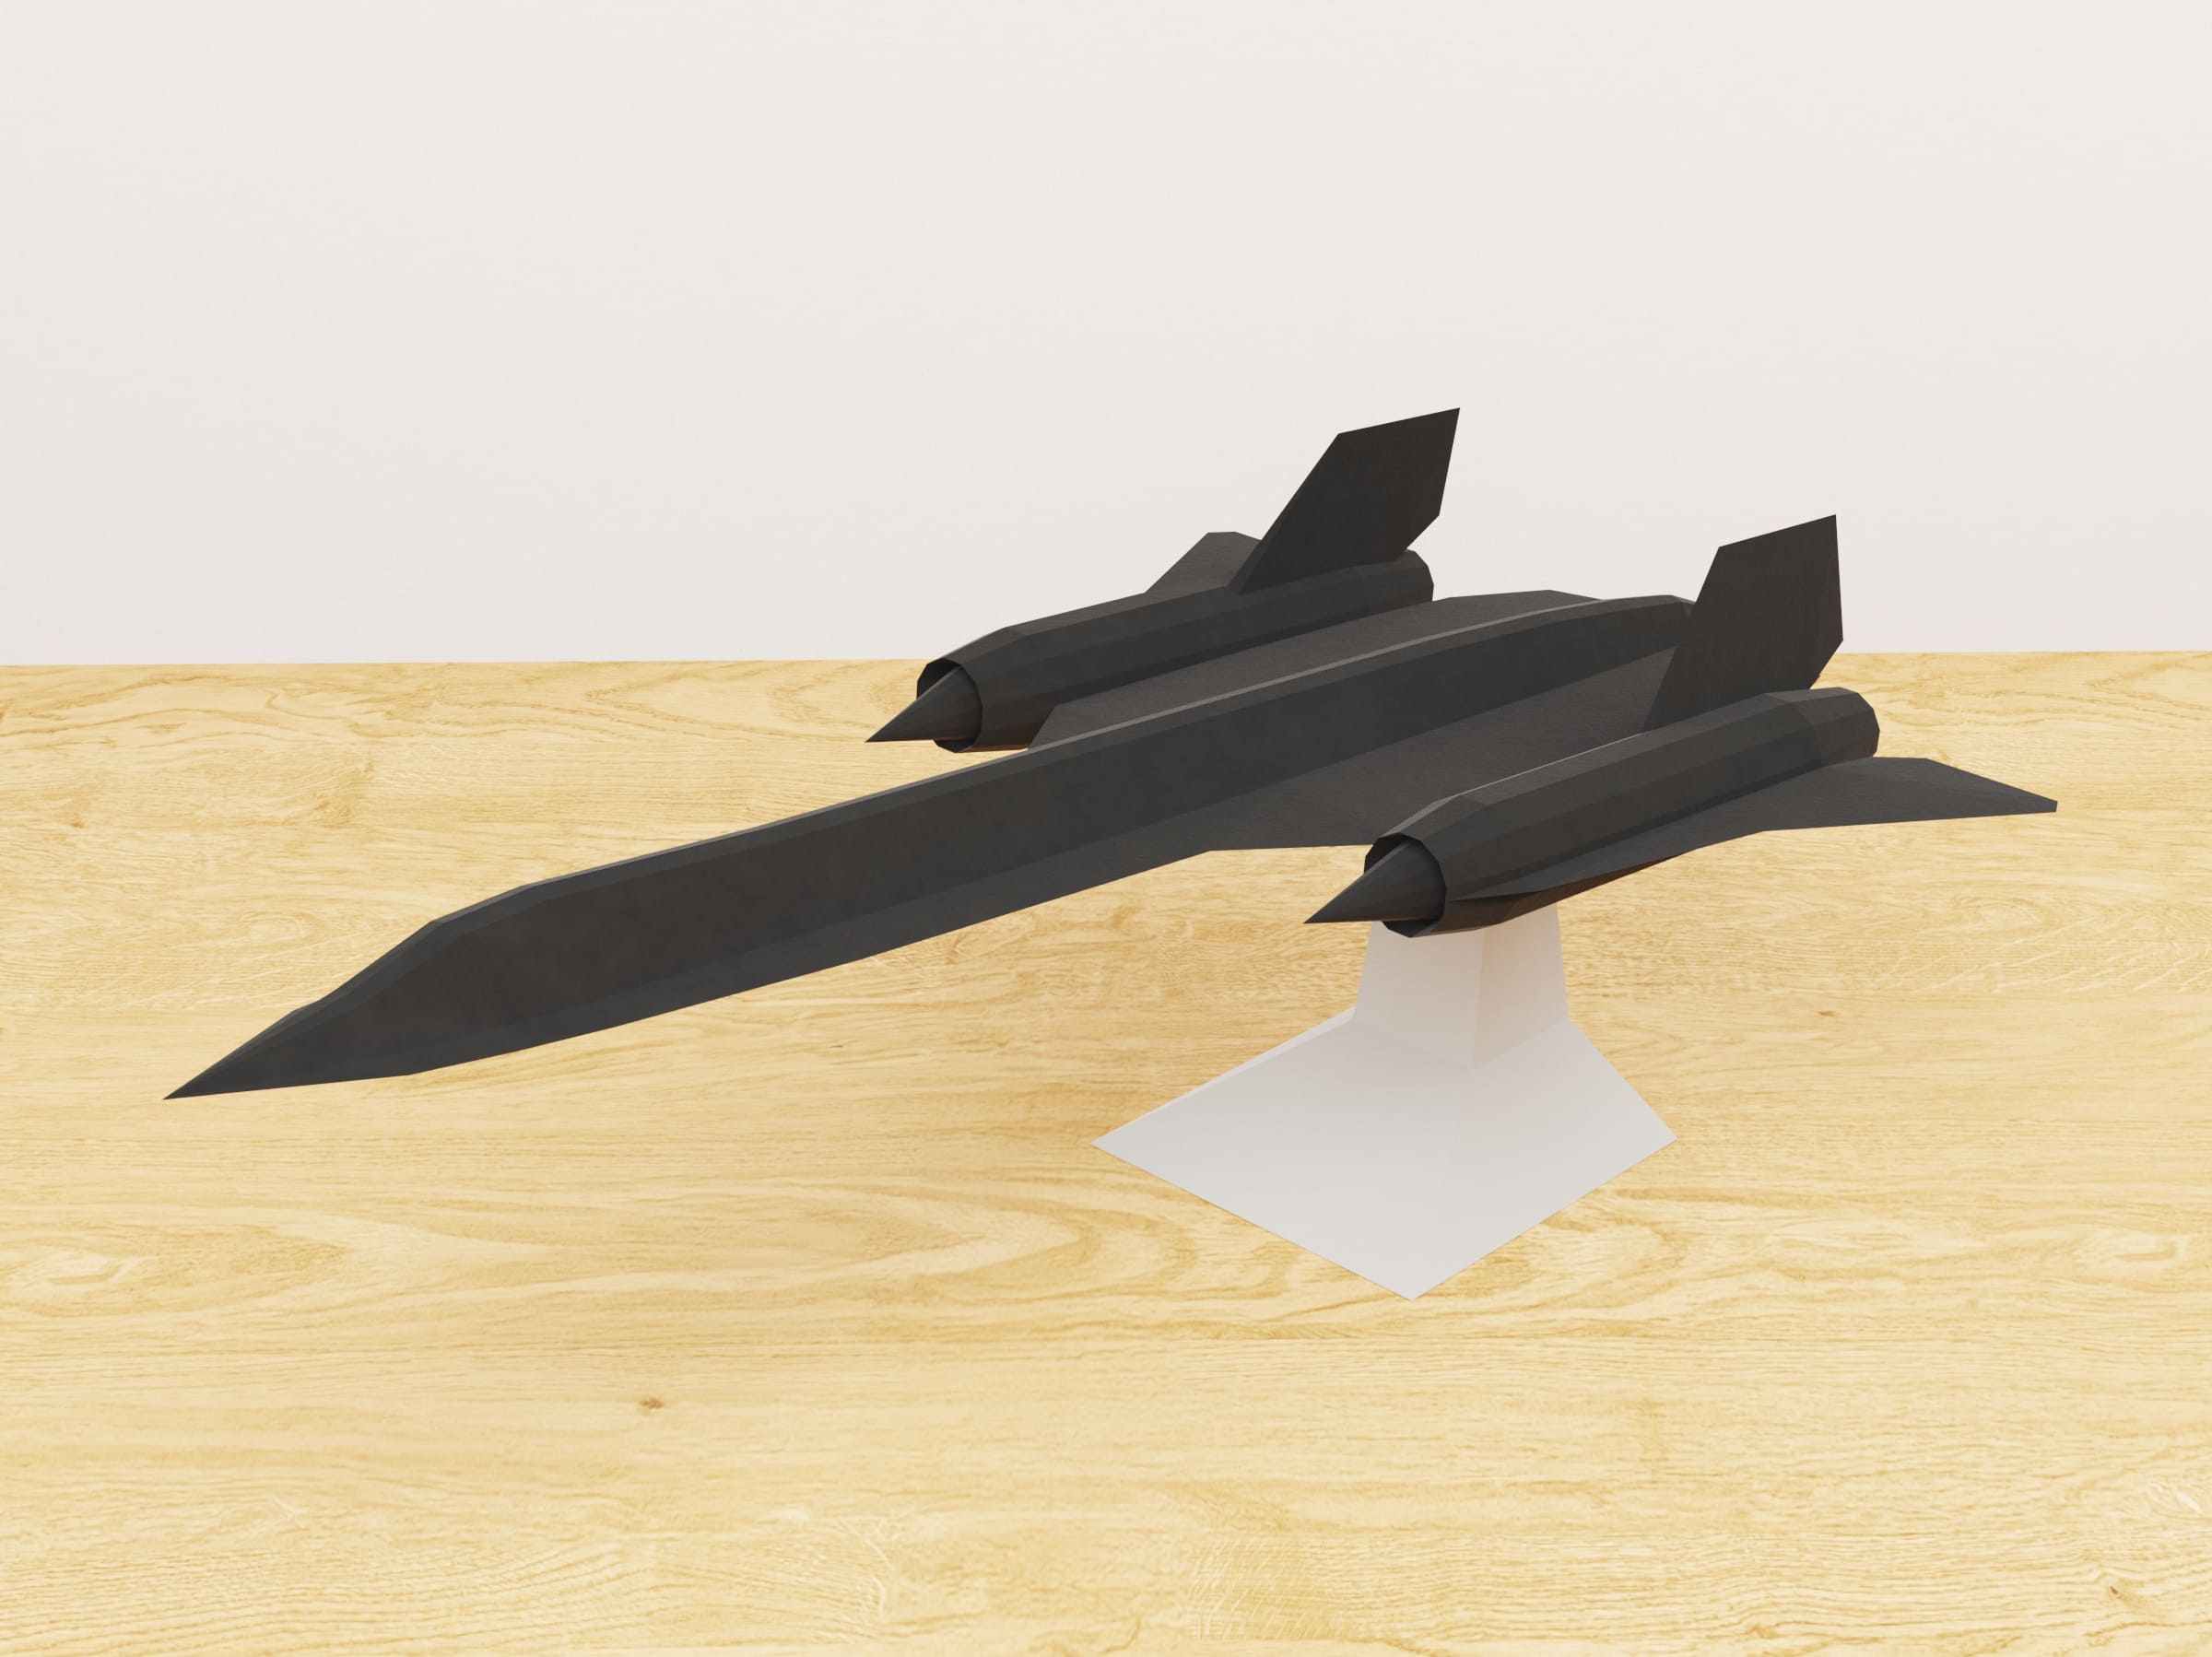
Scale and Color
The SR-71 model was built at 1:50 scale, resulting in a finished length of approximately 25 inches (~63 cm). I chose black cardstock for authenticity — the real SR-71 is famously dark — but this made the work significantly harder since pencil marks and fold lines are nearly invisible on dark paper.

Conclusion
The full cycle from concept to finished model took several months, but the result is a unique handmade object that combines engineering precision with artistic craftsmanship. Paper modeling is a hobby with an incredibly low barrier to entry and virtually no ceiling — you can create anything from simple geometric shapes to museum-quality replicas.
FAQ
What is this article about in one sentence?
This article explains the core idea in practical terms and focuses on what you can apply in real work.
Who is this article for?
It is written for engineers, technical leaders, and curious readers who want a clear, implementation-focused explanation.
What should I read next?
Use the related articles below to continue with closely connected topics and concrete examples.