A Printer Made From a CD-ROM Drive
A simple DIY printer built from salvaged CD-ROM drive parts that prints using a regular marker. Low resolution, but a fun and educational project using stepper motors, an Arduino, and a Java-based drawing tool.
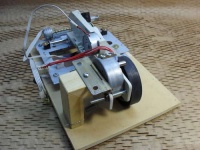
Here is a simple printer made from CD drive parts. It prints using a regular marker. Of course, its resolution isn't great, but I've wanted to bring this project to life for a long time.
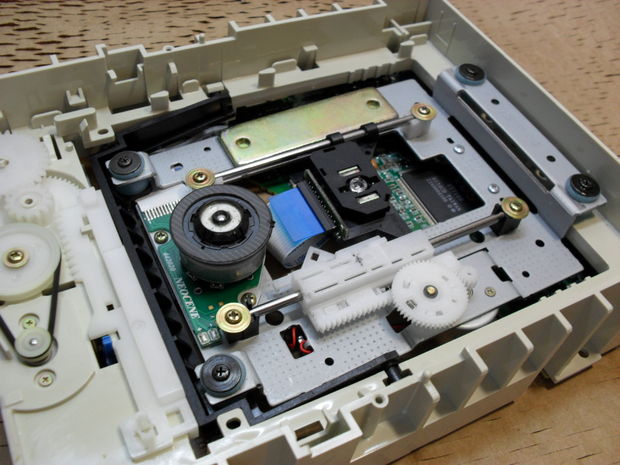
Materials
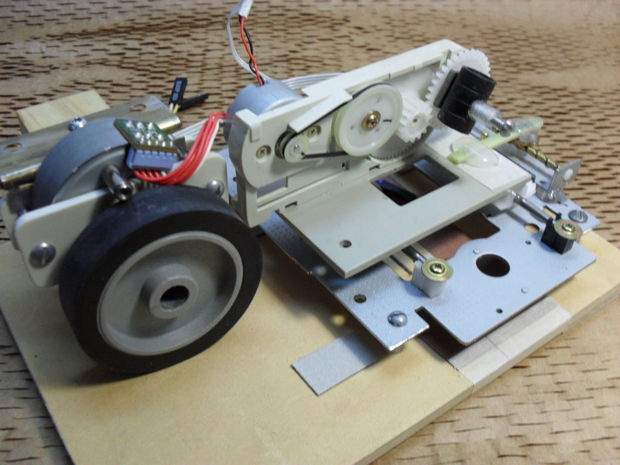
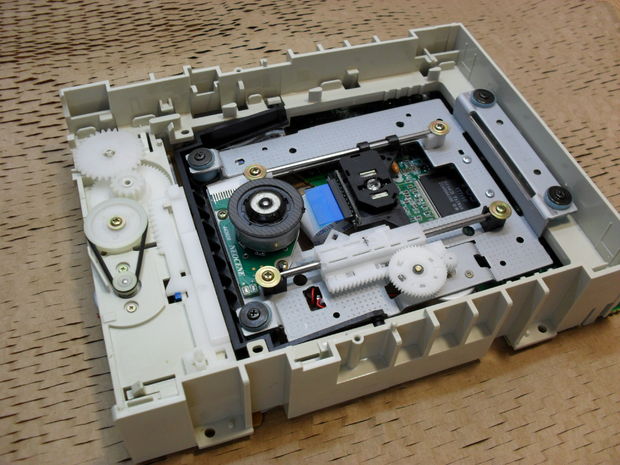
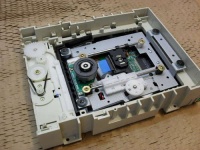
The most important thing is a CD-ROM, or a DVD-ROM. Try to find a drive with a bipolar motor — mine used a DC motor, so I had to replace it with a stepper motor later. You'll also need another stepper motor, a rubber wheel, and a wooden base. Other electronic components will be described below.
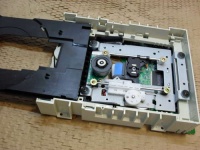
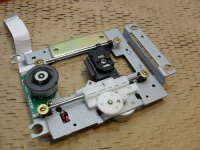
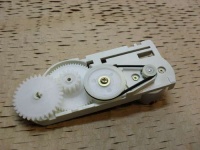
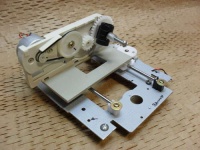
First Motor
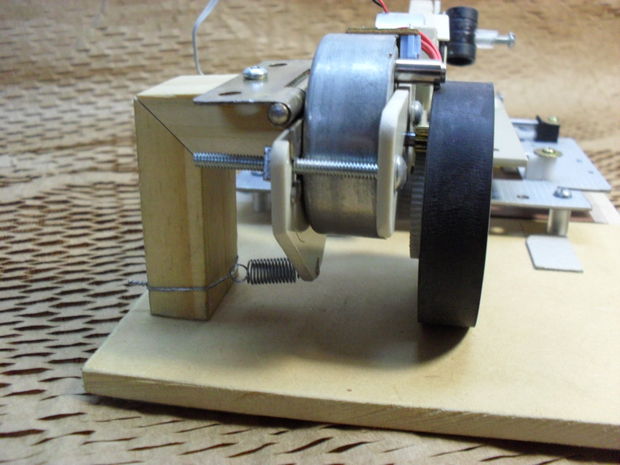
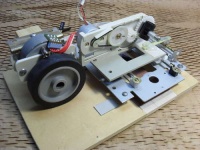
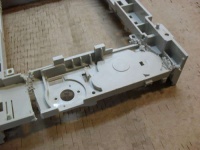
Detach the motor along with the metal frame and horizontal guide rails.
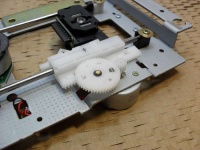
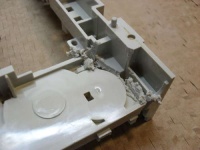
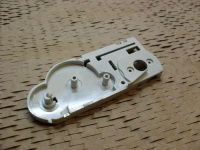
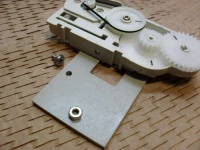
Second Motor
Remove this motor with all its "wheels." Also cut out the plastic housing to which this assembly was attached, and smooth the rough edges with sandpaper.
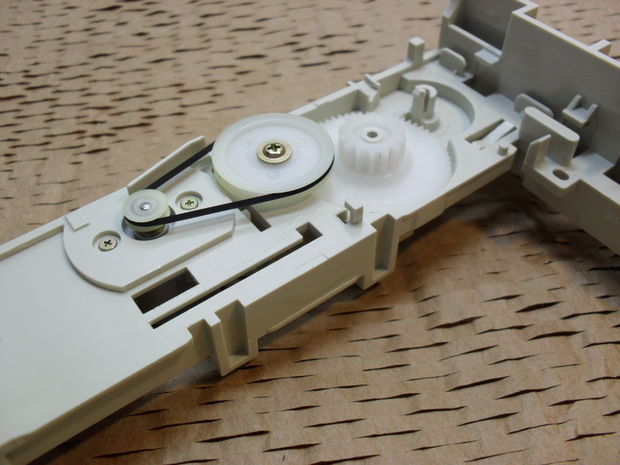
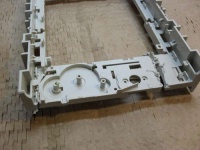
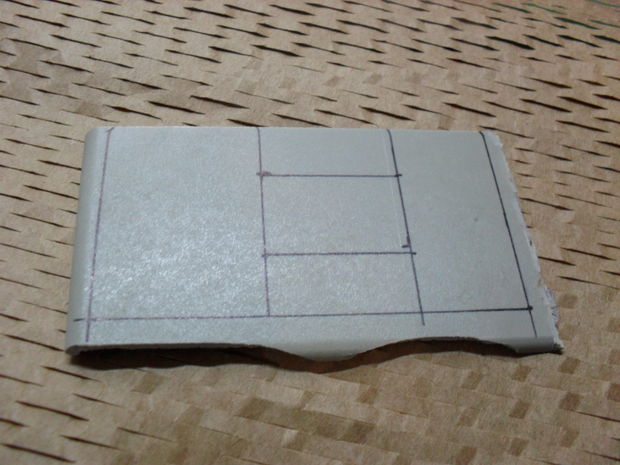
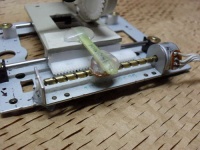
Making the "Cartridge"
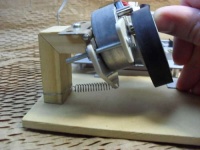
Well, it's not really a cartridge — this is just where the marker will be attached. Mount a DC motor to the plastic, then apply glue to strengthen the assembly.
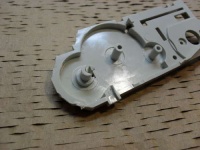
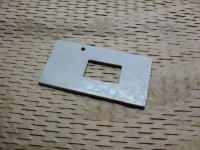
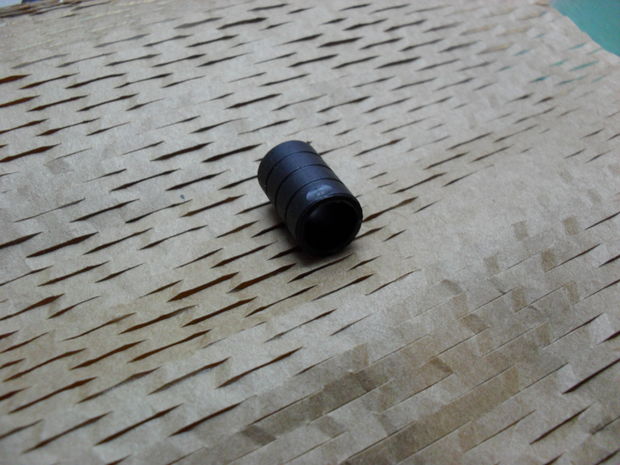
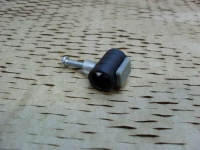
Marker Holder
This small tube with a hole allows you to replace the marker. Glue a nut with a screw to the tube, then attach it to the last gear wheel as shown in the photo.
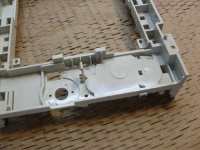
New Motor
My drive used a DC motor. Since it's not very efficient for this purpose, I replaced it with a bipolar stepper motor.
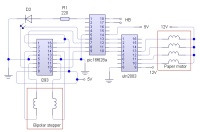
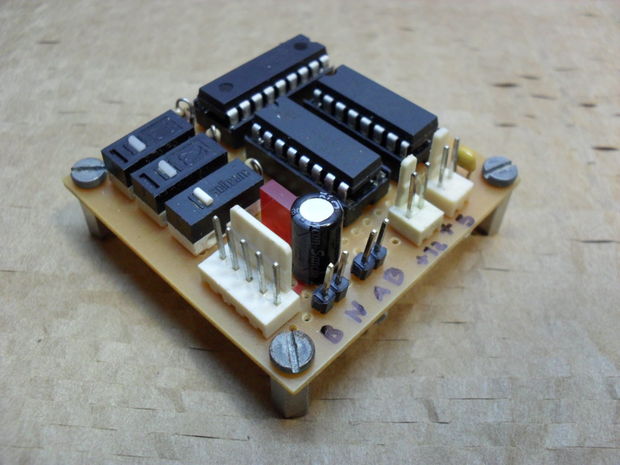
Electronics
The electronics were assembled on a breadboard. The three switches in the picture will be used at the end of the project.
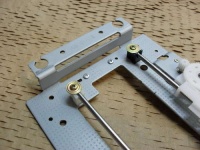
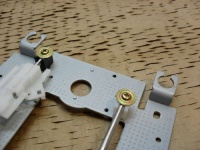
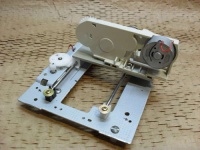
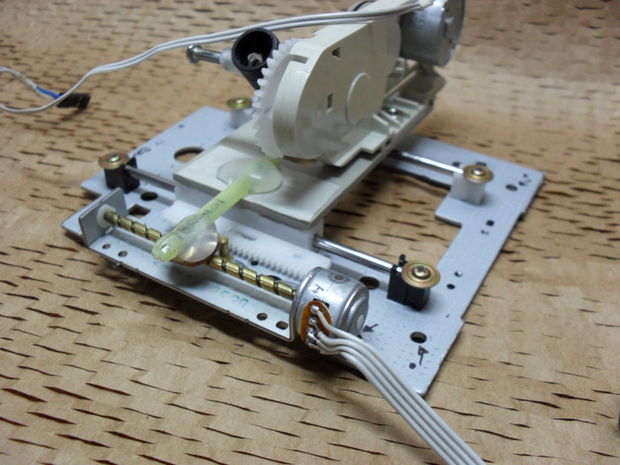
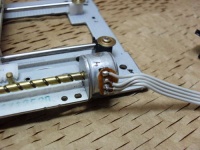
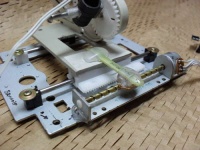
Assembling All the Hardware
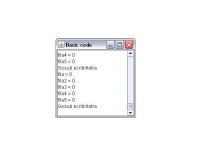
Main Code
You can check out the source code here: pastebin.com/9pPk0FkQ
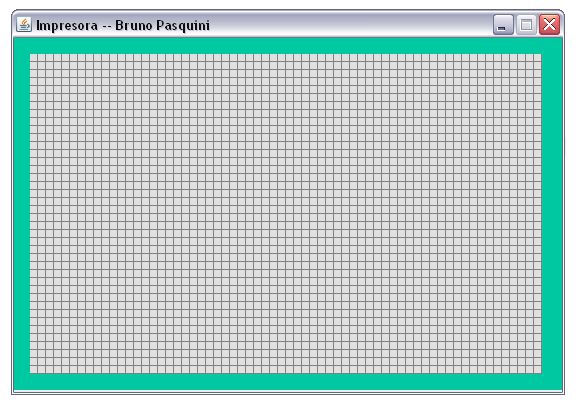
Creating an Image for Printing
For ease of use, a program was written in Java. Simply open it, draw what you plan to print, and press "p". The program will automatically generate the corresponding code — you just need to paste it into the main code between the markers "aca empieza el codigo" (code starts here) and "aca termina el codigo" (code ends here).
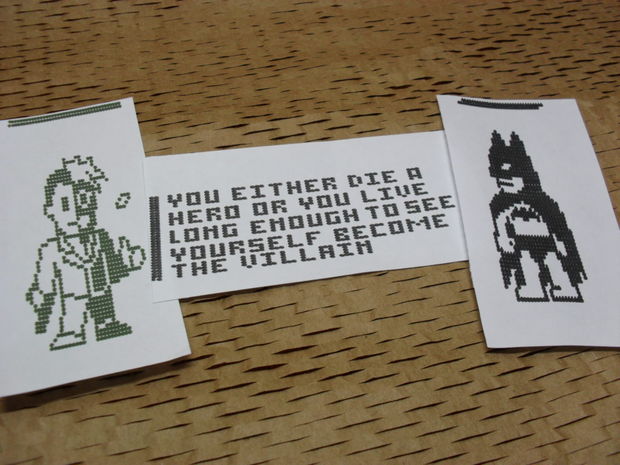
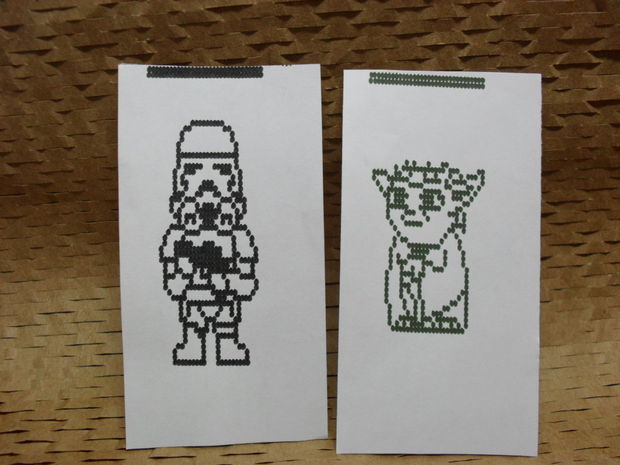
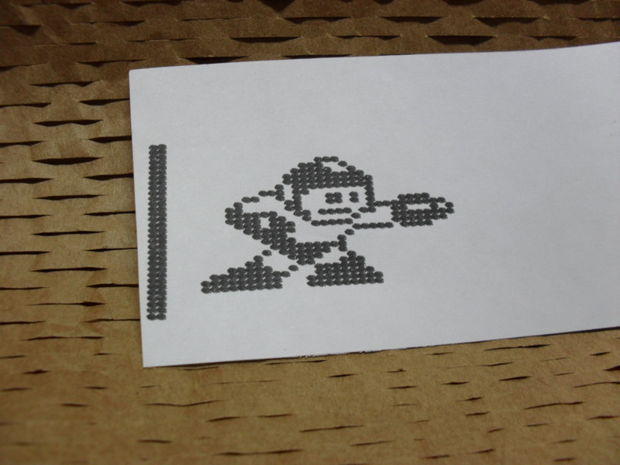
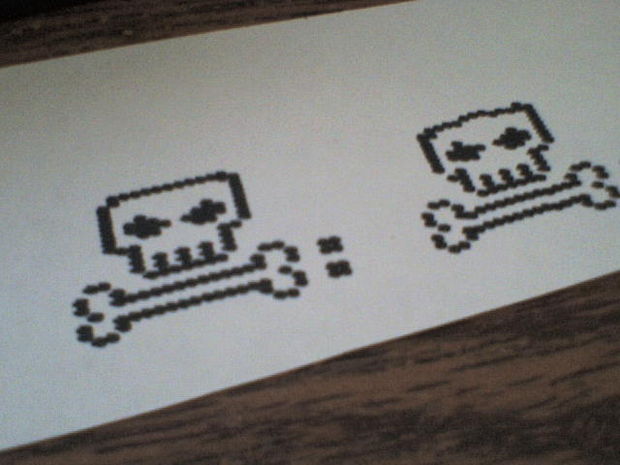
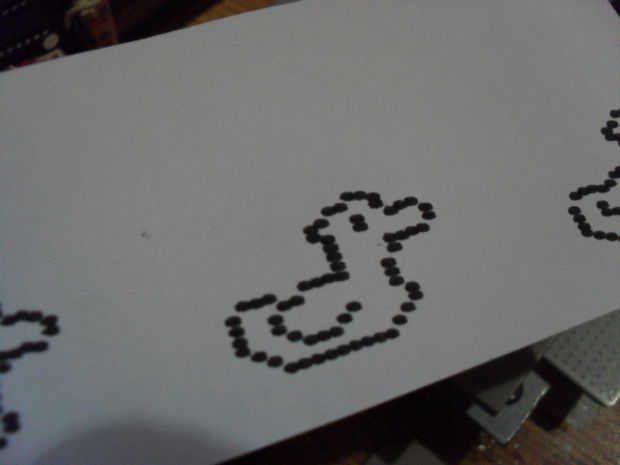
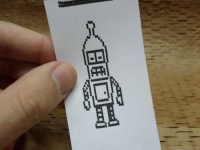
Examples

Files for Download
- Impresora.hex
- Impresora2.jar
UPDATE: Video