A Keyboard, an Idea, and Two Hands: Building a Steampunk Keyboard from Scratch
A step-by-step build log of a handcrafted steampunk-style keyboard made from ash wood, brass, and oak veneer — designed in Blender and LibreCAD using only open-source software.
Has it ever happened to you that for a long time you've wanted something unusual? It doesn't matter what — everyone has different tastes and preferences. My passion sat inside me for a long time, but one day it finally burst out. I love making unusual things, and I've always liked modding as a means of self-expression. Several years ago, I was inspired by the works of modders from different countries and started thinking through several projects of my own. In particular, I really wanted to build a keyboard styled after the nineteenth century.
After studying the works of such well-known modders as Filimon and Datamancer, I got to work. I want to say right away that although I don't suffer from a complete lack of imagination, I like to get predictable results. Therefore, before picking up a tool, I tried to model what I wanted to achieve in the end. Another feature of this project is that all the software I used in my work is open and free: OS — Debian testing, software — Blender, LibreCAD, Inkscape.
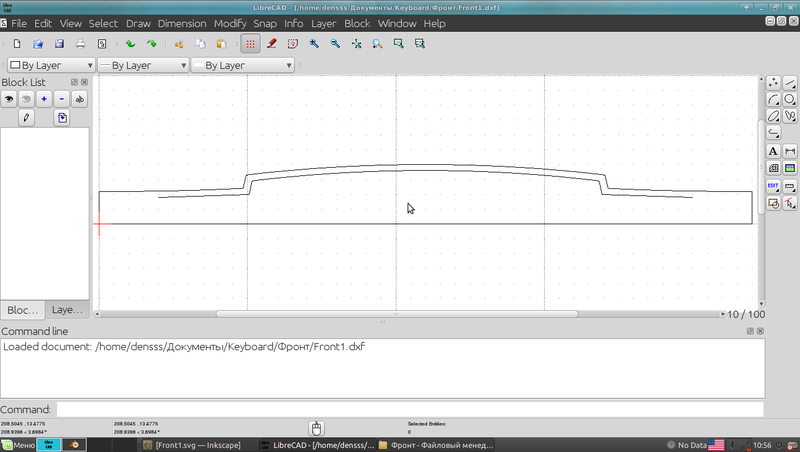
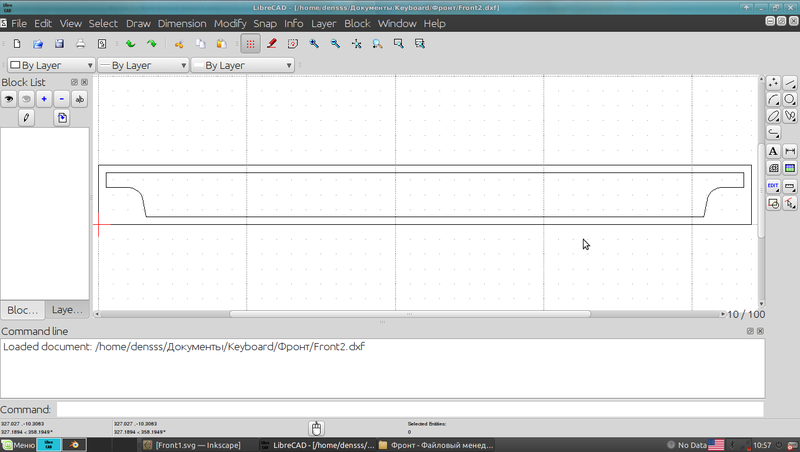
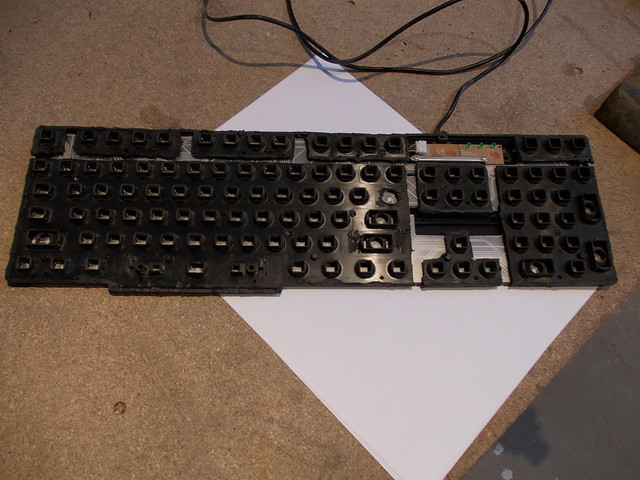
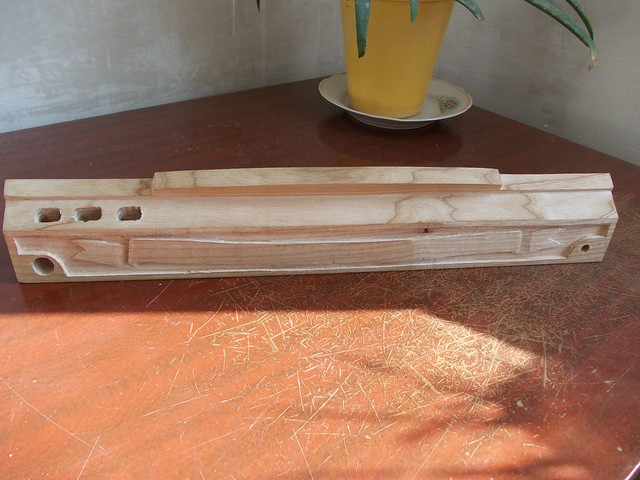
Since my plan was to make a keyboard in a wooden case, first of all I needed to know the cross-sections of the wooden blanks I would need. After carefully measuring the donor keyboard, I sat down to draft and model.
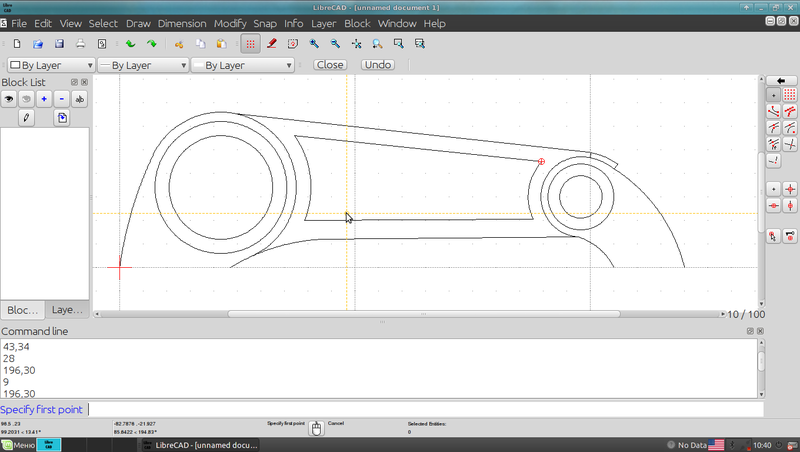
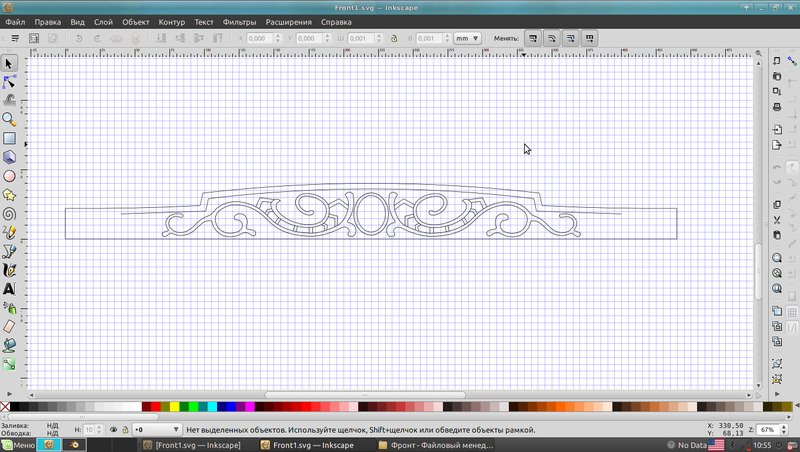
After drawing the two-dimensional projections, I began 3D modeling.
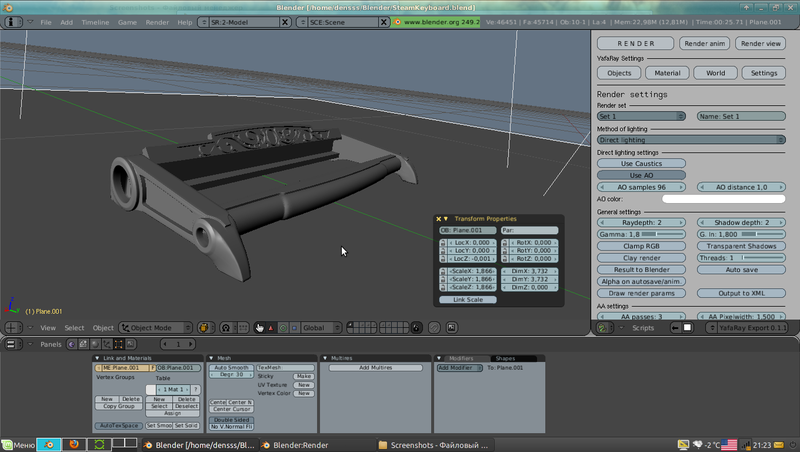
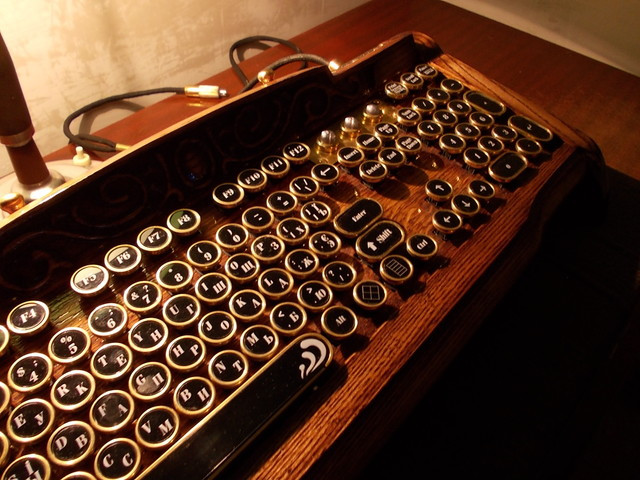
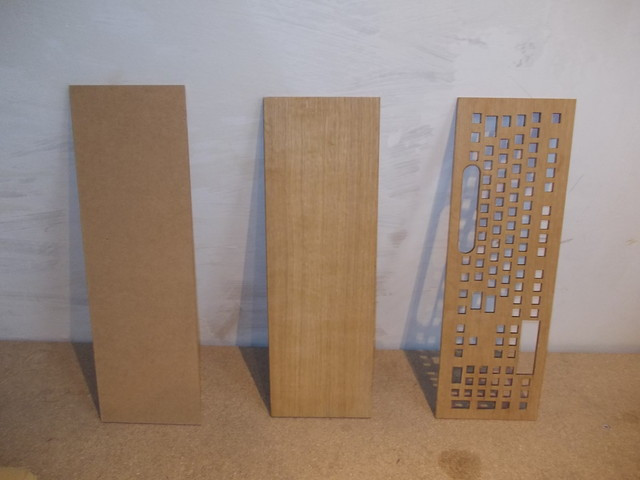
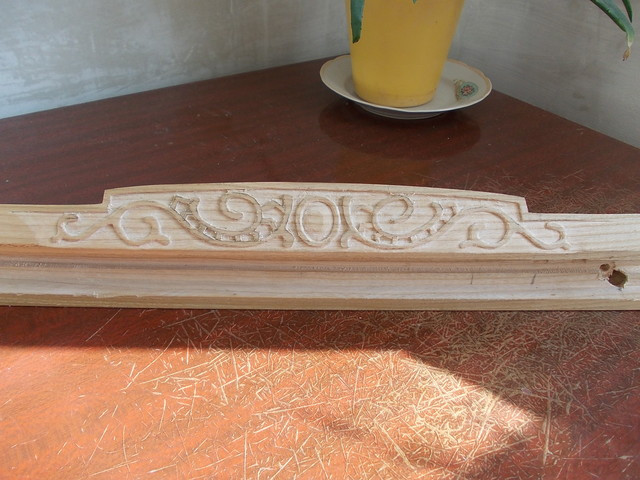
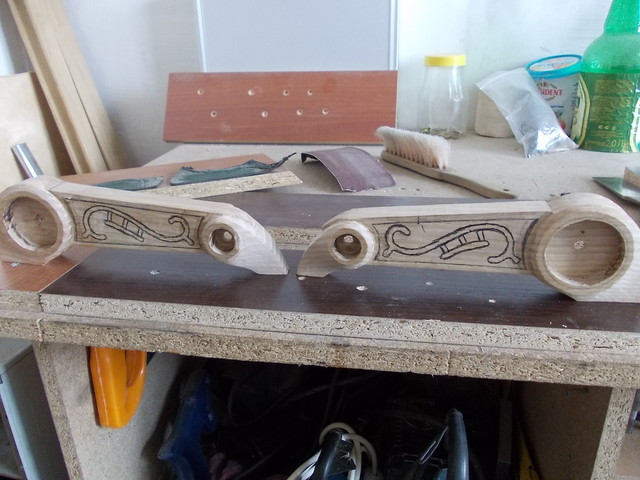
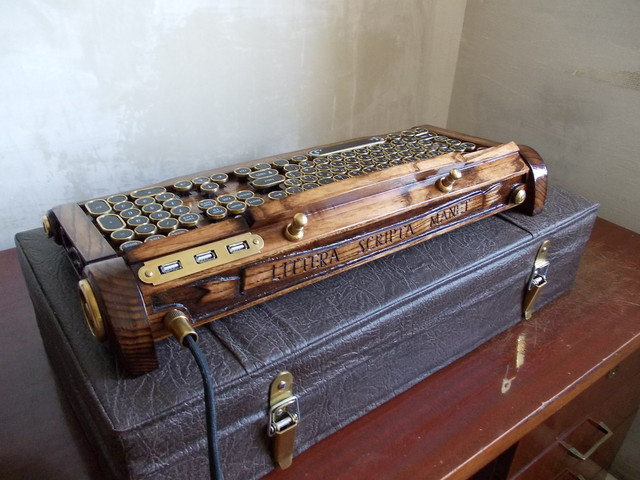
So, the device's appearance had taken shape and it was time to bring it to life in wood and brass. Ash was chosen as the case material, with oak veneer for the overlays.
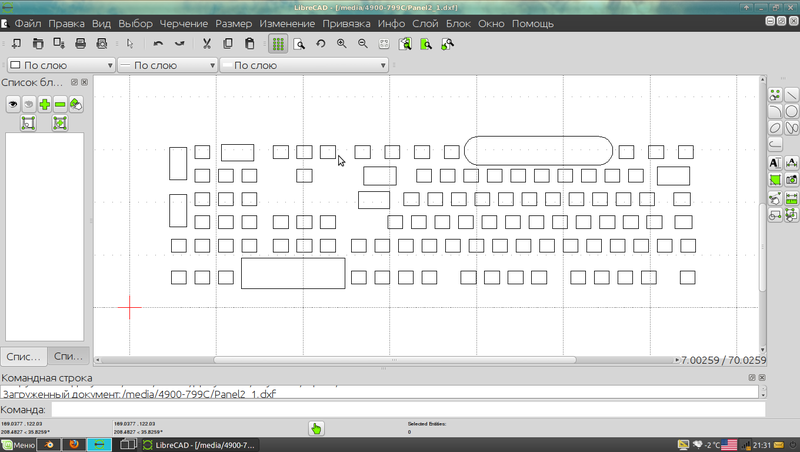
The donor keyboard would ultimately sit between two veneered MDF plates. The key slot positions were carefully measured, and based on the resulting data, a technical drawing was created in LibreCAD. The openings in the MDF plate would be cut according to this drawing.
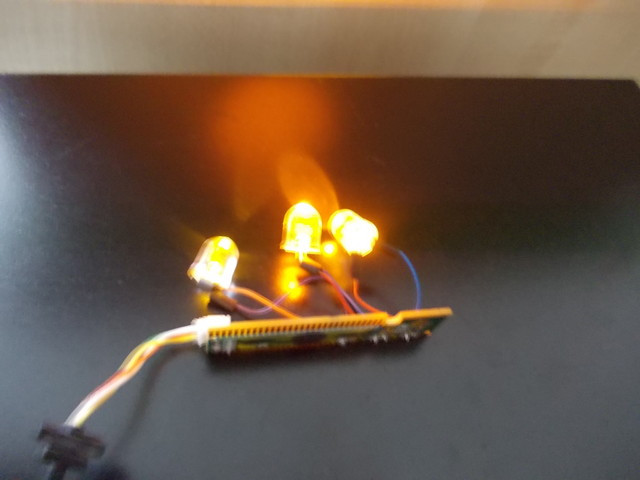
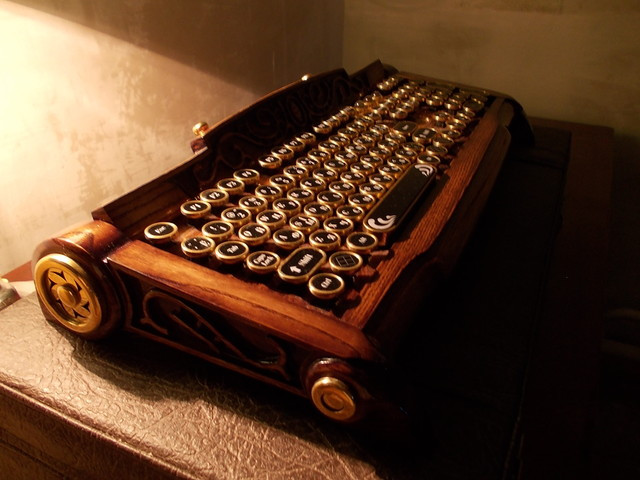
The green LEDs were removed and replaced with larger LEDs that give off a warm, tube-like glow. To make the LEDs look even warmer and more vintage, a brass overlay was made for them.
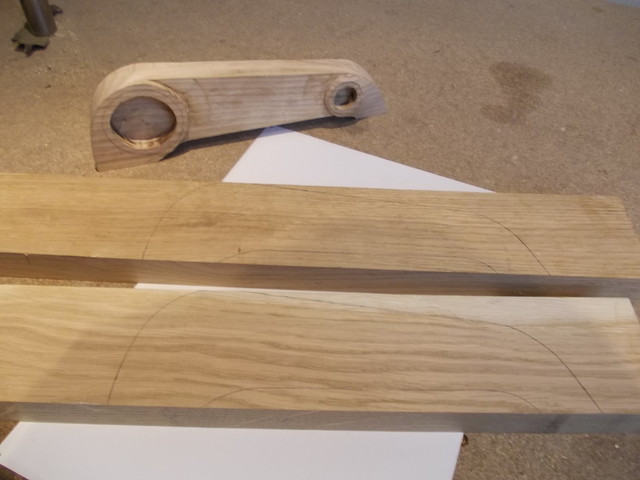
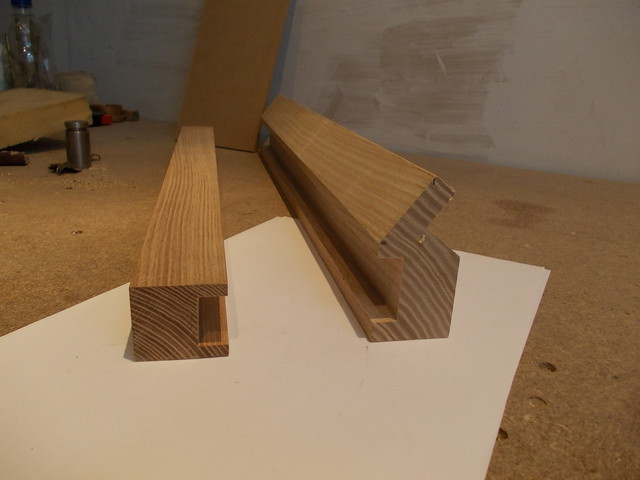
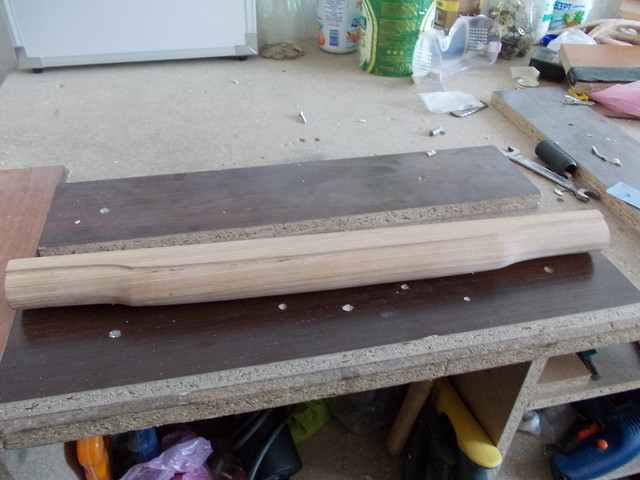
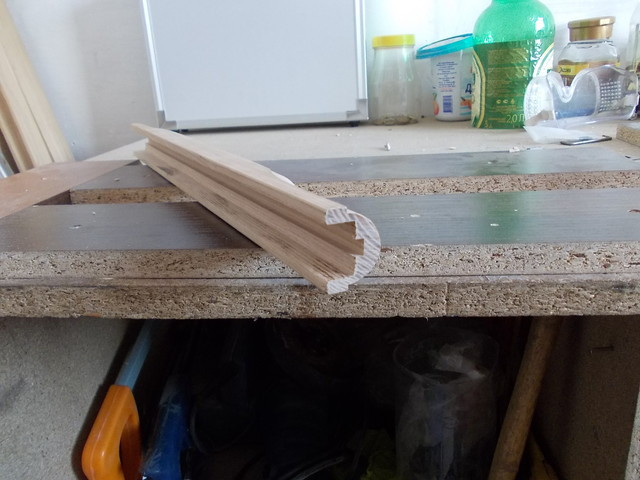
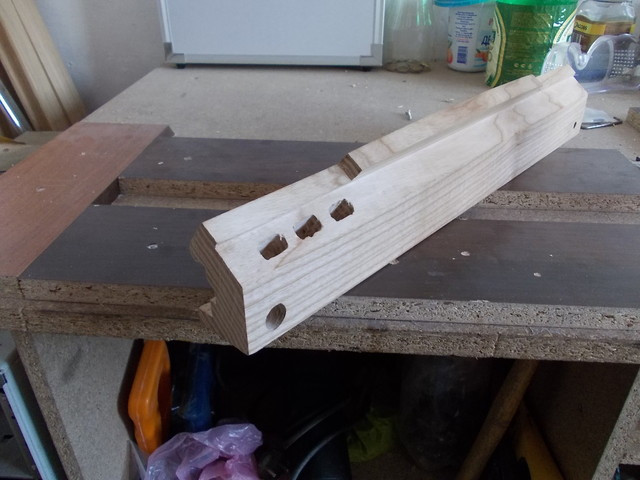
According to the technical drawings, wooden bars of the necessary cross-sections were ordered, which were then processed by hand using tools. According to the same drawings, of course.

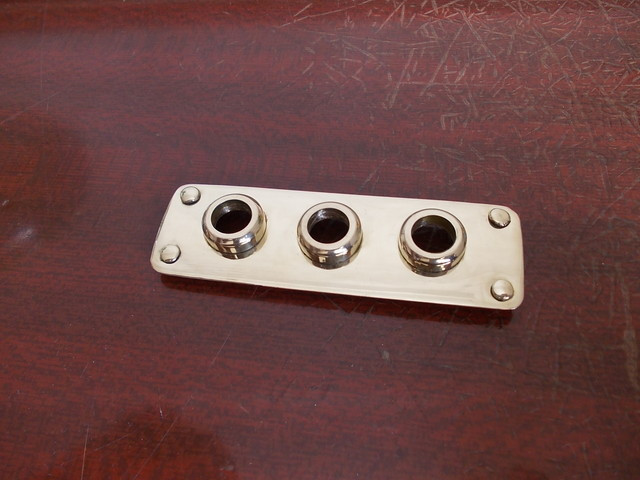
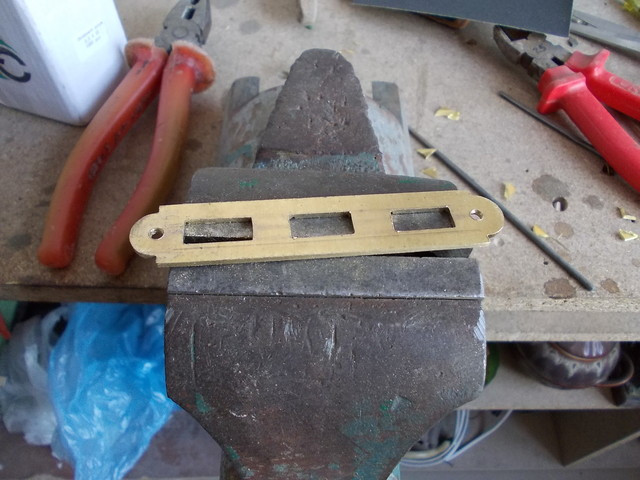
The device was also meant to include a USB hub, and the openings for it were promptly milled out. A brass overlay was also made for it.
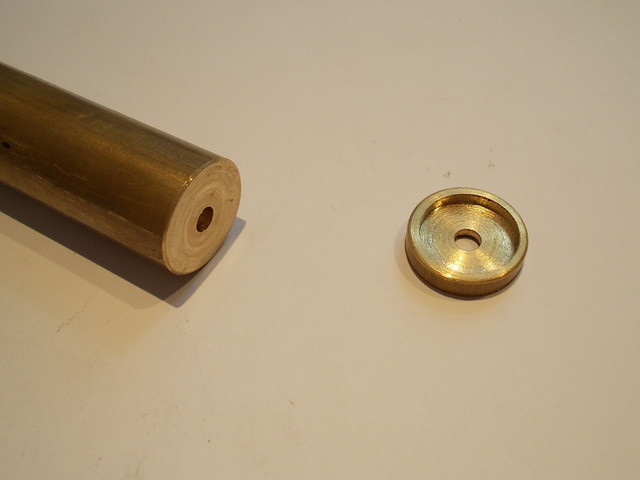
The entire structure would be held together with threaded rods, but I absolutely did not want nuts and rod ends sticking out of my creation, so I decided to make decorative brass caps.
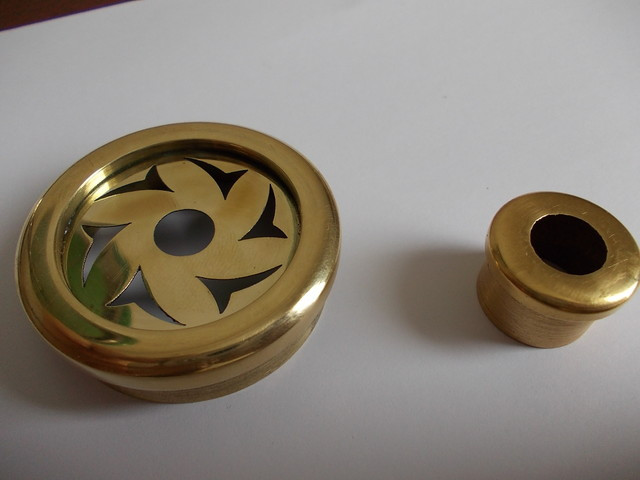
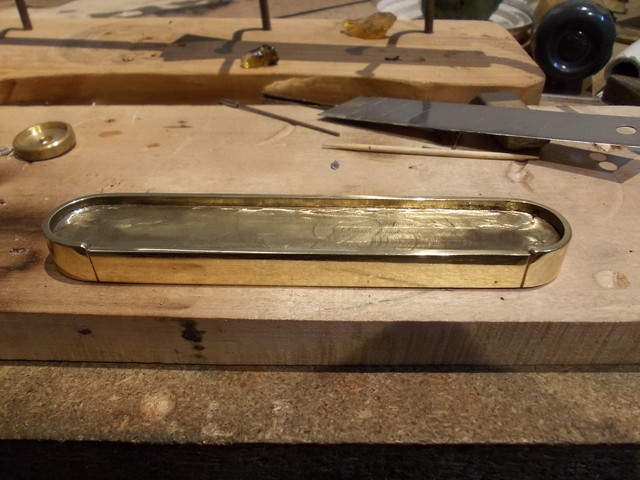
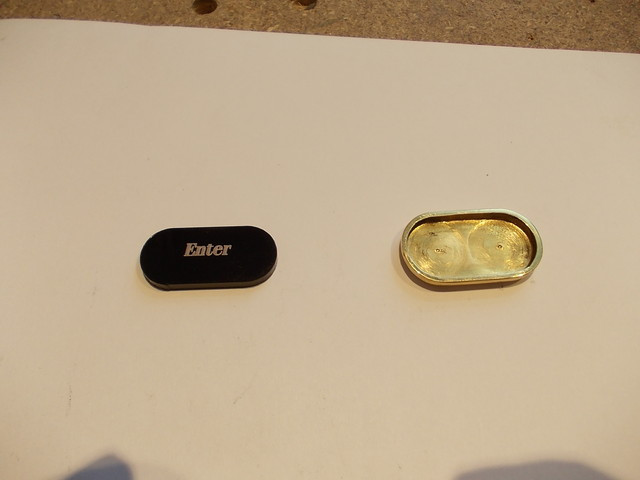
As for the keys themselves, I had the option of making them from buttons, but I decided that wouldn't be authentic enough. So the round keys were turned from brass rod, and the elongated ones were forged from brass plate.
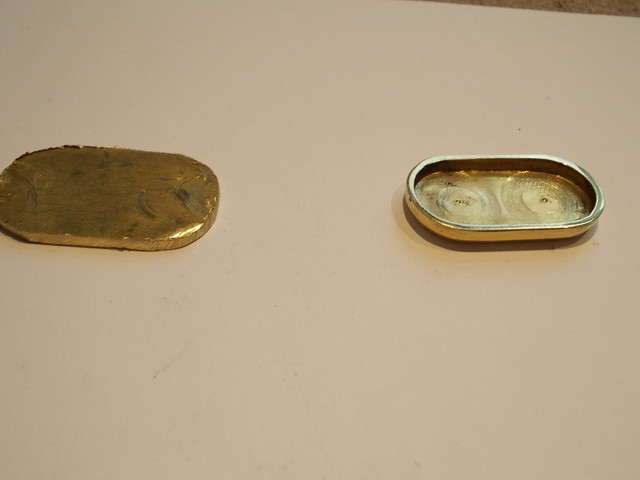
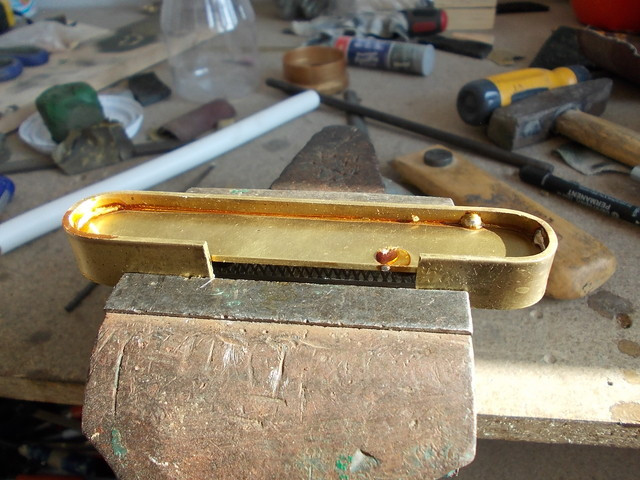
The spacebar was made separately. It consists of three soldered pieces.
The key overlays were cut from black glossy plastic. Letters and symbols were applied using laser engraving.
After all the preparatory work, the parts were carefully sanded, polished, coated with several layers of wood stain, and then varnished (also in several layers). After assembly, everything looked something like this.
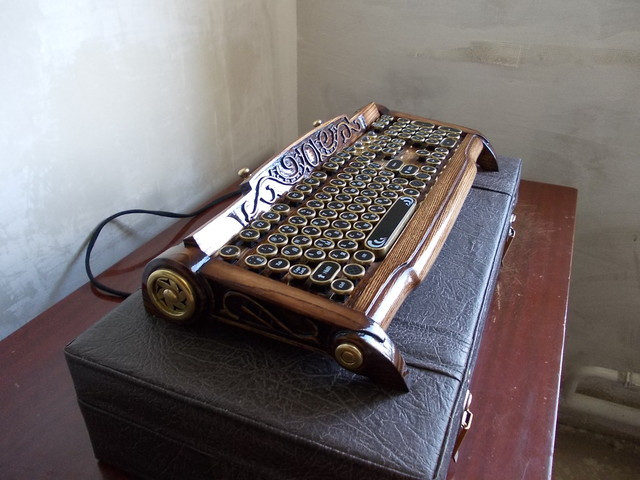
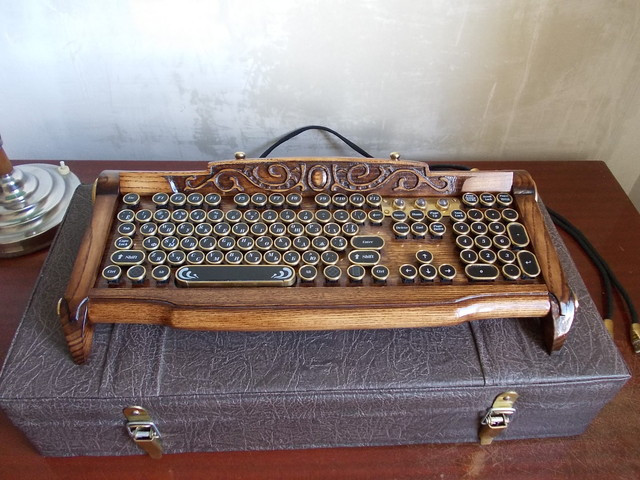
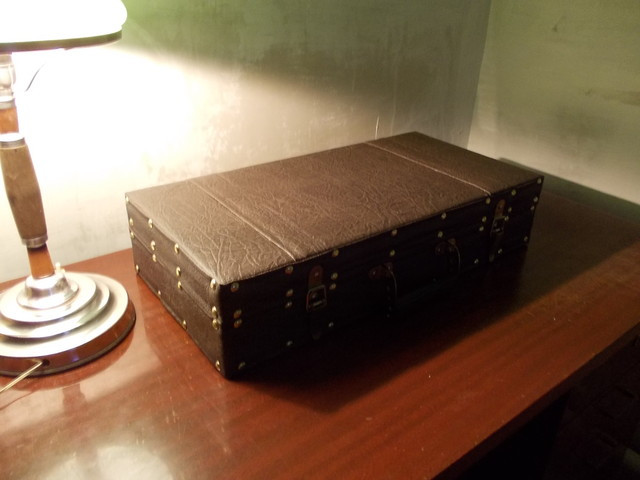
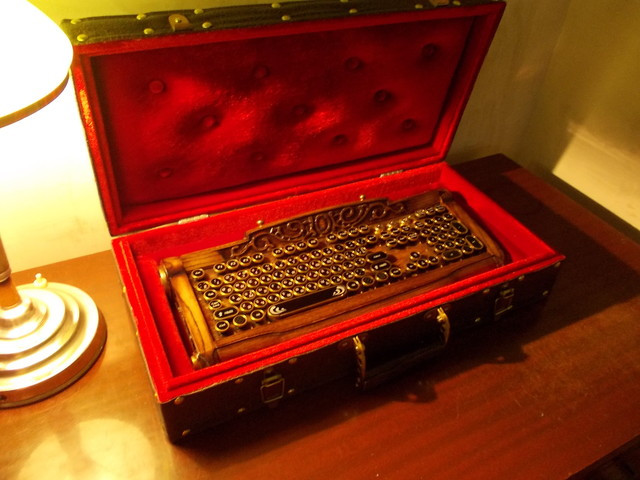
Additionally, a carrying case was also made.
The dream has become reality, but now there's an irresistible desire to raise the bar even higher. There are many ideas, and besides, challenging yourself is very exciting. Wish me luck.
P.S. Answering the many questions: the donor keyboard used was a Defender Accent 930.


