What Unprocessed Photos Actually Look Like
Ever wondered what a truly raw image from a camera sensor looks like before any processing? This article walks through each step -- from gray ADC data to a viewable photograph -- revealing that every 'unprocessed' photo is heavily computed.
Have you ever wondered what a truly "unprocessed" photo looks like? Not a JPEG from your camera, but the actual raw data coming off the sensor? The answer might surprise you: it looks like a dim, gray, monochrome mess. Getting from that raw data to a viewable image requires a surprising amount of computation.
The Raw Sensor Data
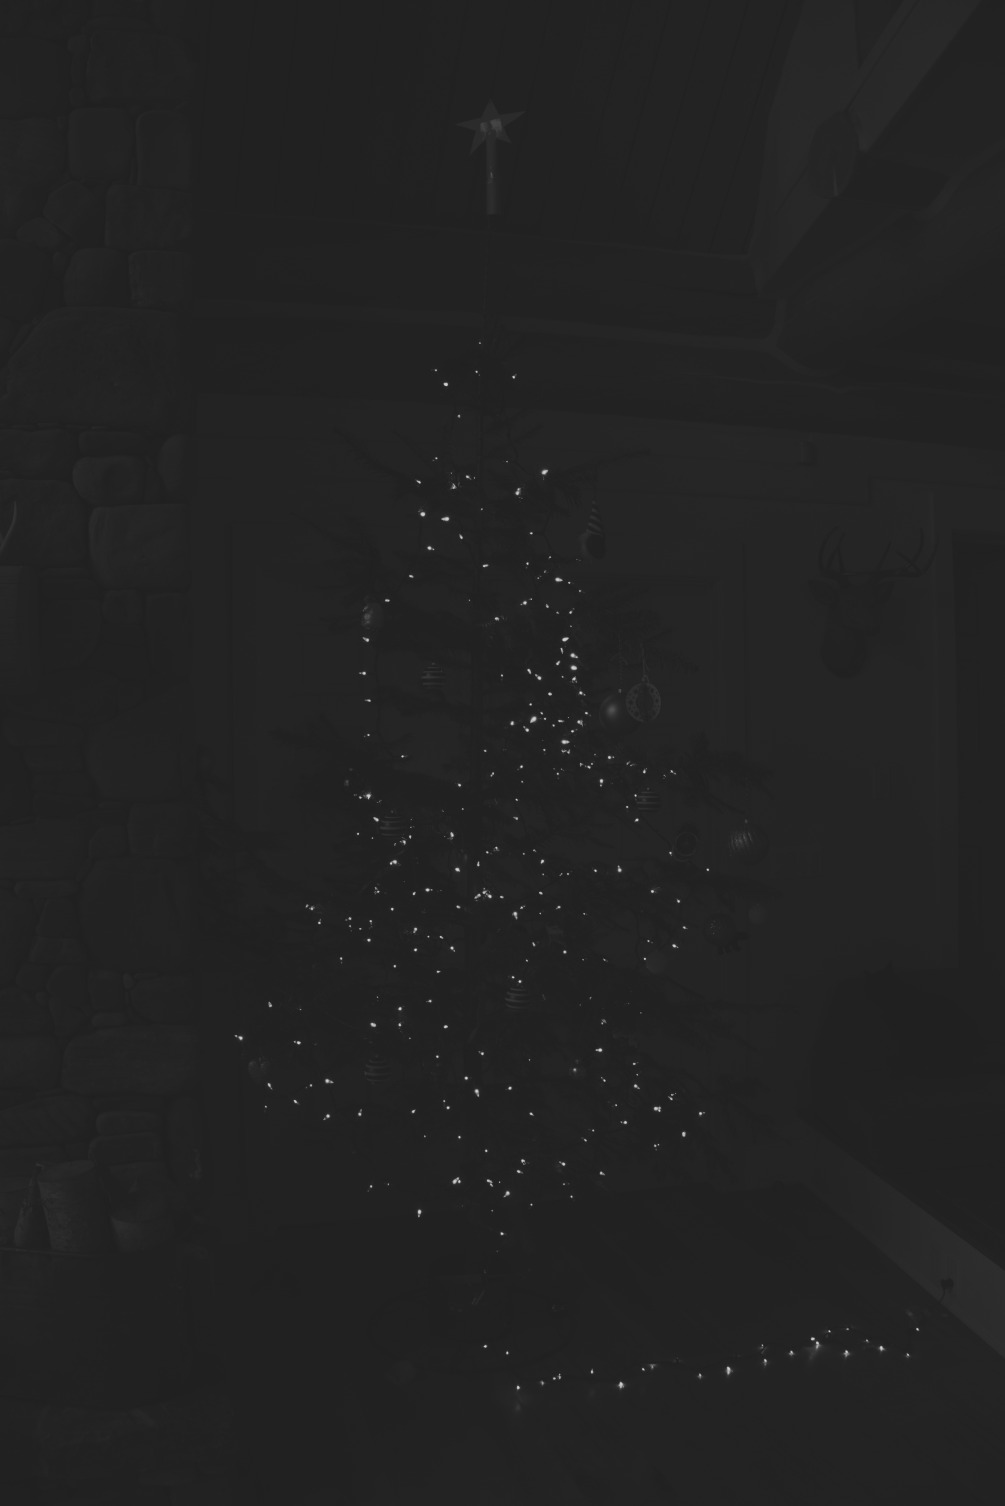
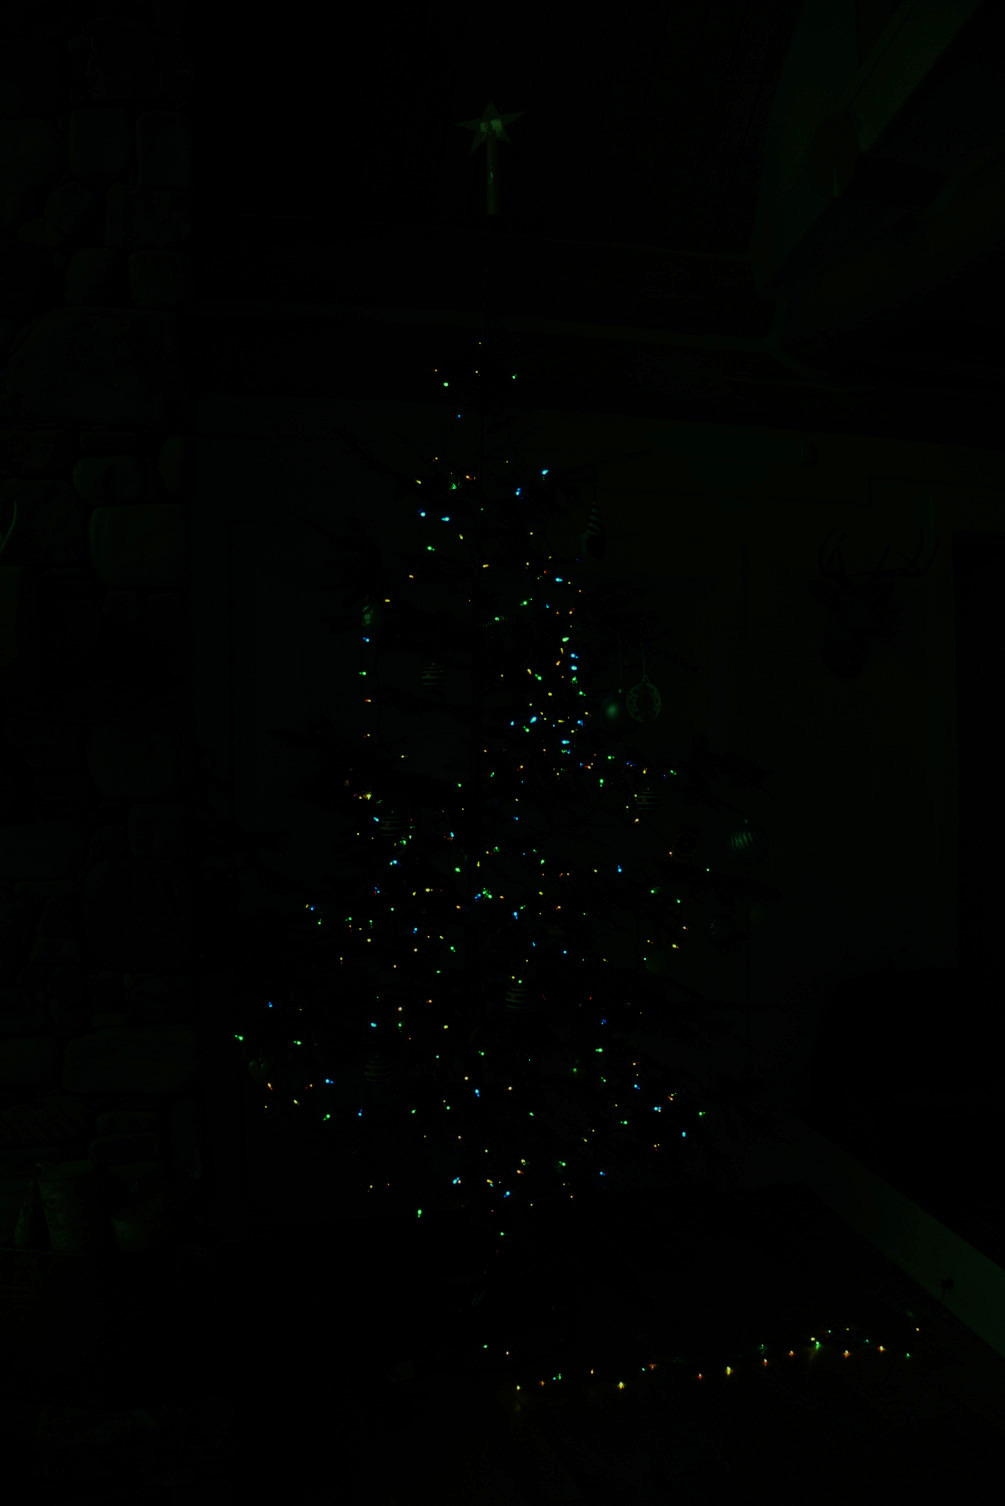
The camera sensor's analog-to-digital converter (ADC) produces 14-bit values for each pixel. But the raw image looks like a "gray-on-gray" monochrome picture, because the actual value range (for example, from 2,110 to 13,600) uses only a fraction of the available range.
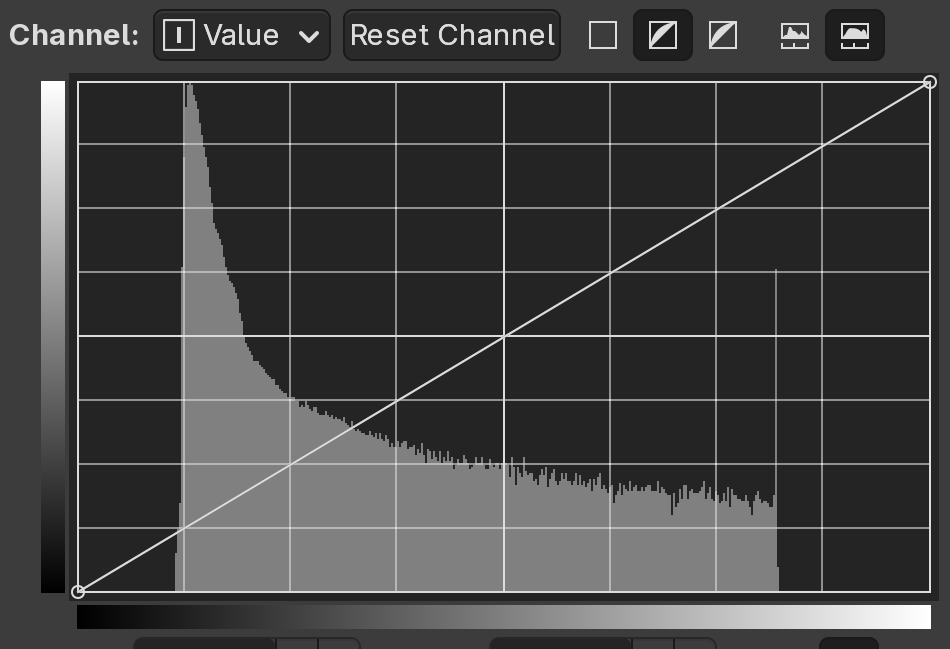
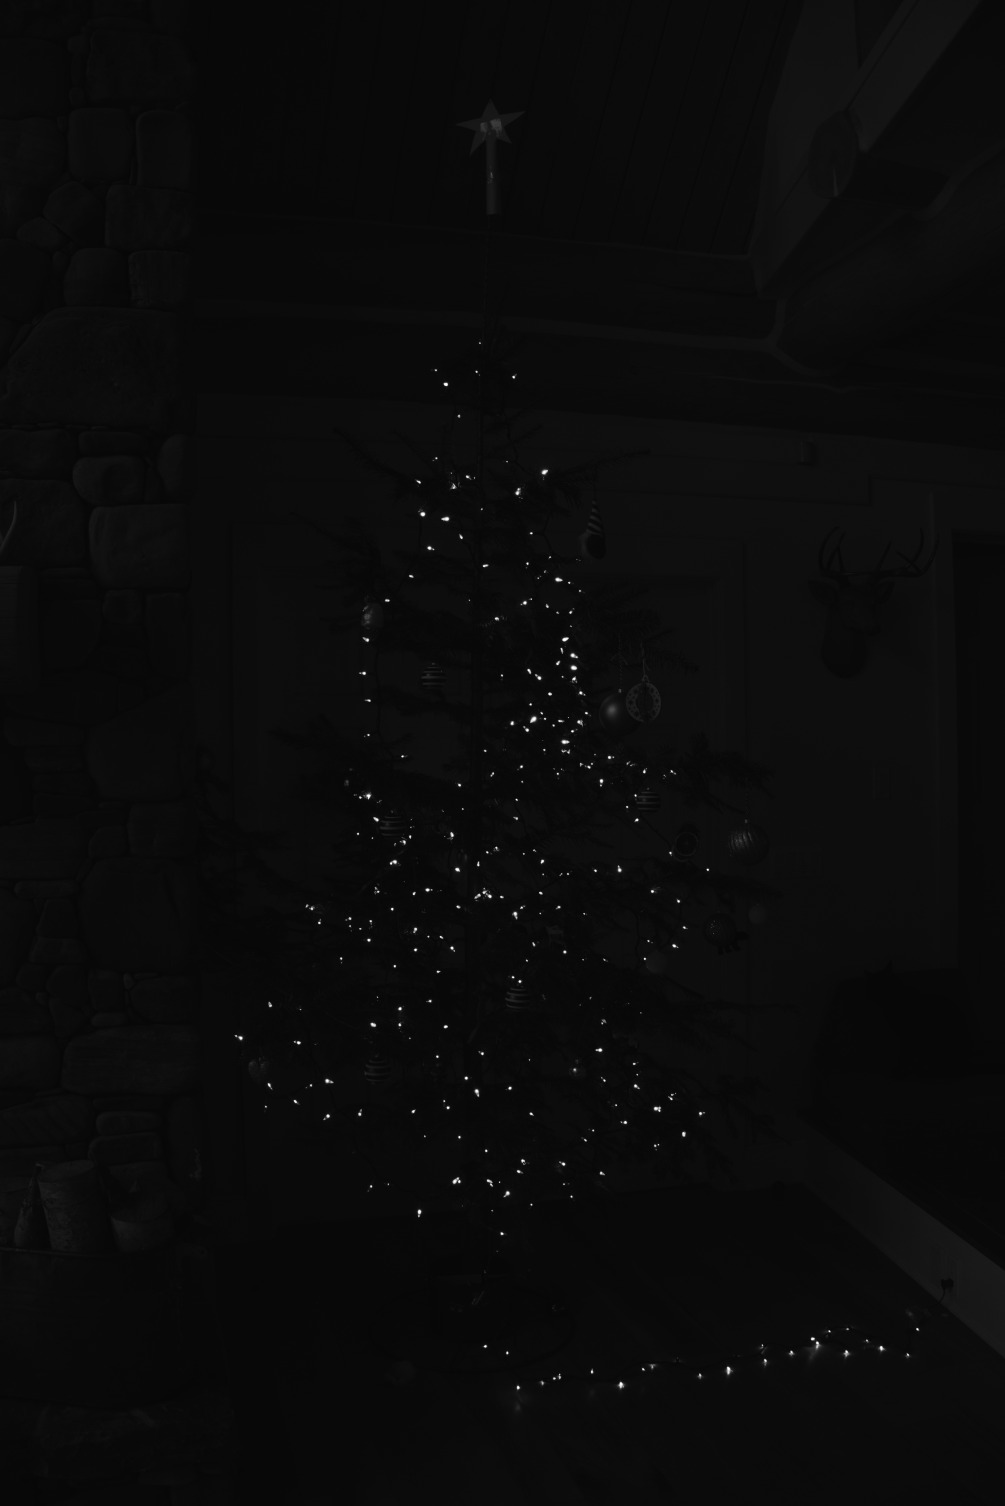
Step 1: Contrast Normalization
The first step is to stretch the value range to fill the full black-to-white spectrum. This is done with a simple formula:
V_new = (V_old - Black) / (White - Black)
Where Black is the minimum sensor value and White is the maximum. After normalization, we can finally make out the scene — but it's still monochrome.
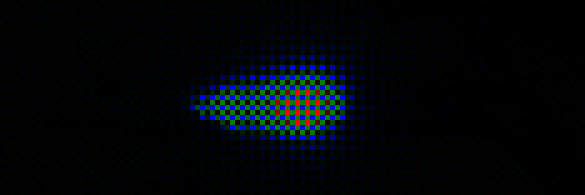
Step 2: The Bayer Filter
Here's a key insight: color camera sensors cannot actually see color. Each pixel measures only light intensity. To capture color, a mosaic of tiny color filters — red, green, and blue — is placed over the sensor. This is called a Bayer filter. Each pixel records only one color channel, capturing roughly "one third of the RGB color."

When we separate the channels according to the Bayer pattern, the image takes on a characteristic colored mosaic appearance:
Step 3: Demosaicing
To reconstruct full color information for each pixel, we perform demosaicing — averaging each pixel's missing color channels from its neighbors. The simplest approach is to average the surrounding pixels' values for the missing channels.

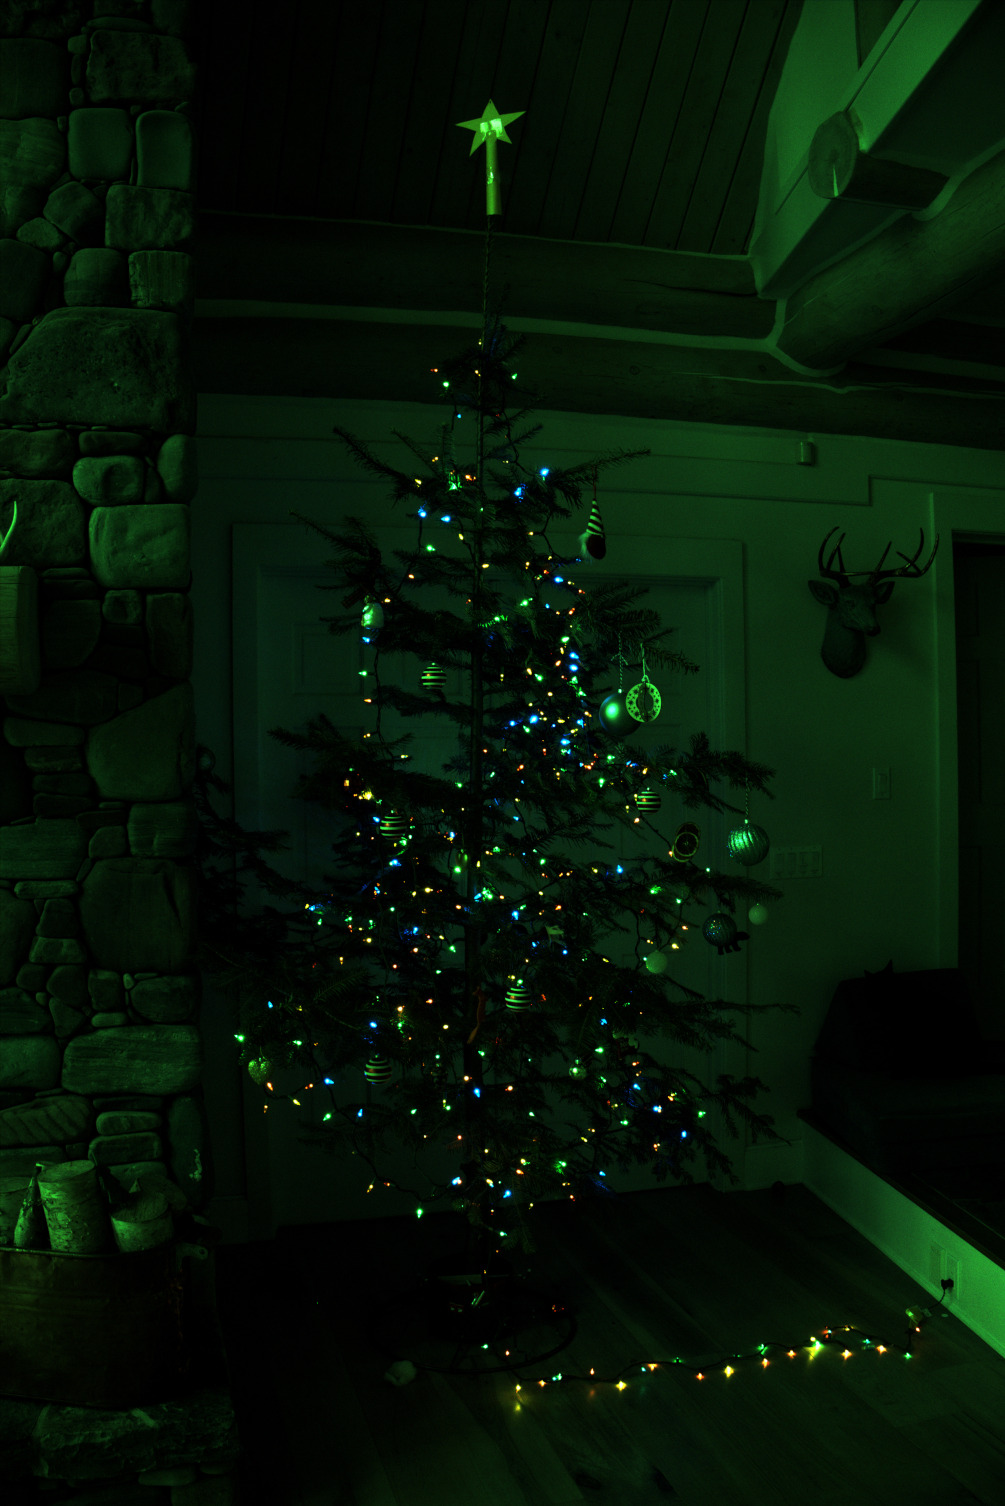
After demosaicing, we get a recognizable color image — but it looks strangely dark and has a strong green tint.
Step 4: Gamma Correction
Human perception of brightness is nonlinear. We are much more sensitive to differences in dark tones than in bright ones. If we display the linear sensor data directly, the image appears far darker than it should.


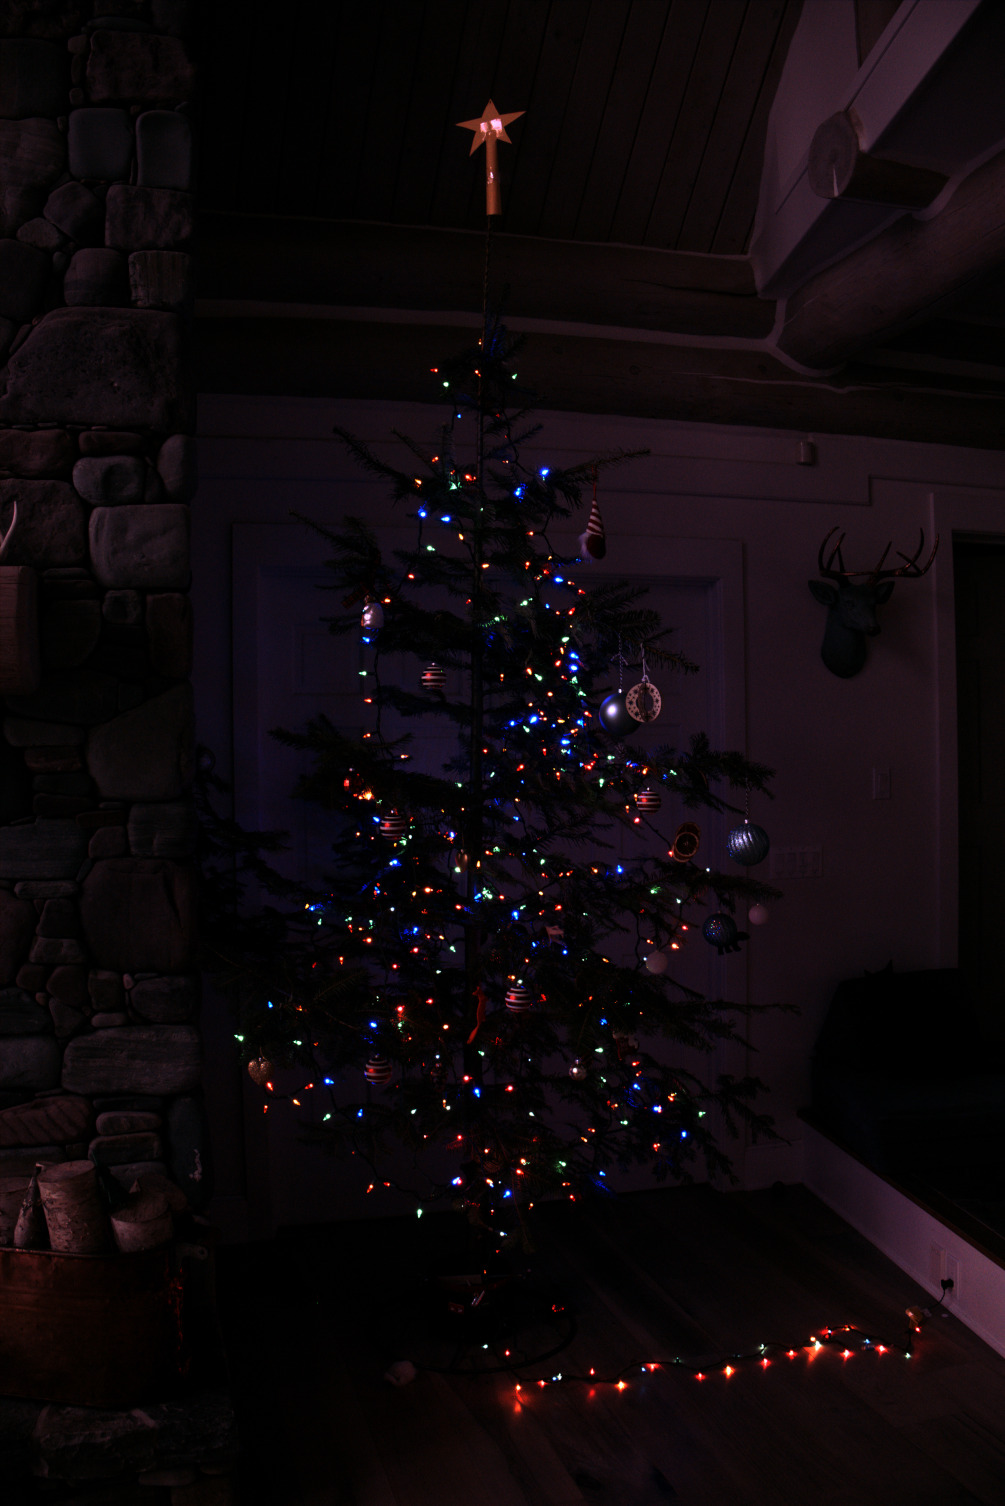
Color spaces like sRGB allocate more values to darker tones, which better matches how we see. Applying a nonlinear gamma curve brightens the image dramatically:
Step 5: White Balance
The image still has a green cast because the sensor is more sensitive to green light than to red or blue. White balance corrects this by multiplying each color channel by appropriate coefficients.
Importantly, since the image is nonlinear after gamma correction, white balance adjustments must be applied before the gamma curve for correct results.
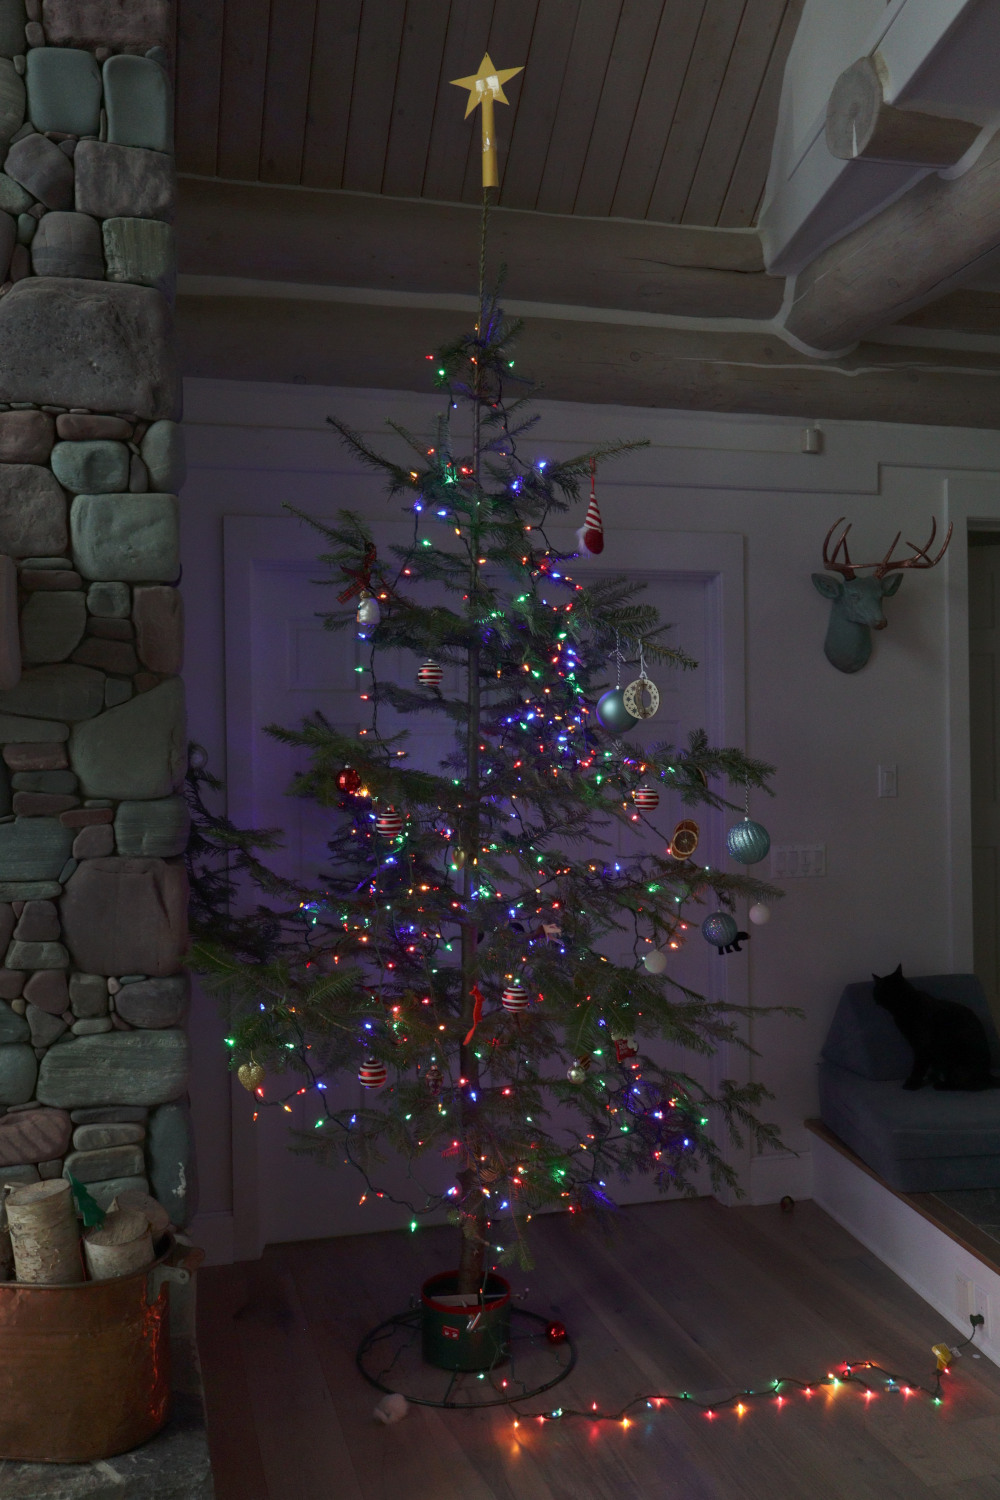
The Final Result
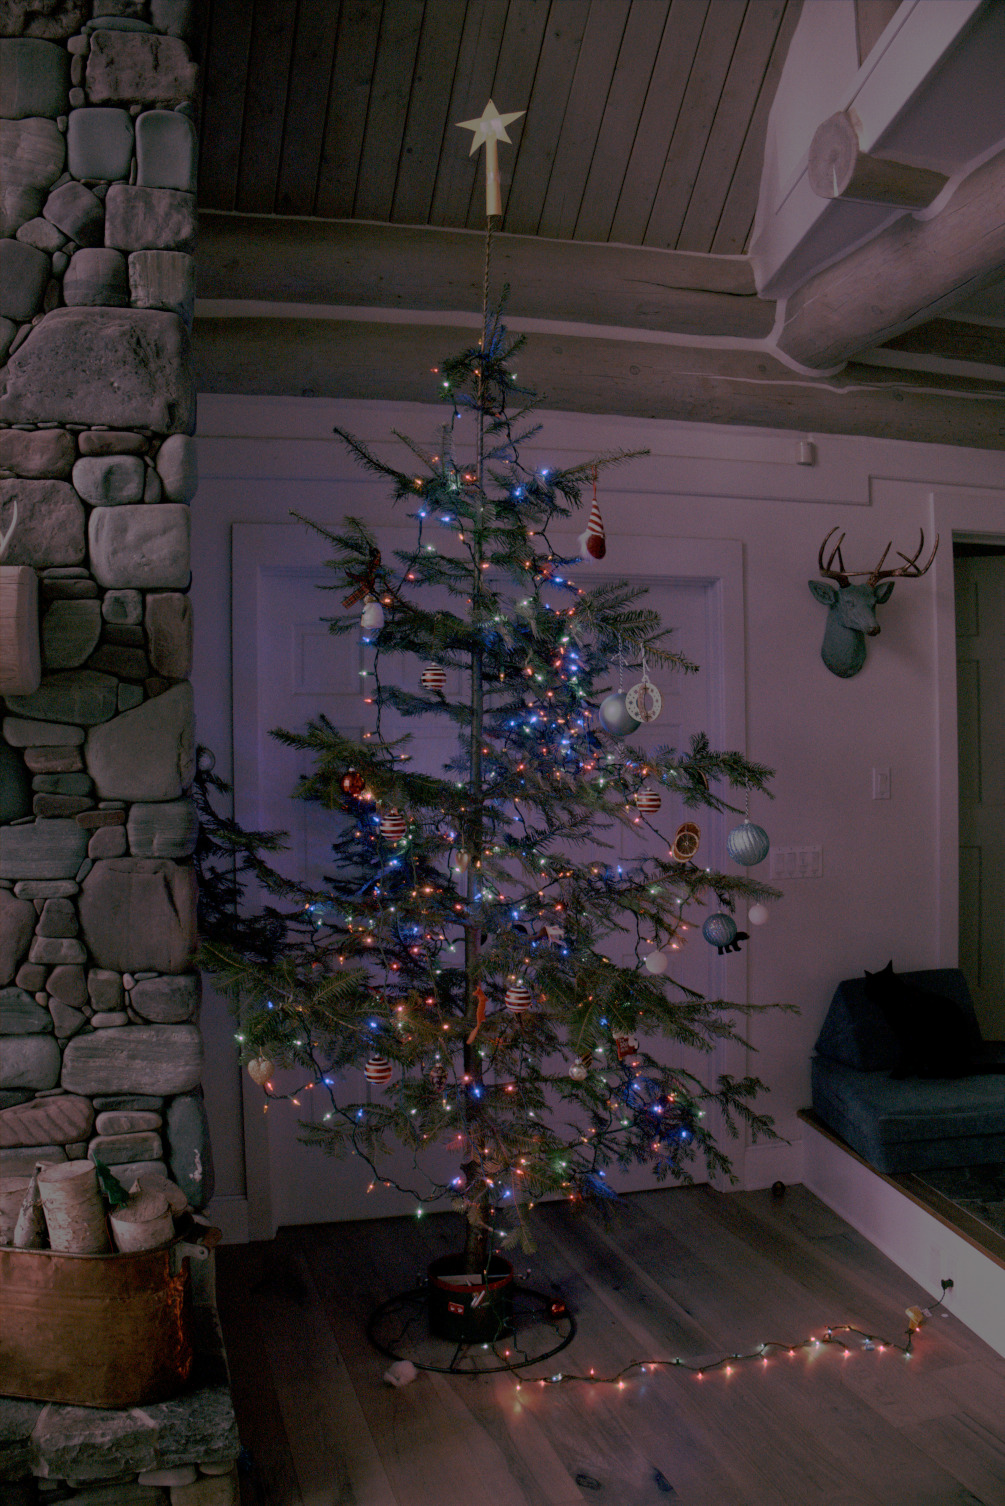
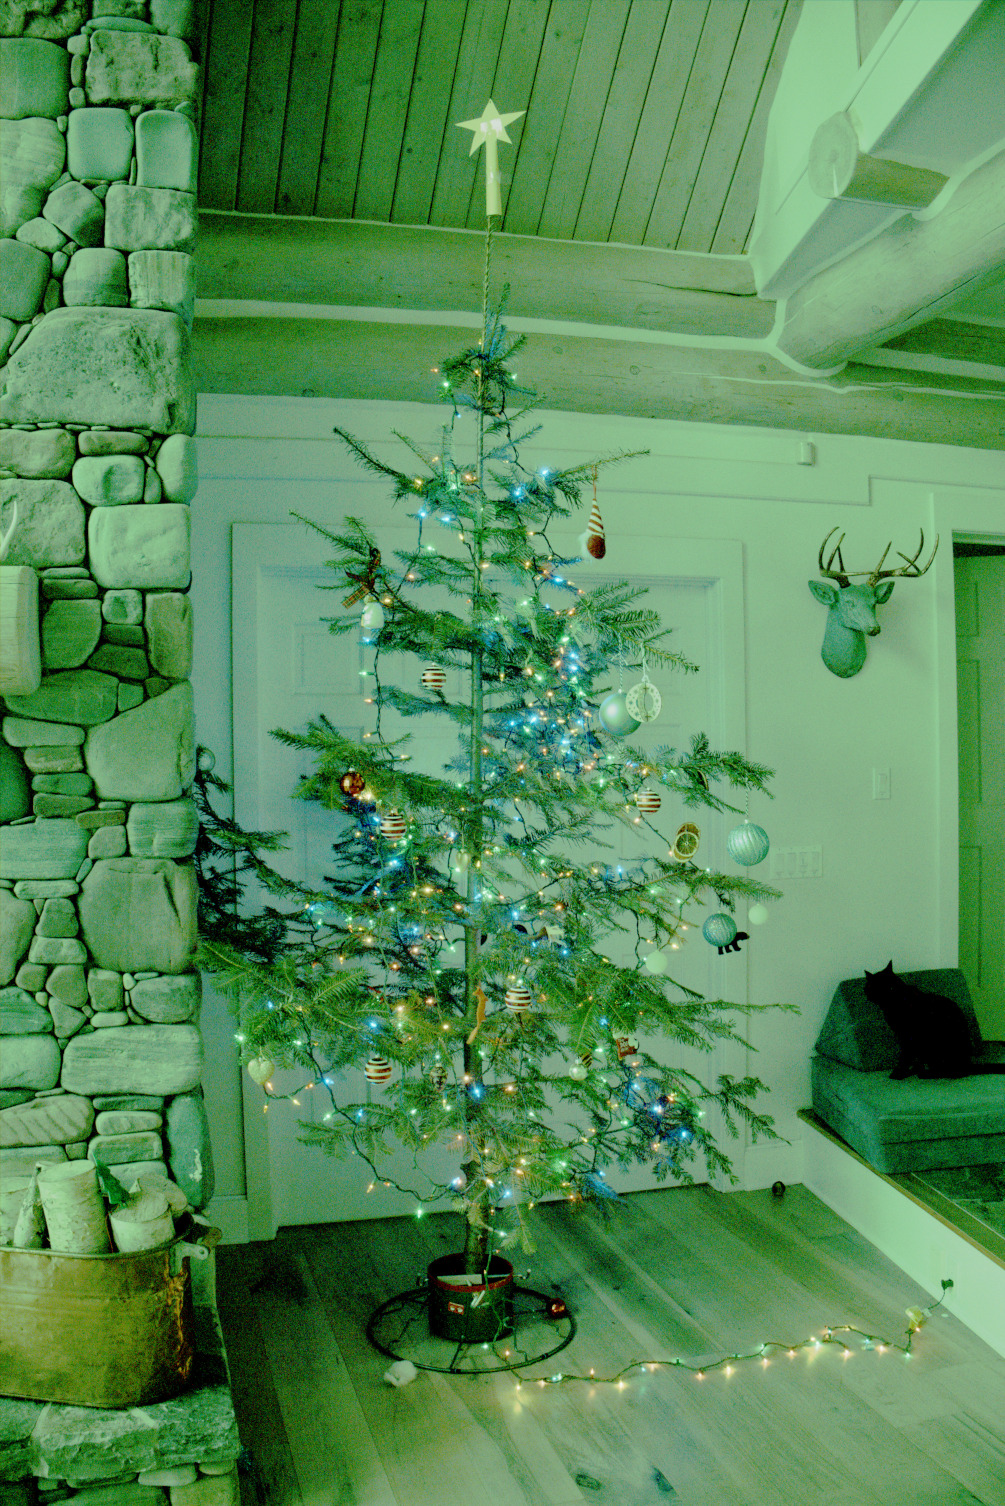
For comparison, here is what the camera's built-in JPEG processor produces from the same raw data:
Conclusion
The photograph is clearly "far from original": to accurately represent how a scene actually looks to our eyes requires substantial processing. Even JPEG images straight from the camera contain automatic corrections for all of the steps described above — normalization, demosaicing, gamma correction, white balance, and more. There is no such thing as a truly "unprocessed" digital photograph.


